So, you’re ready to dive in and get an embroidery machine but are unsure what tools are needed Below I walk through the essential tools to get started on this venture!
This post may contain affiliate links. As an Amazon Associate, I receive a small commission for purchases through my links. I only post links for items I love and use! For more information, see my disclosure.
Embroidery Machine
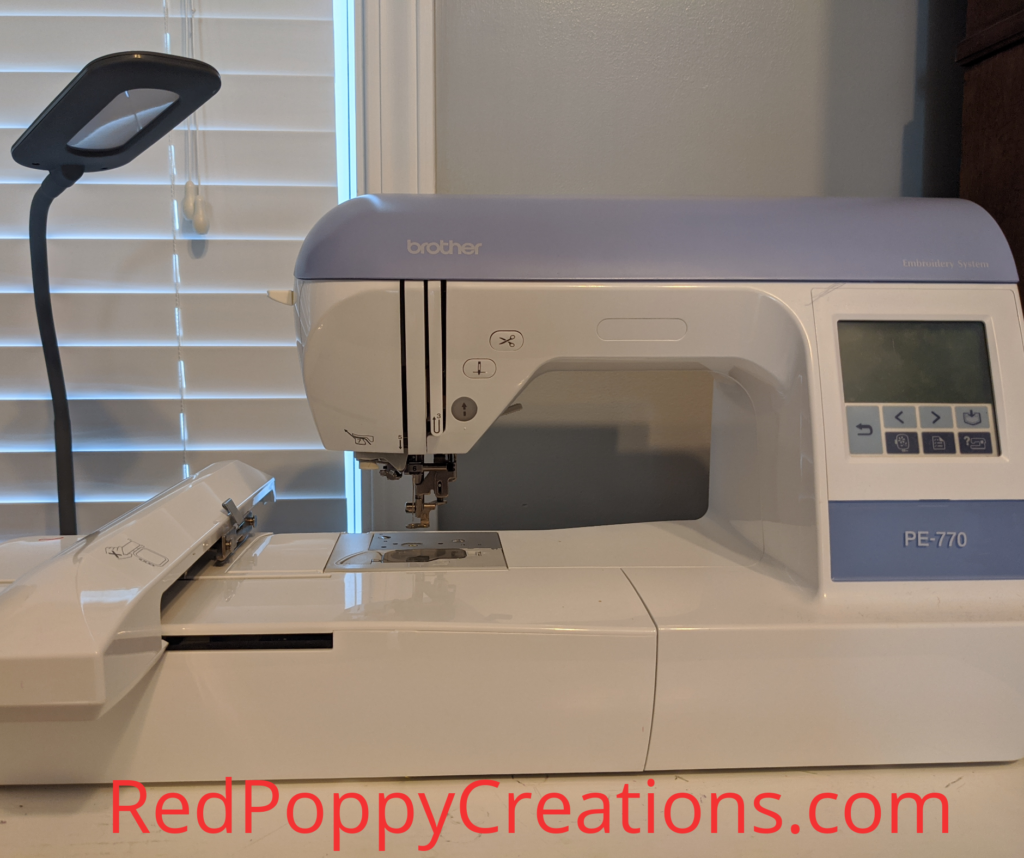
Obvious, I know! You need to have an embroidery machine. You can buy new or search around for a good used one. I opted for a new Brother PE770 (updated version is PE800). There are others, but I can personally vouch for this one. I’ve had ZERO issues (not including user error) with mine for the 3 years I’ve had it. Do your research around the maximum hoop size, speed, owner history (if buying used), and customer reviews.
Stabilizers
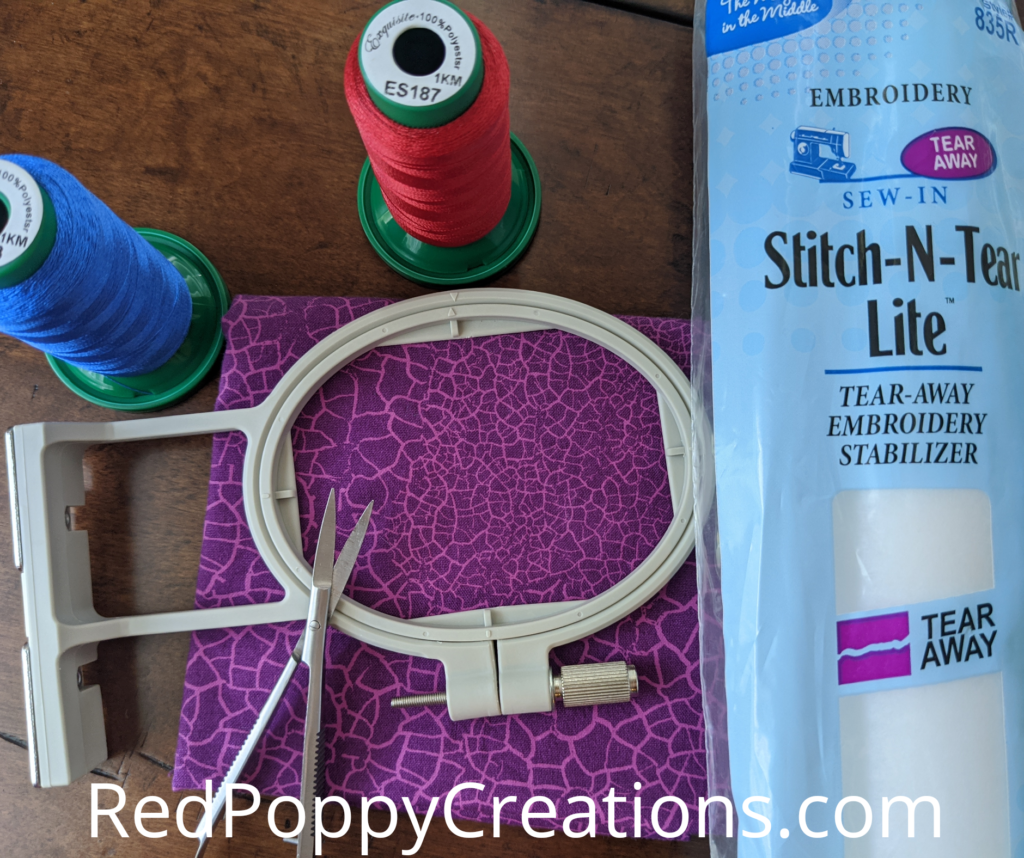
To start off, I recommend a cut-away and tear-away stabilizer. These go under the fabric to give extra stability to the fabric and design. Sulky, Pellon, and SuperStable are my go-to brands for any stabilizer! Stabilizers come in different sizes too, so make sure to get the size that will fit in your hoop the best (about 2″ bigger than your hoop size). Once you’ve practiced and are confident in your work, fusible poly-mesh and water soluble stabilizer (WSS) are next on the list.
Thread
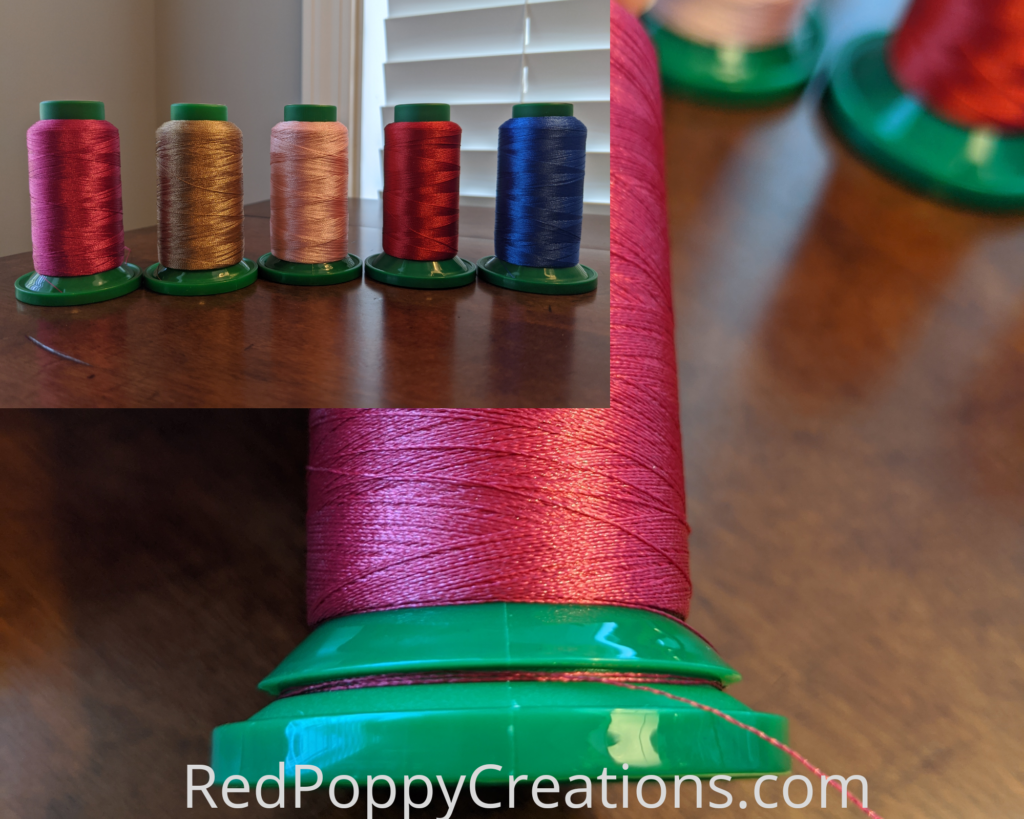
You will need bobbin thread and top thread. Bobbin thread is thinner and likely stronger than your top thread. Pay careful attention to your machine’s recommendation of weight of thread! Trust me…it’ll ruin a design. I buy pre-wound bobbins from amazon, but have wound them myself too when in a bind. Trick – if you have a sewing machine, wind your bobbins there. That way you can stitch on embroidery machine and wind bobbins at the same time! My 2 machines sit next to each other, so it makes it really easy. You will get more thread per bobbin on pre-wounds. For top thread, I use Exquisite. I haven’t had any issues with this brand and buy the larger spools. A plus with the Emquisite is that the bottom of the spool snaps open, and you can wrap the tail of the tread in it, then snap back shut. No more unraveling spools! Other great brands are Floriani, NewBrothread, Simthread, and Madeira. Some machines are picky, some are not! Sometimes when I need a certain color and my local sewing store is closed, I use thread from Hobby Lobby, with little to no issues (just make sure is says for embroidery).
Scissors
You will need a good pair of curved tip scissors. Here are mine and they do the job. Some use duck bill scissors, I don’t, everyone is different in what they like. I like the curved so that I can get closer to the thread to snip a jump stitch without snipping unwanted stitches. They are also great for cutting the fabric around appliques!
Hoops
You will need at least 1 hoop to begin. Your machine should come with one, if not two! The 5×7″ that came with the machine was all I used for about a month before I order other sizes. I bought the Embroidex set from Amazon and they fit great (if not better) on my Brother one that came with the machine. I also purchased a 4×4 from the same brand, I really like having 2 of those and the 5×7’s because I use them the most! When searching for hoops, be sure to carefully read the details that it works for your machine!
Fabric
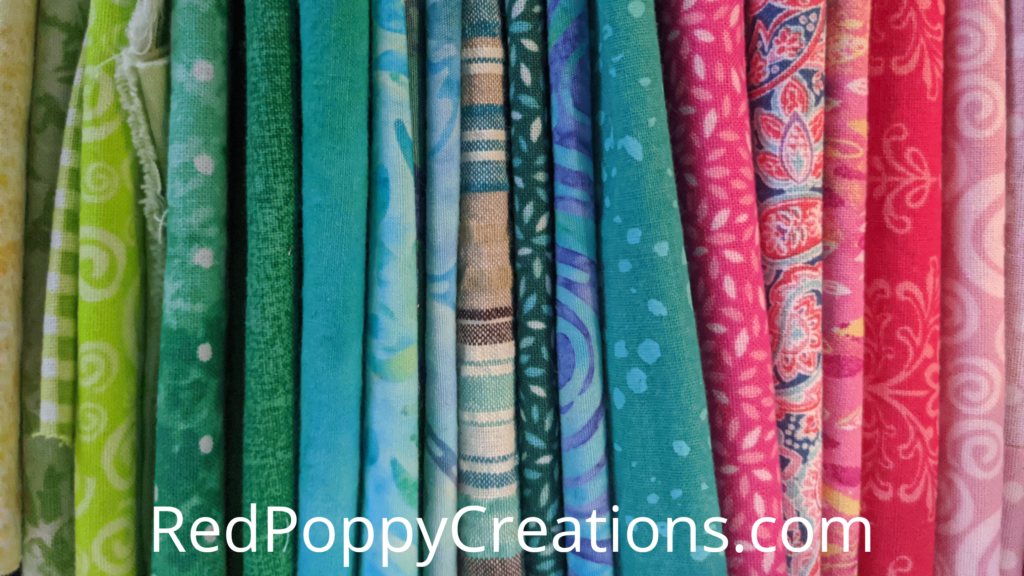
Last, but not least, you will need fabric of some sort to practice on. You can use scraps, old sheets, old shirts. I would recommend sticking to a cotton or poly blend that doesn’t stretch much. Save knits for another day, those take some patience! Once you get confident in your stitching, you can start to work on items like towels, shirts, etc.
Hopefully these essential tools will help kick start your adventure in machine embroidery! Good Luck in your new venture, I was once where you are today and now feel like a pro on my machine!
Ali




2 responses to “6 Essential Tools for Machine Embroidery”
This entry has alot of useful and helpful information! Great for anyone who is wanting to try out embroidery!
Thanks Darby! Glad you found it helpful!