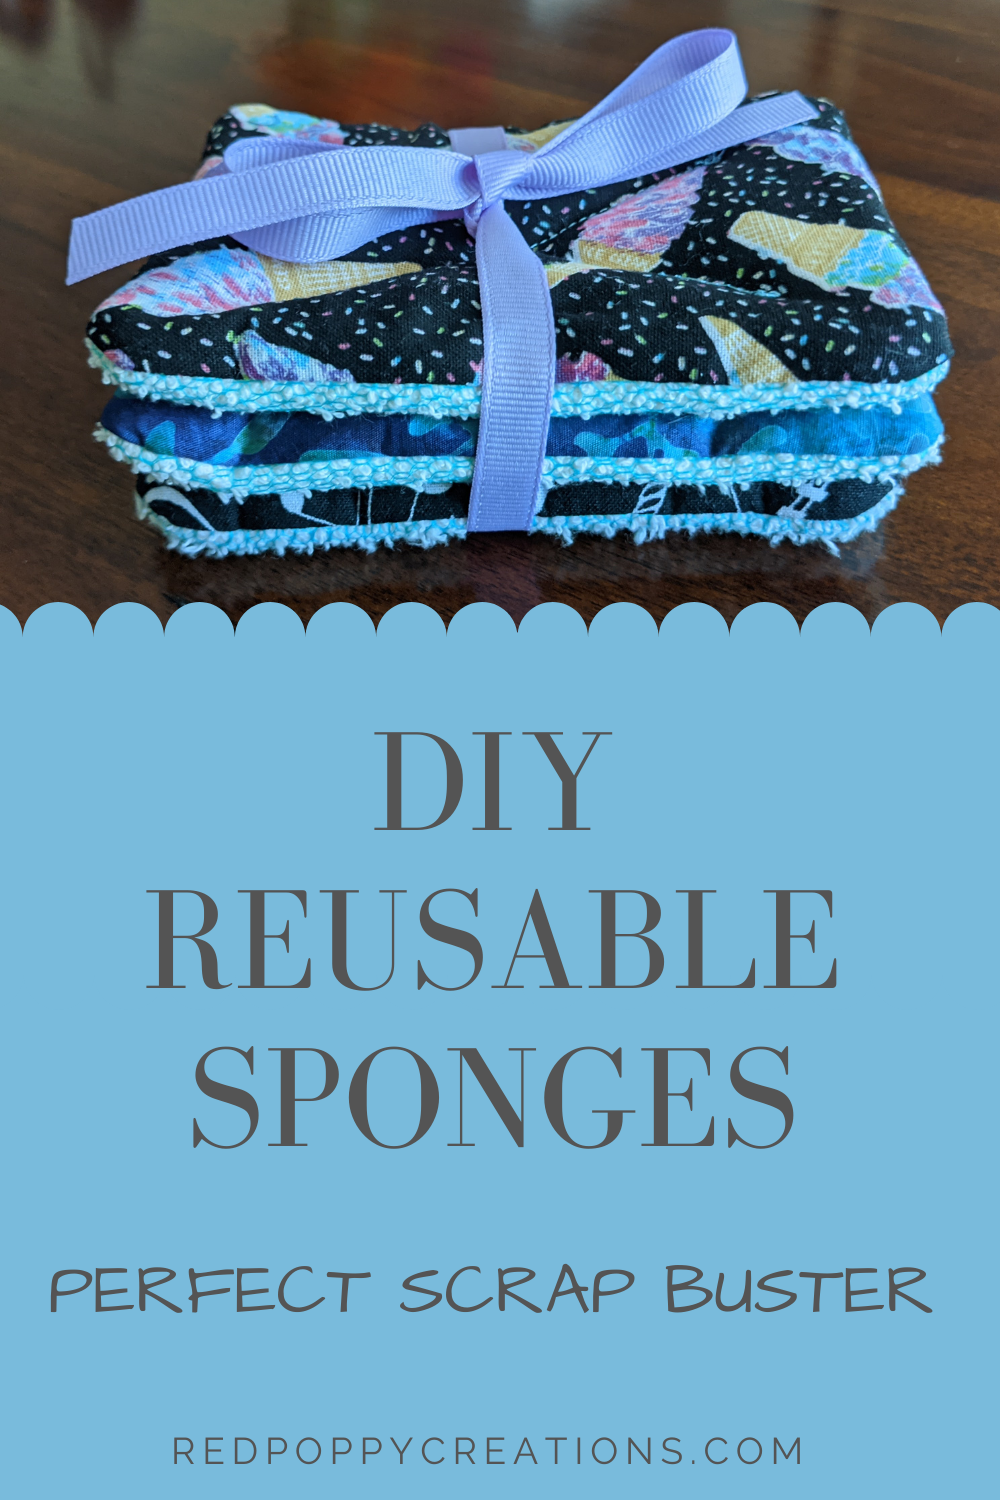
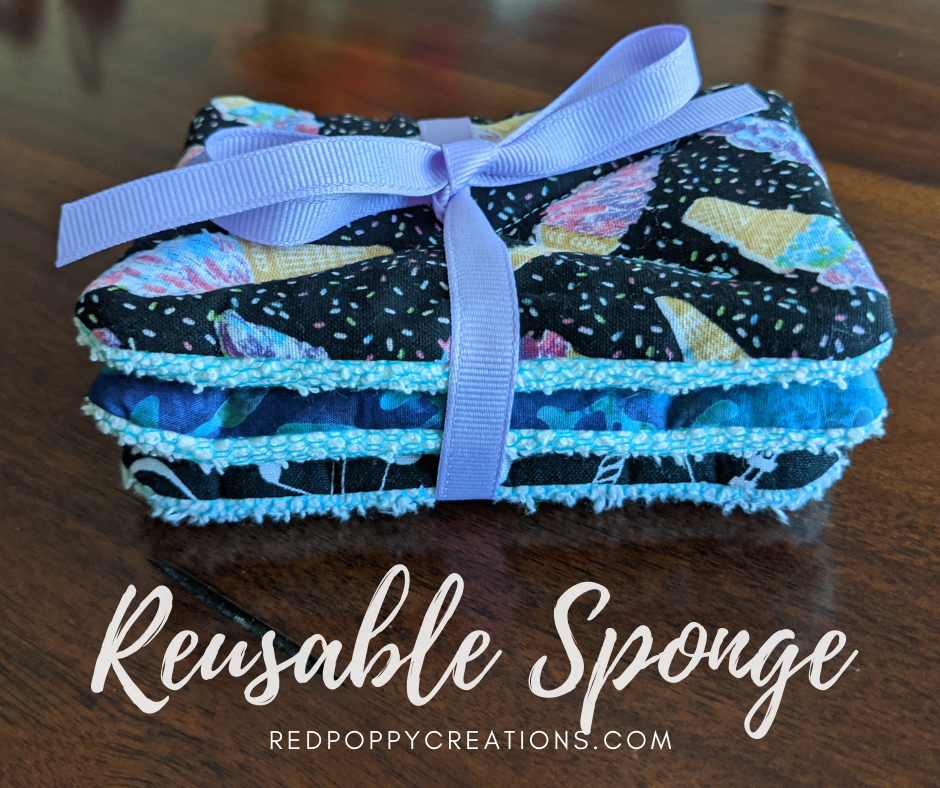
Want a good scrap busting project that also saves money in the long run? Try this DIY Reusable Sponge tutorial! All you need are some 4.5″ x 6″ scraps of fabric. The best thing – each day you can pull out a new one and throw the other in the wash. Make them with super fun designs or simple solid colors, the sky’s the limit!
This post may contain affiliate links. As an Amazon Associate, I receive a small commission with qualifying purchases. I only post links for items I love and use! For more information, see my disclosure.
Supplies for Reusable Sponge
- Cotton
- Flannel x2
- Terry Cloth
- Mesh
- Batting x2
- Interfacing (optional)
- Cutting mat, grid, and rotary cutter (optional)
- Pins or Clips
All pieces are cut to the same size: 4.5″ x 6″. I had all these supplies at home, but some can be substituted. Don’t have batting? Use another layer or 2 of flannel. No cotton, just use flannel instead. Mesh isn’t necessary as long as you have terry cloth for some good scrubbing! One other thing before we get started, I would recommend using medium to darker colors. This will help hide stains 🙂
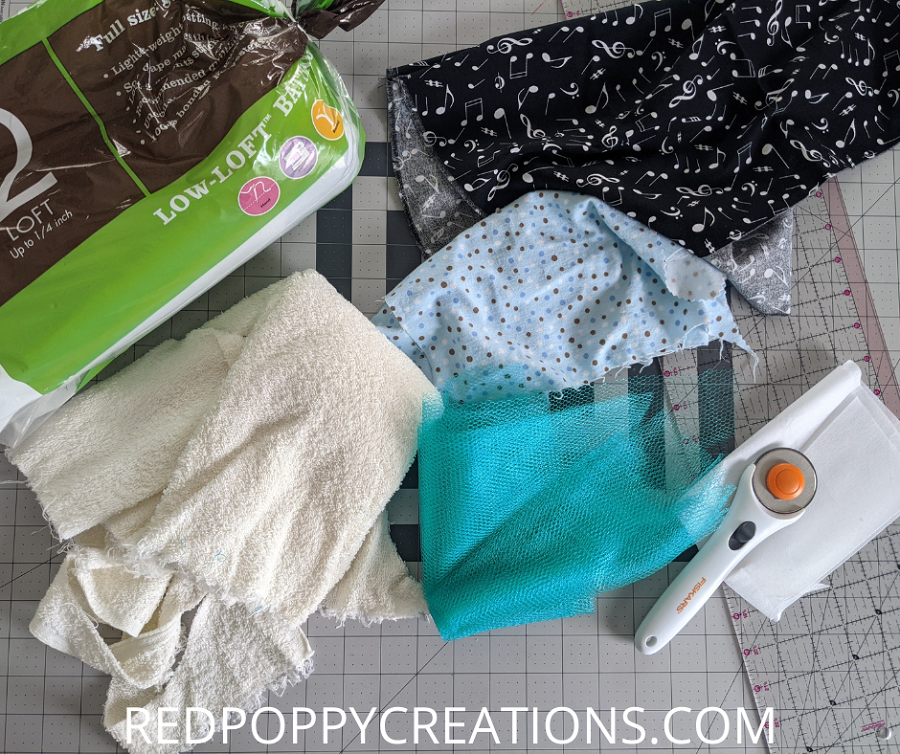
So lets talk mesh. The mesh I used was leftover from another project and it is horrible! But, it’s what I had on hand. I highly recommend lightweight mesh by Annie. It might cost a bit more than others, but it’ll last longer! There are also a TON of colors to pick from 🙂
Prep Fabric Pieces
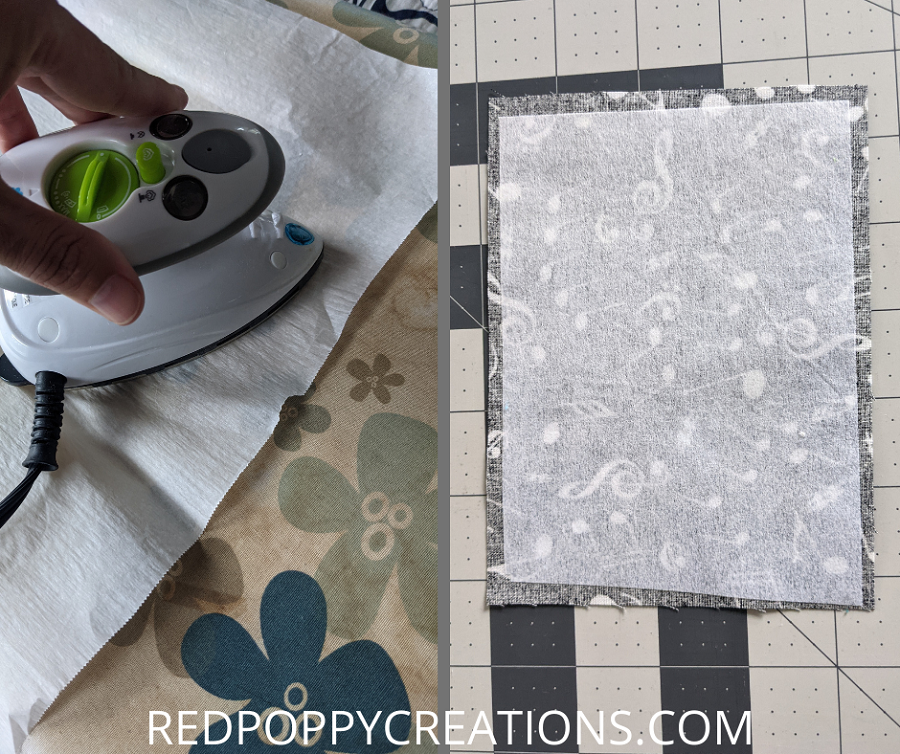
Cut all sponge pieces to 4.5″ x 6″. Some pieces I double upped and cut together (flannel, batting, and mesh). I only doubled upped my mesh because it was cheap and thin. If you have decent mesh, only 1 layer is needed. Also, I like to add interfacing to the top cotton fabric. It’s not necessary, but I like the structure it adds. Cut that piece too, but slightly smaller in size (4.25″ x 5.75″).


Next I iron on the interfacing. I always use a pressing cloth or parchment paper when doing this to protect my iron. And how ’bout this mini iron! Perfect for this small project and ironing inside my embroidery hoops 🙂
Sew your Reusable Sponge
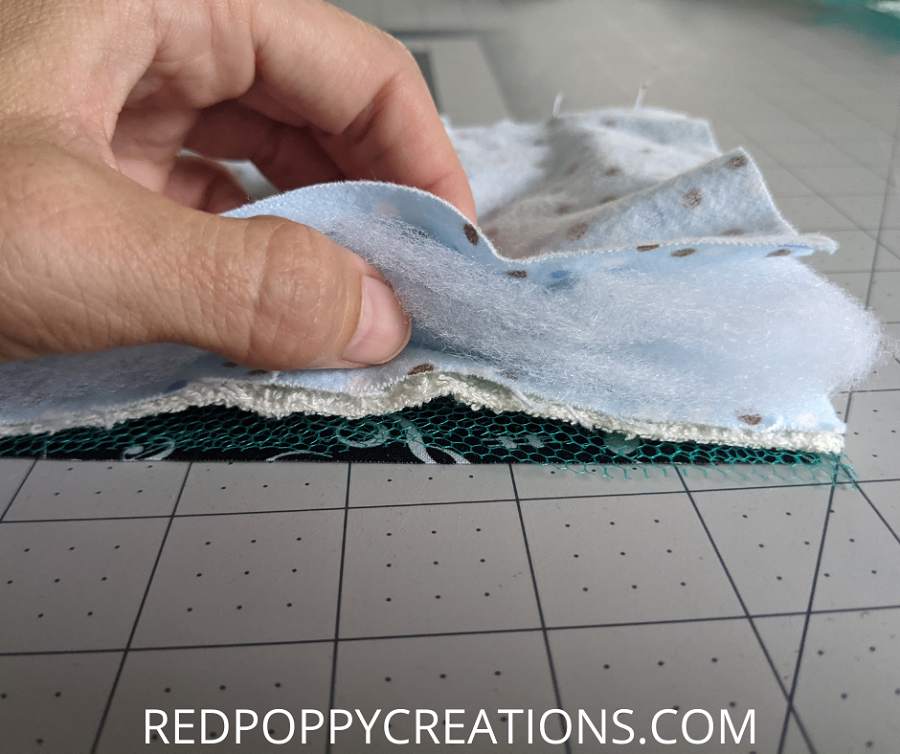
Now its time to stack up your fabrics (pay close attention to the order) and then sew! So here’s my stack, I lay my cotton right side UP, then mesh, and terry cloth. Then I put 1 layer of flannel, 2x batting, and the last flannel layer. You must put your cotton fabric facing the mesh (or if no mesh, the terry). If you don’t when you turn your project right side out, it’ll be wrong. Below is a picture of my fabric sandwich. After you stack the fabrics, then clip or pin them! Mark one spot for an opening, I did it on the short edge, but wish I had done it on the long. My opening was a bit small and required me to rip out some stitches to turn it.
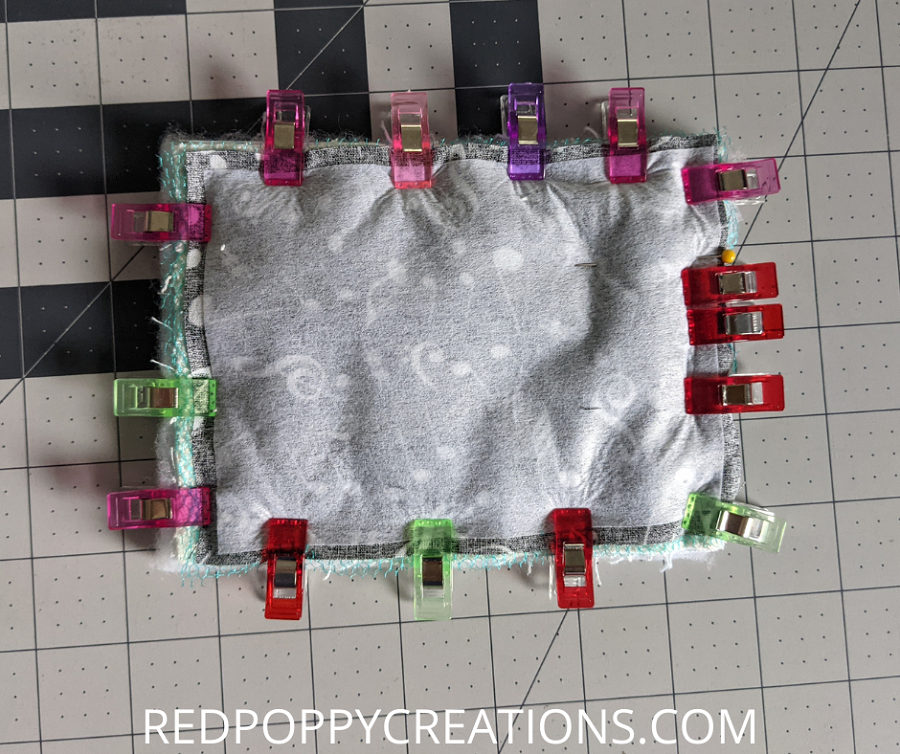
Next you go to the sewing machine and sew around the edges with a 1/2″ seam allowance. Don’t forget to leave an opening of about 2″ to turn your project right side out. I usually use clips, so to mark my opening, I use a pin. Another tip, put your more stretchy side of the sandwich (flannel in my case) on the bottom when you sew. The feed dogs under the foot help evenly feed the stretchy fabric.

After sewing, I clip my corners and take off some of the seam allowance to reduce bulk before turning. I used pinking shears, but regular fabric scissors are fine, just watch your stitch lines. I do leave more seam allowance around my opening (see picture below) to make closing the opening easier.

Finishing Touches on your Reusable Sponge
After you clipped the corners and trimmed the edges, turn your reusable sponge right side out. I use a crochet hook to poke the corners out nicely. Then, fold in your opening and clip/pin it shut. Take that back to the sewing machine and close the opening. If you prefer to hide your seam, then hand stitch a ladder stitch.
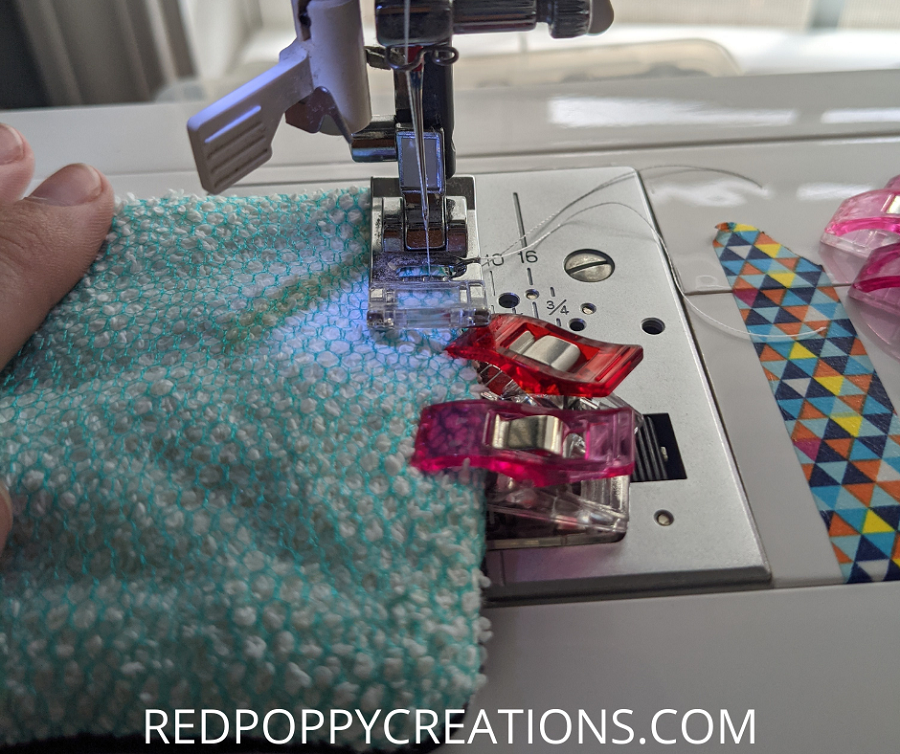
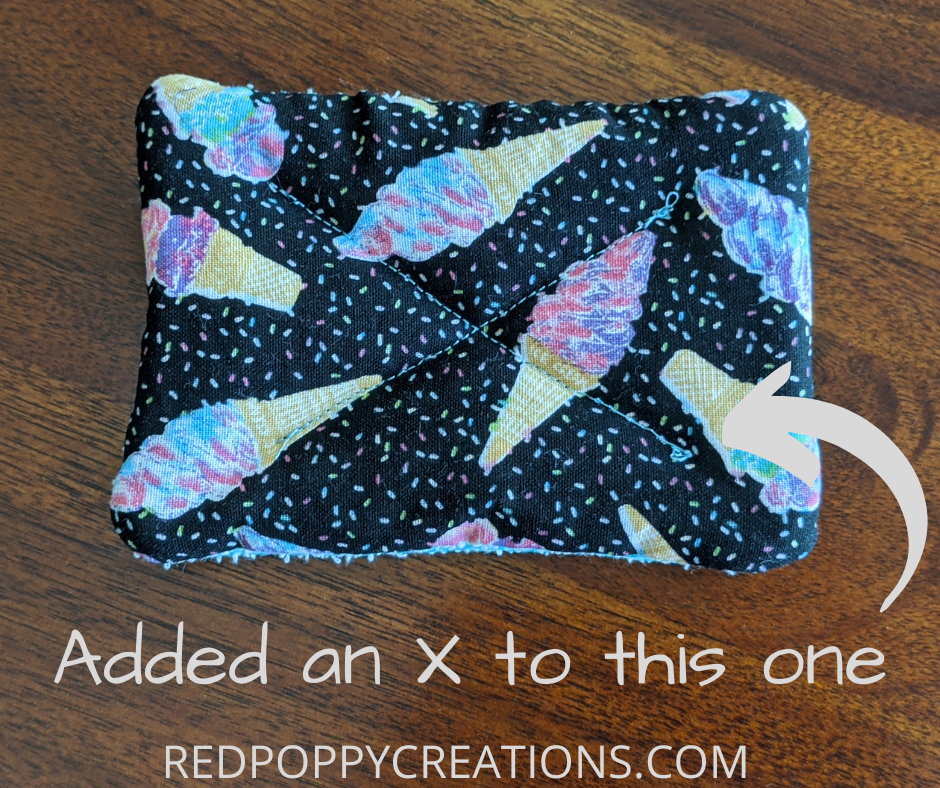
Lastly, I added a rectangle about 3/4″ in from the edges to give the reusable sponge some dimension. My lines are a bit crooked because I couldn’t see my white stitches through the light colored terry cloth. On my second set, I added an “X” and that worked out much better!

Are you ready to try this DIY reusable sponge? I think I will make some for my family as Christmas presents (my mom has already requested a set for herself). If you want another scrap buster design, head on over to my How to Make a Headband post.


