
Your cart is currently empty!
How to Make a Key Fob
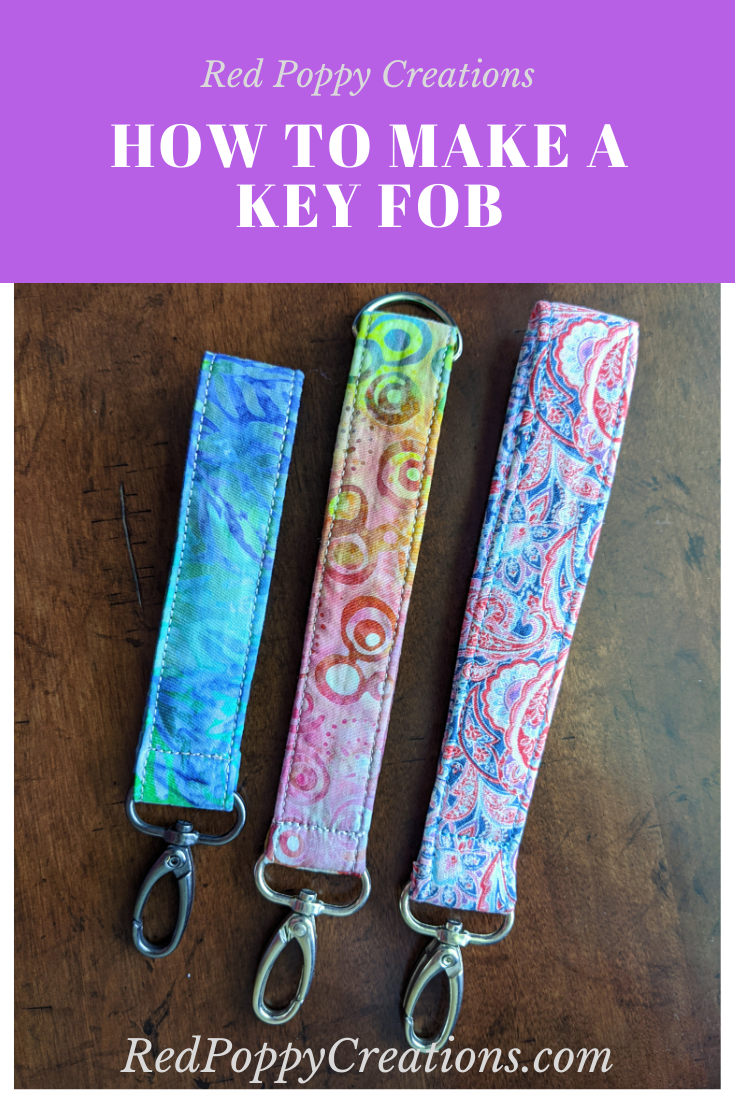
Ever wonder how to make those cute key fobs? I will walk you through, step by step, on how to make a key fob. So go grab a scrap of some really cute fabric and lets sit down and make one of these…or 10, which ever you choose!
This post may contain affiliate links. As an Amazon Associate, I receive a small commission with qualifying purchases. I only post links for items I love and use! For more information, see my disclosure.
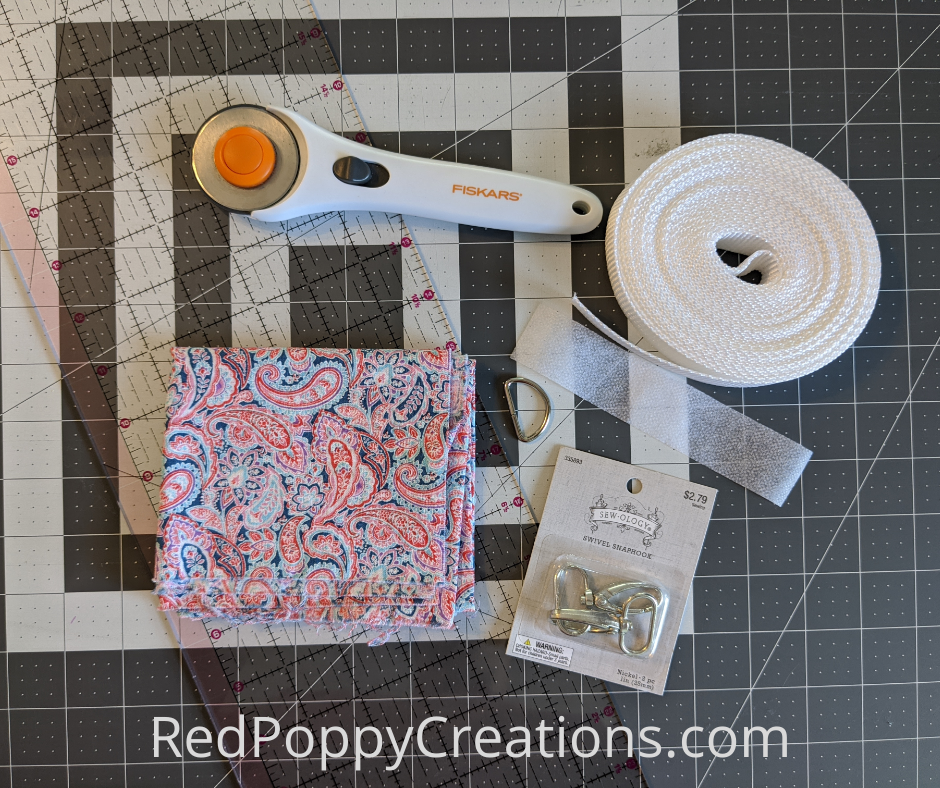
Key Fob Supplies
- Scrap of fabric 14-15″ x 2.75″
- Strapping 1″ wide
- Swivel hook 1″ (I purchased at Hobby Lobby when they were 50% off)
- D-ring 1″ (I can always rely on Walmart for these)
- Cutting mat, rotary cutter, and grid ruler
UPDATE: While the Hobby Lobby swivel hooks are nice, it only lasted a year 🙁 I have used this other swivel hook on a bag for a strap and it has held up! They come in silver, gunmetal, and brass too!
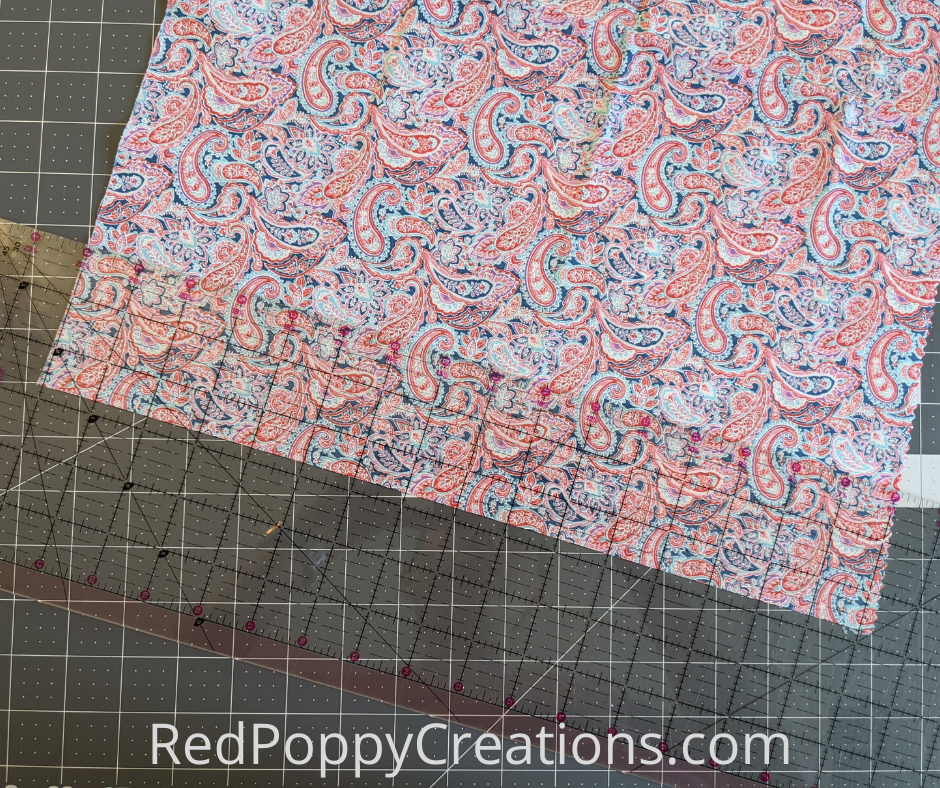
Make the Casing
Grab your ironed fabric and cut a piece that is 14-15″ long by 2.75″. I’d recommend using a non-directional print for this project.
Once the fabric is cut, iron your fabric long ways, right sides together (RST). After it’s good and ironed, slip a ribbon inside that runs the length. If its on spool, keep it there, this way you can easily wind it back up in a few minutes.
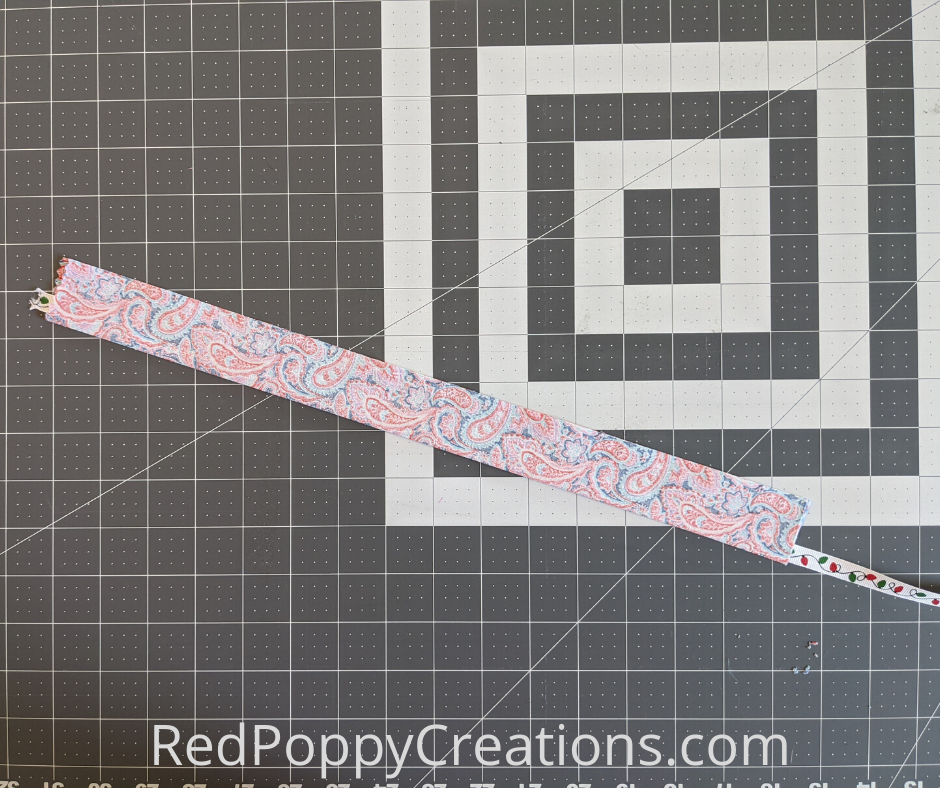
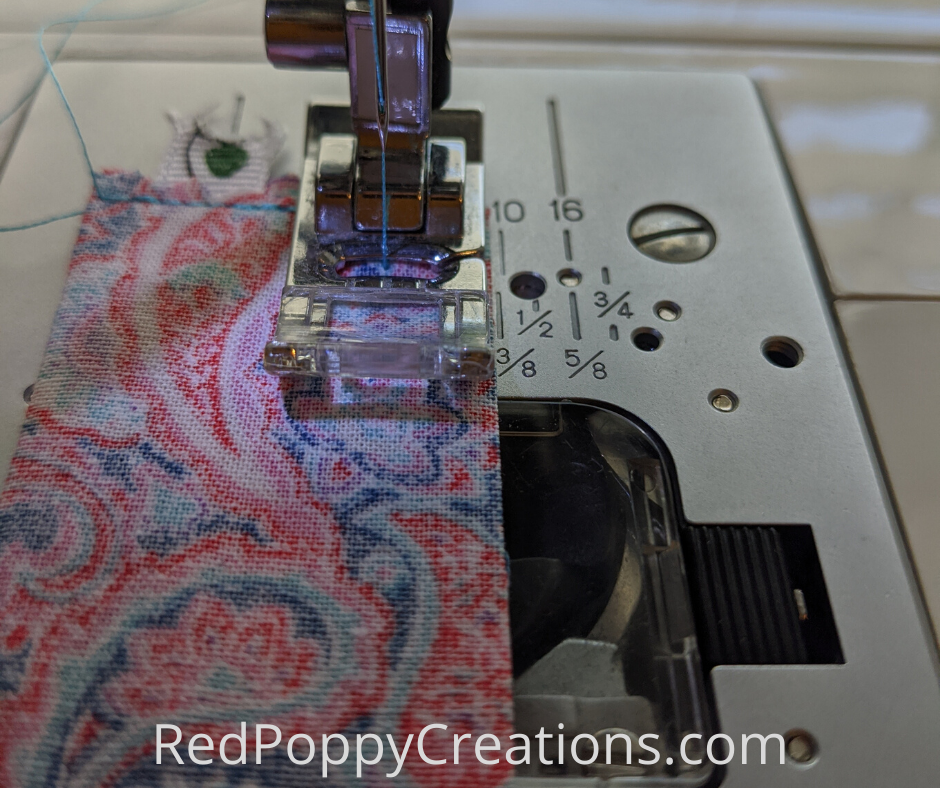
Take this to the machine and sew the top closed (end with the tip of ribbon) and then all the way down the length using 3/8″ seam allowance (SA). Do not sew the bottom closed.
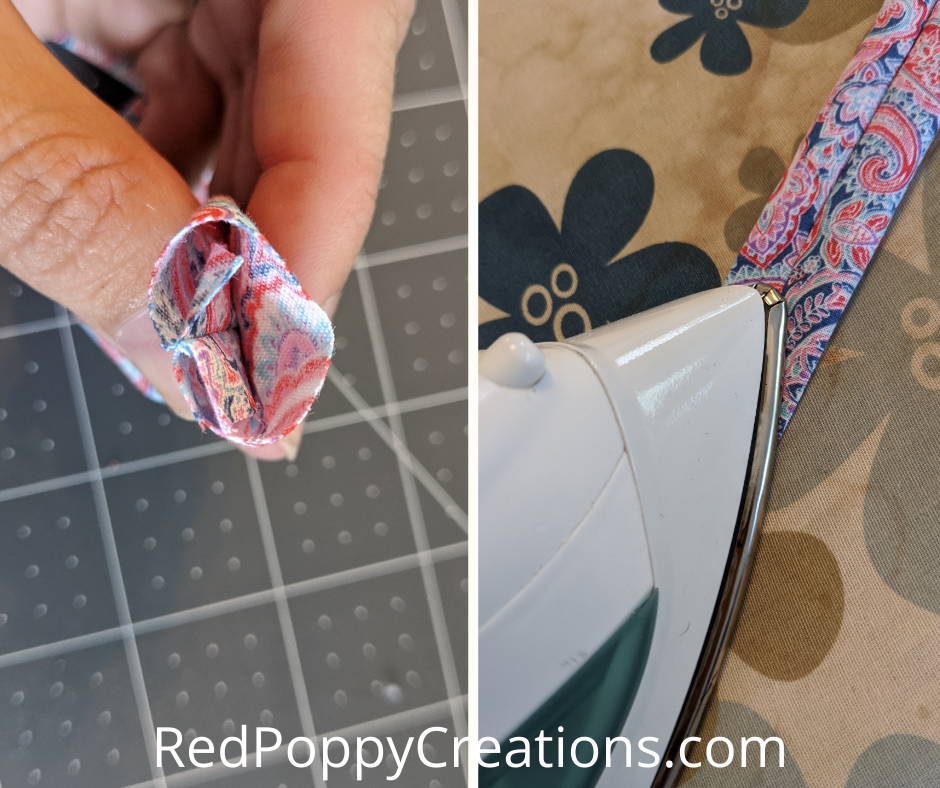
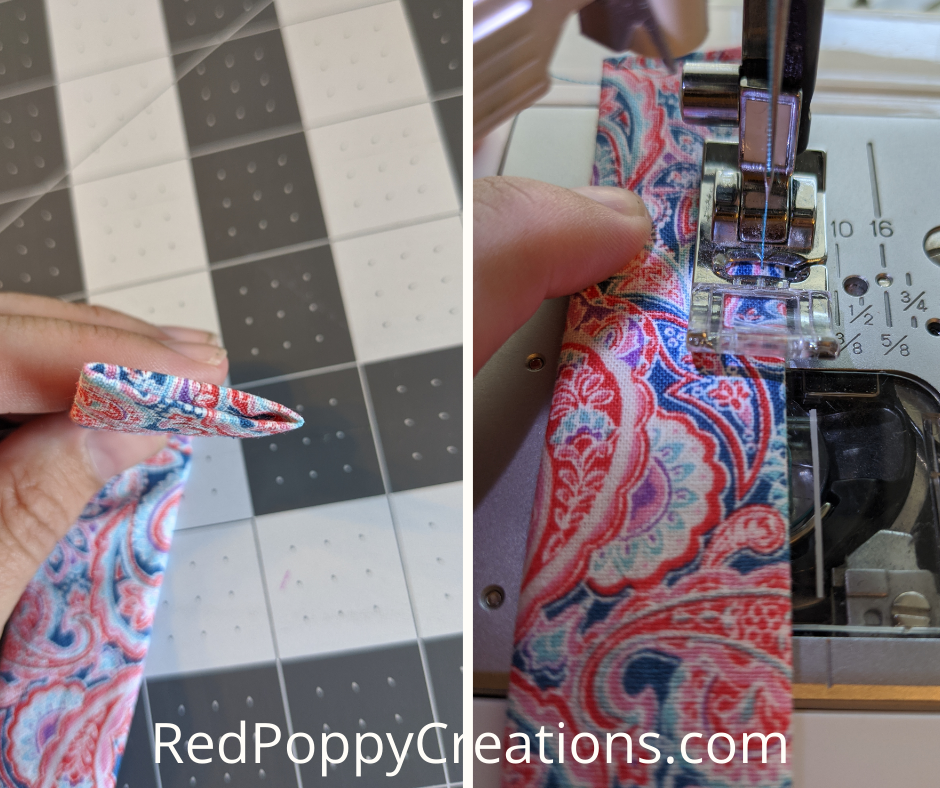
Iron your seam open, then hold the ribbon with one hand and cup your hand around the sewn end of the fabric. Pull slowly and continue until you’ve turned the strip right side out. Cut the end where the ribbon is sewn in.
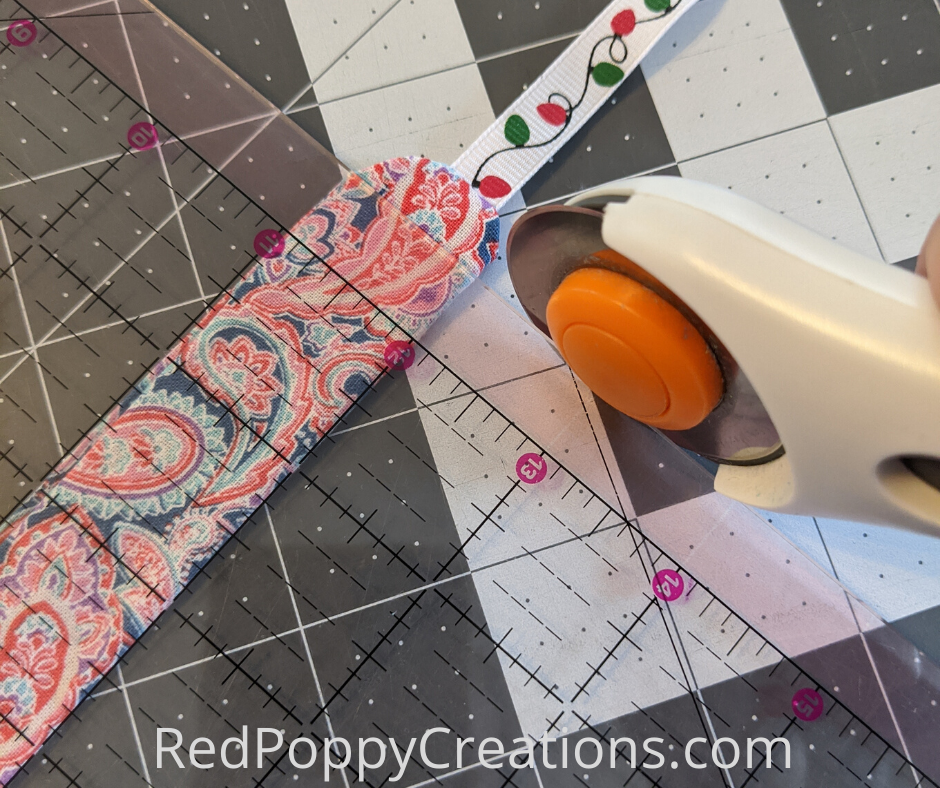
Then push apart the seam on the inside and iron down this seam with it in the middle. This will hide the seam on the inside of the key fob! Now grab your strapping and cut it 1.5″ shorter than the fabric strip (I do this to reduce bulk).
Add in the Strapping
Now grab your strapping and cut it 1.5″ shorter than the fabric strip (I do this to reduce bulk).Carefully slide the strapping inside the the fabric strip and try to even up the ends so that each end has the same amount without strapping.
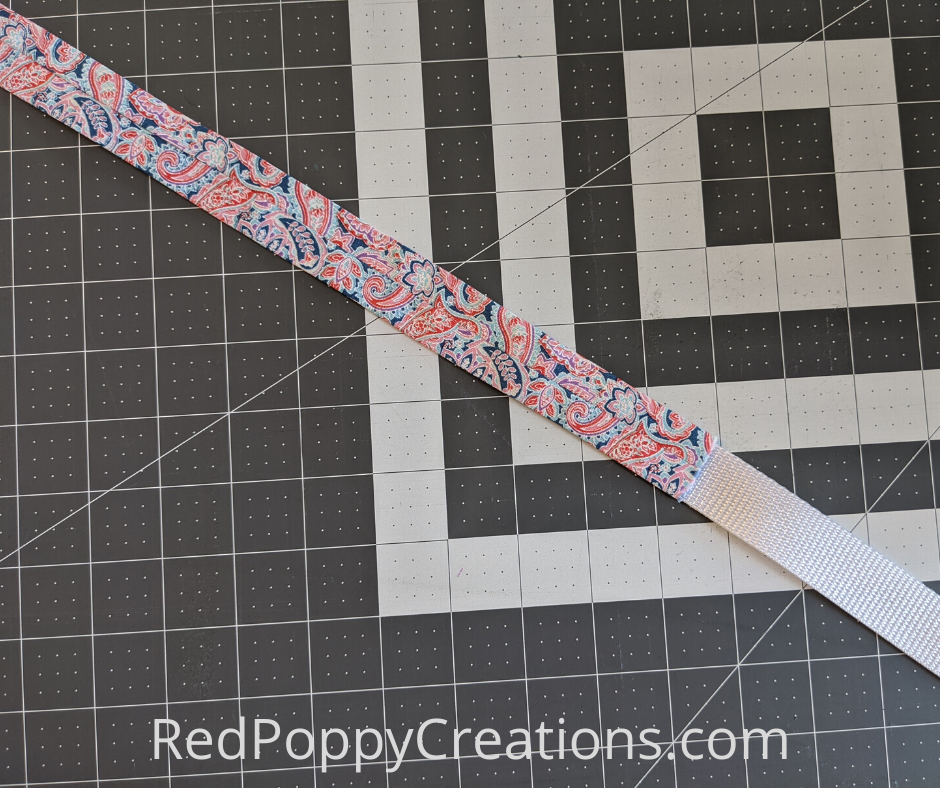
Tuck the ends inside, then take it to the machine. Sew the end shut with 1/8″ SA and then top stitch the edges and the other end. I always do this with the outside facing up.
Finishing Touches on your Key Fob
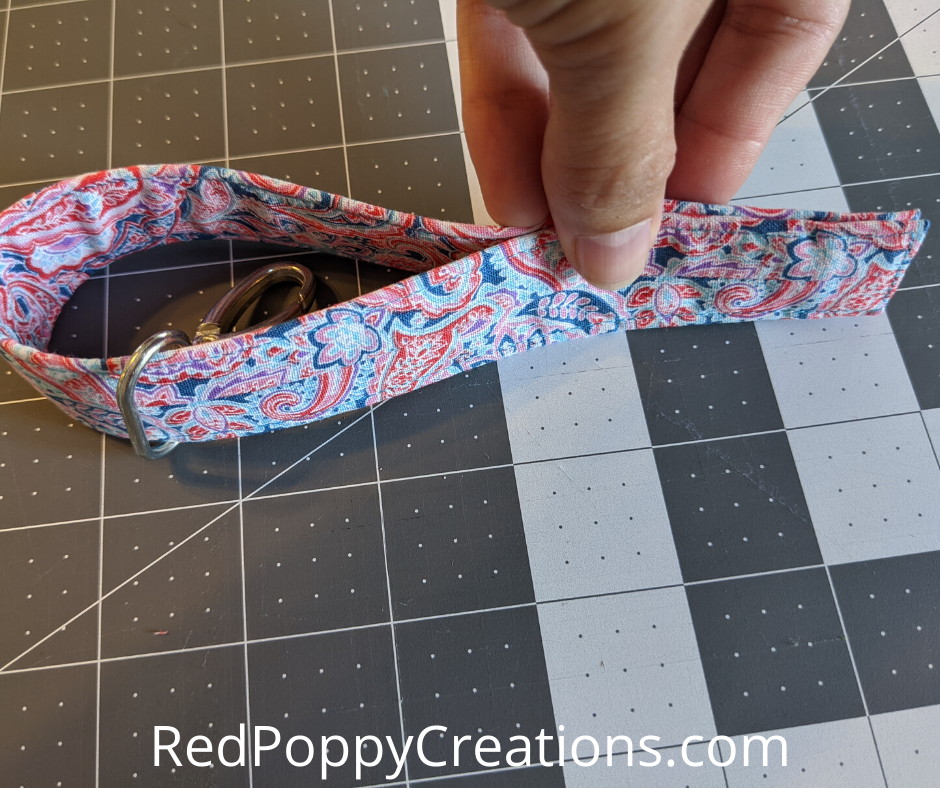
Now, slide your swivel hook on (make sure its on the right way). If you plan to add a D-ring, add it in this step too. I always fold the key fob to make sure the outside fabric is showing and the hook is outside the loop. Turn the ends together, but with them inside out (should show center seam, see below). Stitch the ends together with 1/4″ SA. I like to go over this seam a few times to make sure it’s secure!
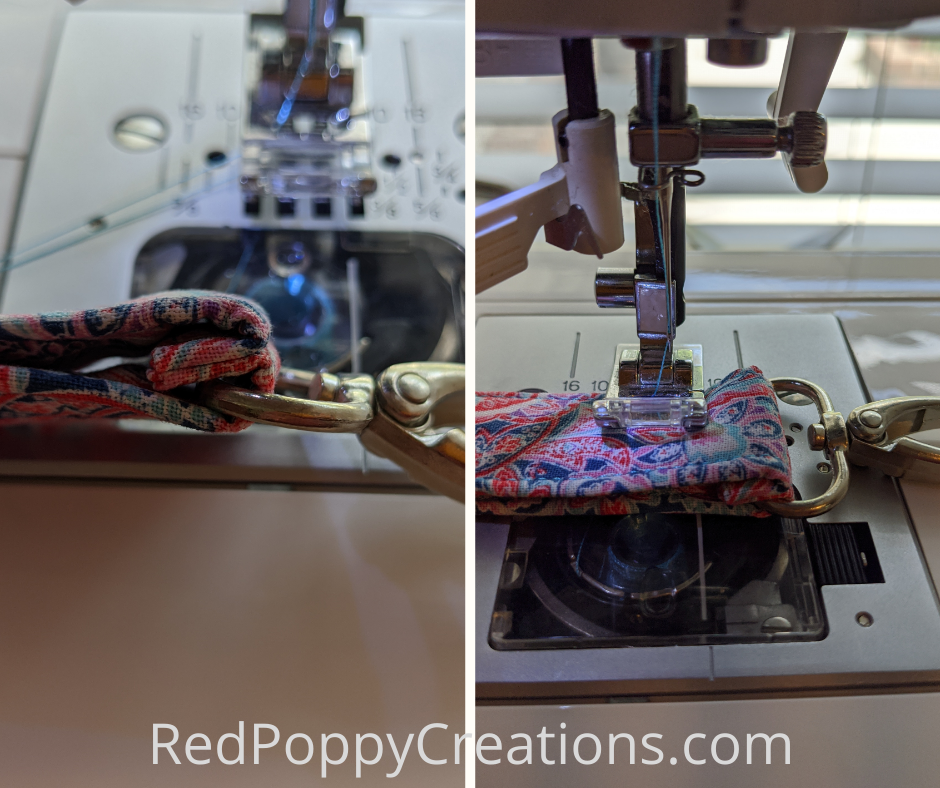
Turn it back the right way and work the seam so that it opens as much as possible, put the ring of the swivel hook to the side of the seam you sewn together. Then squeeze the sides together, making sure they are lined up nicely. Sew a straight line across the top. I like to put my foot as close as I can to the hook and move my needle over to get closer. Another alternative is to use a zipper foot to get as close as you can!
Now your done! Below is a side and top down picture of mine!
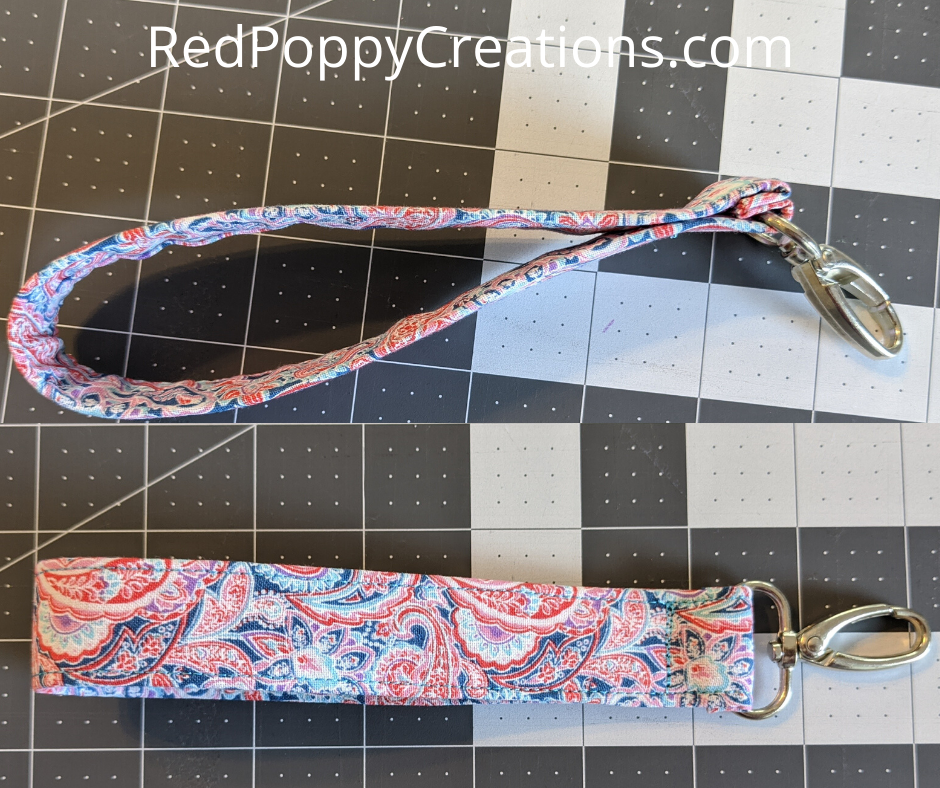
There are a few other ways to make these. You can use fusible fleece instead of strapping; that will need to be added before you sew. Also, you can refer to my tote bag tutorial for the straps, and make a two-tone key fob using the same method! Below are few I made today, one with an added D-ring, so that it can be looped and hooked to itself 🙂
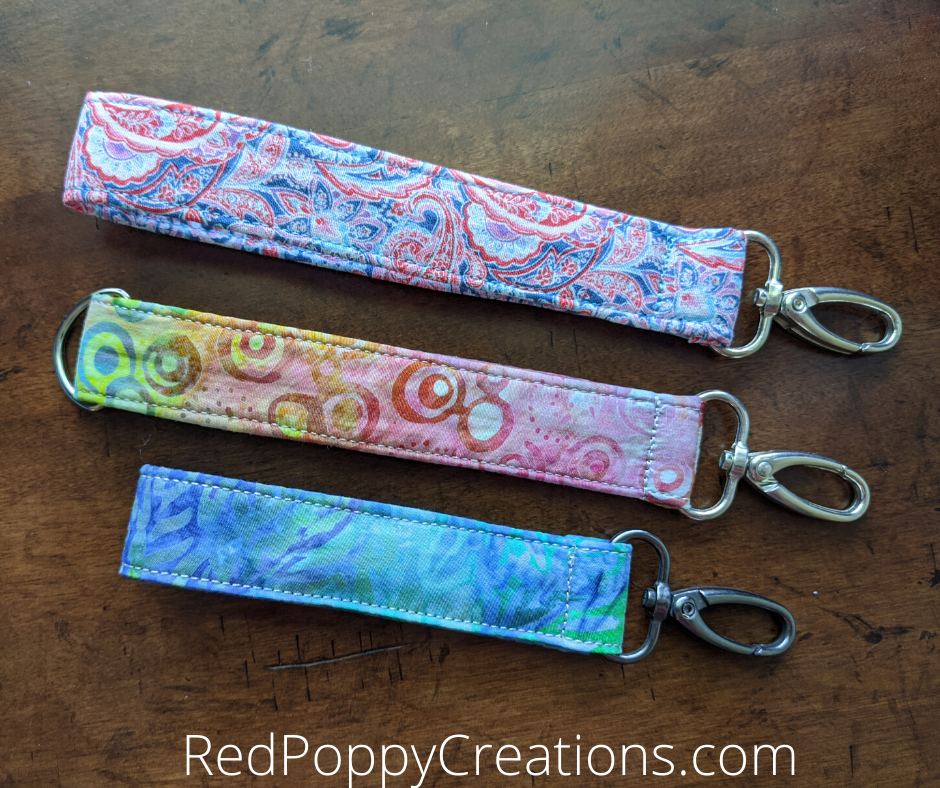
How did yours turn out? They are addicting aren’t they! Ready to add the D-ring loop to your tote bag? See my post here. Comment below and show me your awesome key fobs!