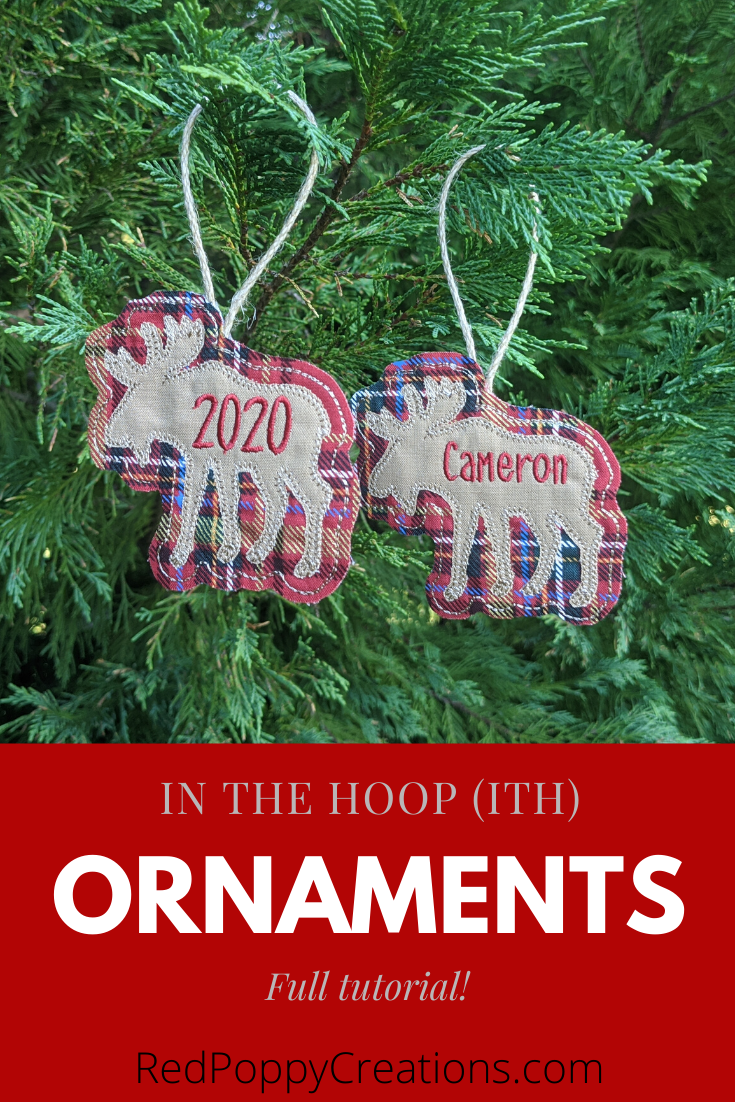
You’ve seen these cute ornaments that everyone is stitching out, but just can’t quite figure them out. I’ll walk you through how to do in the hoop (ITH) ornaments. I have made over 50 of these last year for Christmas presents, so I’ll share some of my tricks to make things easier! These aren’t only for Christmas, lots of people buy these for Halloween and Easter. For this tutorial, I will be making a Moose ITH Ornament from Alphalicious Designs!
Disclaimer: Some of the links in this post are affiliate links. If you click through a link and make a purchase, it will earn me a small commission, at no additional cost to you! For more info, see my disclosure.
Supplies
- Fabric for Background (I’m using plaid, but any will work, even cork and burlap!)
- Fabric for Design
- Heat and Bond Lite (purple label)
- Ribbon 3/8″ or smaller
- Hoop + Stabilizer
- 505 Temporary Adhesive (optional)

Find an ITH Design
I bought my design from Alphalicious Designs. They are sold individually and in groups. She has Easter designs too! I suggest to start with a simple design first, that is why I am making the moose in this tutorial. AD has some other simple designs, such as the black bear, the reindeer, the snowman, and the Easter Egg.
Open Embroidery Program
If you have a program to add names (merge), go ahead and do this step. It is possible to skip this step, just save the unzipped file on a flash drive and go. You can add the name or date to the design as you go. I prefer to do this in a program, I use Embird, so that I can use special fonts! I also like to merge 2 designs into 1 hoop to make things go quicker (and use less supplies). To see how I do this, read this post.
Prepping the Fabric
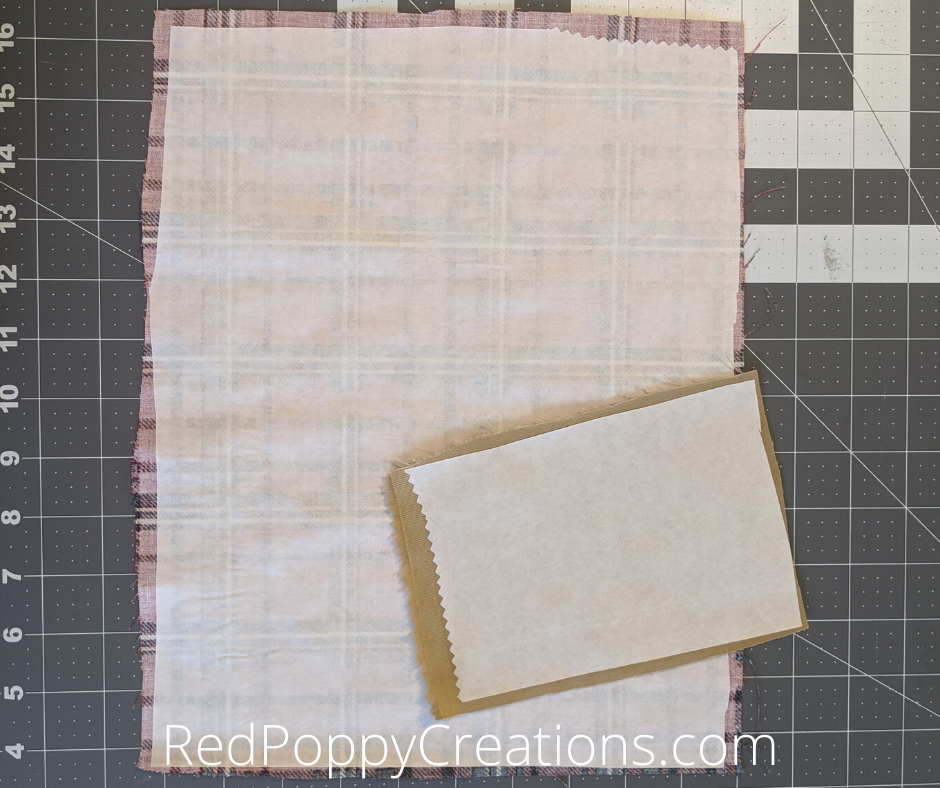
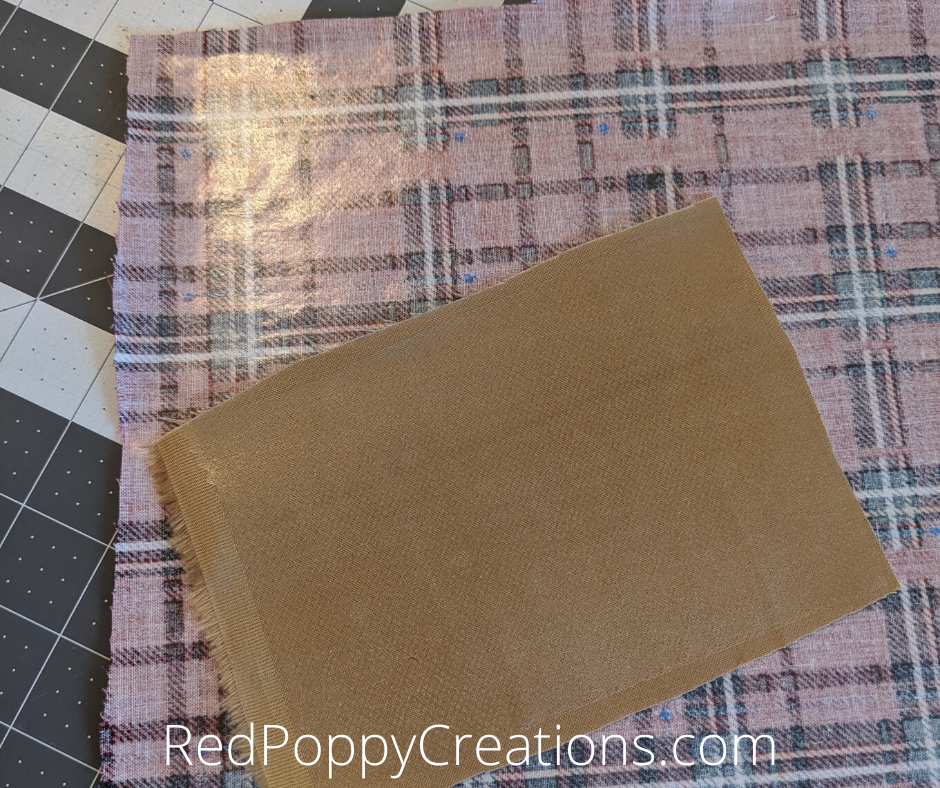
So, before I even turn my machine on, I go ahead and add Heat-n-Bond Lite (HnB) to my 2 fabrics. I usually add a good amount of HnB to the fabrics. At least to a quarter of my fat quarters (what I usually use). This way, you know you have enough for the whole design. I chose a plaid for my background and a tan for the moose. After you iron the HnB, let it cool and then peel the paper backing off. I also go ahead and cut my ribbon to the desired length. You attach that in the second step, so have that ready!
Get Started!
Turn your machine on, load the design, and hoop your stabilizer. For this tutorial, I am using polymesh cut away, but I’ve used tear away for these too. Your first stitch is for the ribbon placement. It’s just a small line. Then add your ribbon, I usually tape it down with painters tape. It’ll run the same stitch again to tack down your ribbon.

Background
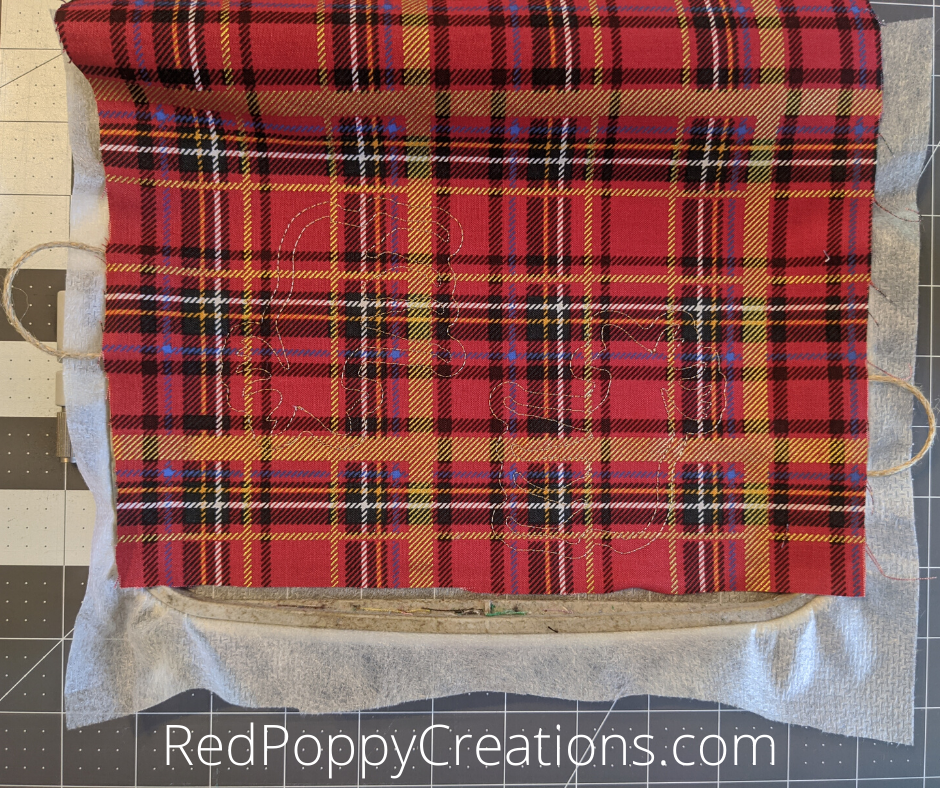
Next, you will run the placecment stitch for the background. I then spray some 505 on the stabilizer and lay my background fabric down. I like to do this vs. holding it with my fingers while it stitches. Then it’ll tack down your background fabric. Make sure you use a thread color that coordinates here. This stitich gets covered up, but sometimes it peeks through. After this, I just leave my hoop on and run the placement for the moose.
Main Design
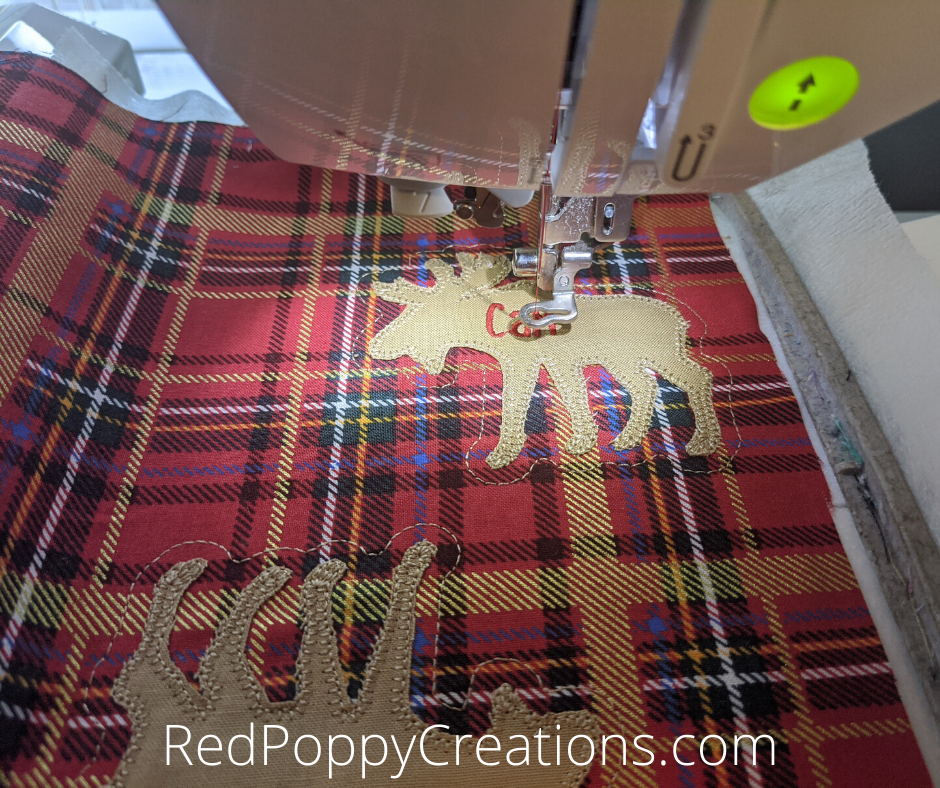
After the moose placement stitch is done, take the hoop off (sometimes you don’t have to) and lay your moose fabric on top, making sure to cover all of the placement stitches. If you use adhesive spray, try not to get it on the background fabric that is outside the main design, it might not come off! I usually just lay the fabric down and gently hold it with my hands while it runs the tack down.

Tack down your moose, then remove the hoop from the machine (but DO NOT unhoop fabric). Next, carefully trim around the edges, getting as close as you can without clipping the stitches and put the hoop back on the machine. Lastly do the finishing stitch (in this case a blanket stitch).

Insert Name/Date Here
If you wanted to add a name to the design, this is the step for it. Since I used my embroidery program to do this, it is already embedded into my final design. You don’t have to do it that way, though. It’s pretty simple to add a name or year using your machine fonts. You might have to “cancel” your design, but as long as you didn’t shift anything before starting, you can easily go back to where you left off.
Backing – You’re Almost Done!
OK! This is the last step! Well…the last machine step. Take your hoop off, spray the backside and adhere the background fabric (you could use a different fabric if you like). Place back on the machine and run your last stitch, should be a just a straight stitch or triple bean.

Trim Edges of the Ornament
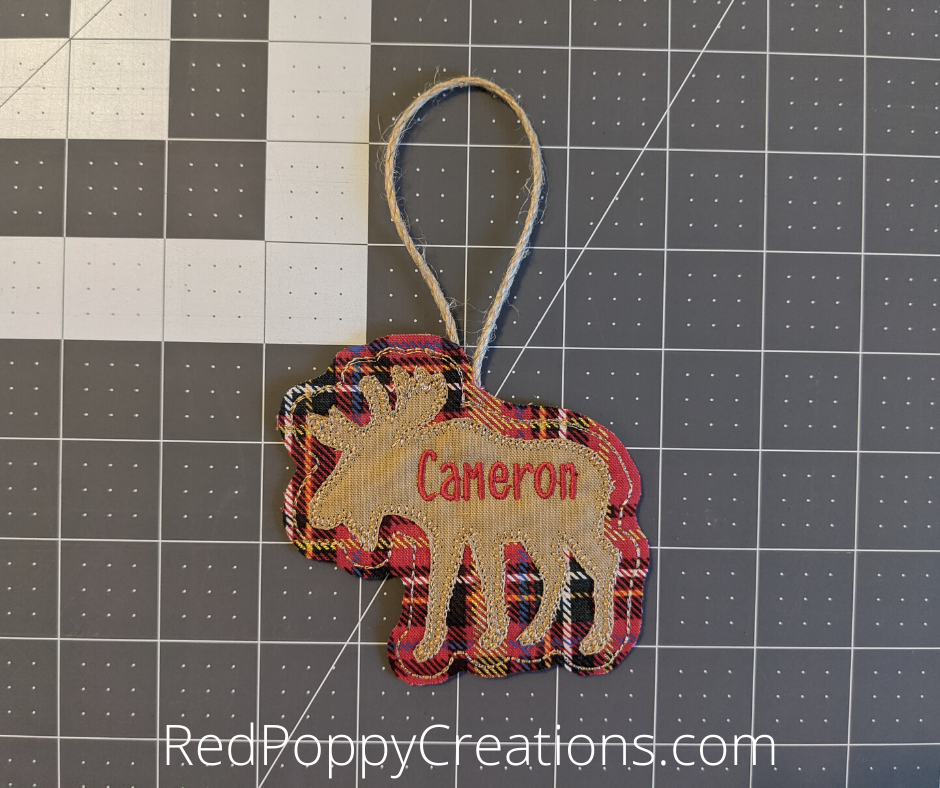
Final step – trimming the edges! Now you can unhoop your ornament and trim around the edges, I like to leave about an 1/8″ around the stitch. Be VERY careful around the ribbon area, you do not want to cut that off! I try to save that for last and hold the ribbon down with one hand and trim with the other, then flip over and do it on the other side, trimming 1 layer at a time.
Finishing Touches
I like to finish off by ironing the ornament 1 more time. Here the HnB will seal the edges shut. Put them between parchment paper (I do not want HnB on my iron!) and just hold the iron on top for 3-5 seconds and the same for the back.

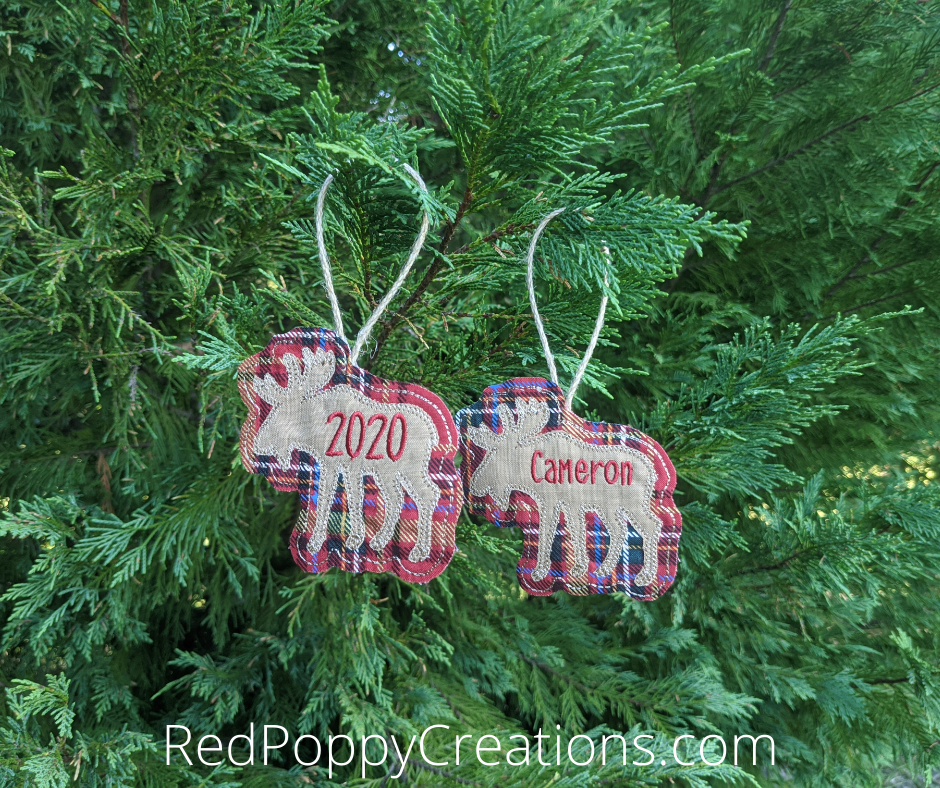
Now you’re all finished! Below are the two I made today, hanging on my cedar tree…in July! Happy Christmas in July!
I hope this tutorial was helpful and that you now successfully have made In The Hoop (ITH) Ornaments! Show me how yours turned out in the comments below!
