

I know I haven’t posted in FOREVER, so why not post about a pattern I just bought and made: The Alice Top by Tessuti Fabrics. I went crazy and bought a bunch of fabric from Fabric.com (Amazon owned) and needed a few new patterns to use for this new lot of fabrics. The first (of many) is the Alice Top. I saw many posts on Pinterest about this top, and just loved the look of it. My plan was to use chambray for the whole top, but after cutting yokes, I changed my mind!
This post may contain affiliate links. As an Amazon Associate, I receive a small commission for purchases through my links. I only post links for items I love and use! For more information, see my disclosure.

I had 2 super flowy fabrics, one in a pink/mauve color and one white, both speckled. I went with the white, but I’m pretty sure the pink one (or this fabric) will happen too! The yoke is made from a slightly stretchy chambray and I made sure to put the stretch in the width of the yoke (make it easier to put on).

So after reading MANY posts about this top, some hacks, but mostly people who followed the pattern exactly, I decided to make the size XS even though with measurements, I am a S. Honestly, the next one I am going to try the XXS. For a reference, I usually wear size small-medium shirts and size 6 pants.

I did make a few changes to the pattern when making this. First change was to the front and back bottom sections. I really didn’t want so much fabric in the bottom sections, so I took a bit off of the front and back. For the back section, I took off 2.25″ from the fold line (4.5″ total). The front section I didn’t go as crazy and only took 1.25″ (2.5″ total) off.

Another change was to the yoke/bottom seam allowance. Once I attached the bottom to the yoke, I tried it on. For me, the bottom of the yoke hit lower than I desired. So, I went and took it in a bit more, not much, maybe 1/4″. This is why I think I will try the XXS next time.
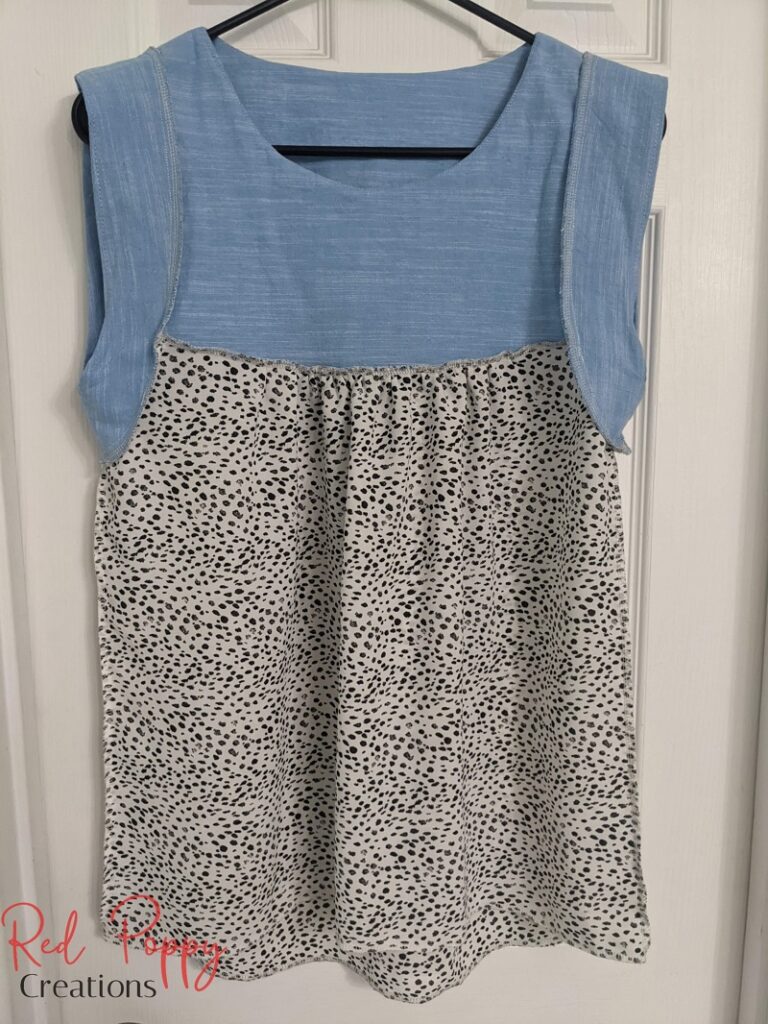
I serged all inside seams and the bottom. Yes, I cheated, I did not hem. Luckily with this fabric, the serged edge looks OK. The last change was to the bottom, I cut the front a bit higher than the back. You can sort of see in the picture above. I did that modification to the hem after I took most of my pictures.
Over all, the pattern is good, just on the large side. The directions could’ve used a bit more detail, but I was able to figure it all out. This was my first time understitching and was a bit confused at first, but quickly figured it out. What’s kind of funny is that the next top I made needed understitching too!

One response to “Pattern Review: Alice Top”
[…] pattern required a good bit of understitching with the binding. Luckily I had learned that from the Alice Pattern and knew what I was doing…or so I thought! When I added the binding to the first arm piece, I […]