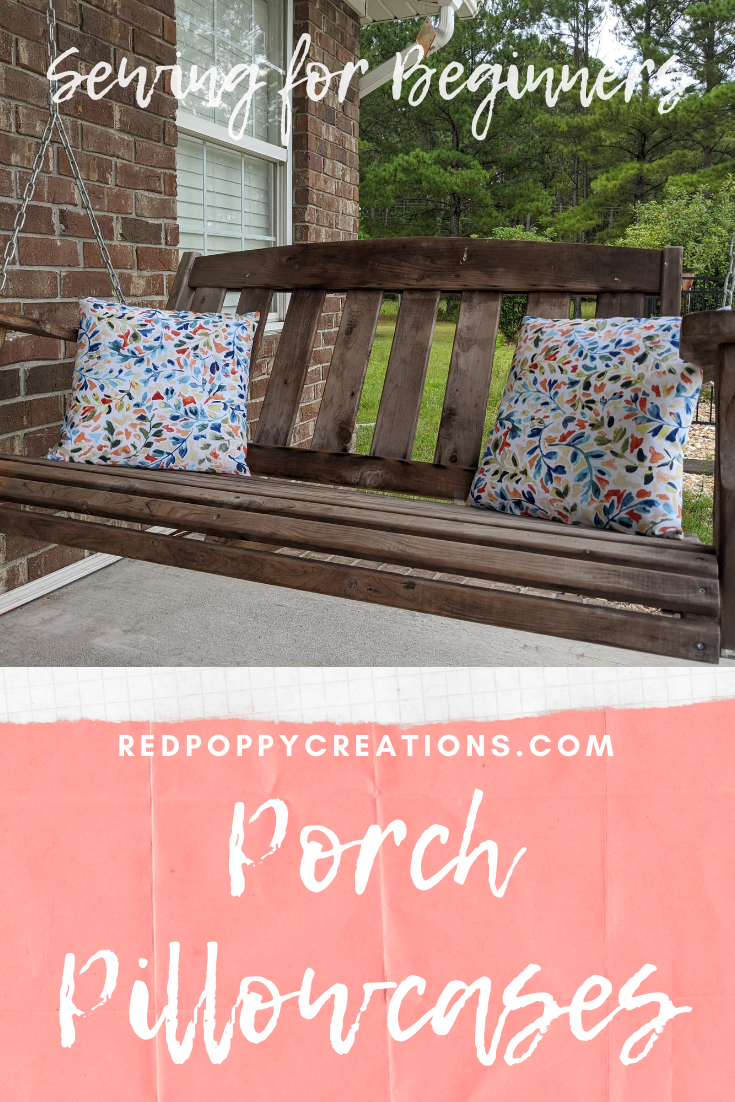
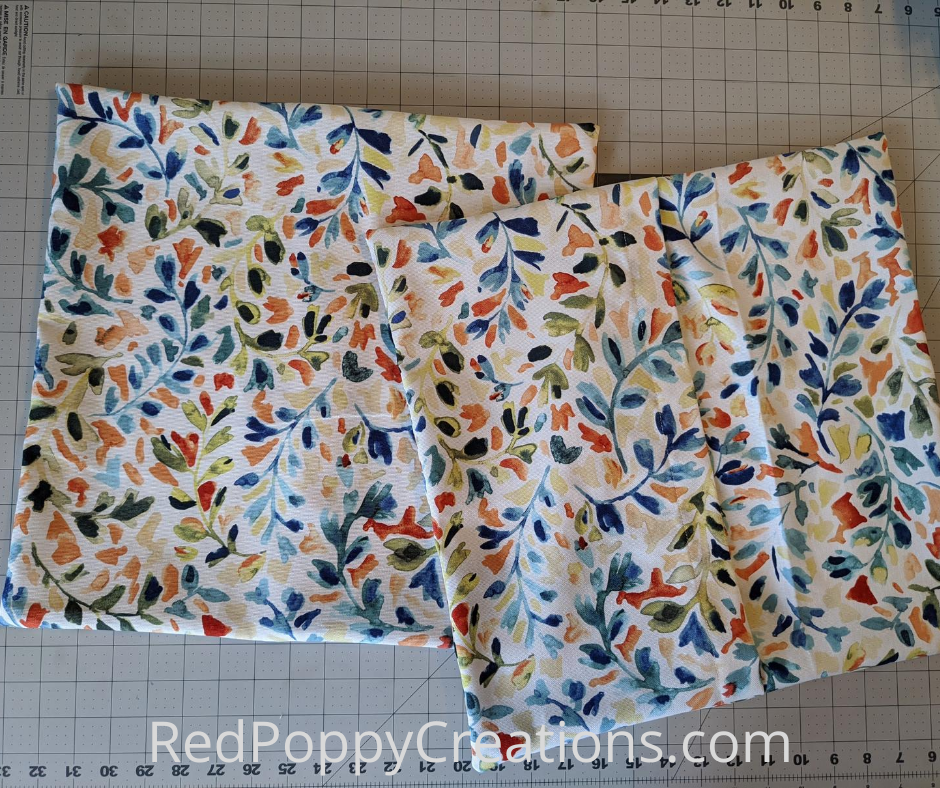
These envelope porch pillows are easy and quick to sew! Have guests coming over soon and your pillowcases are looking dingy? You can sew these up in less than an hour and dress up your space. This tutorial is for 16″ x 16″ pillows, but can be modified to fit any size.
This post may contain affiliate links. As an Amazon Associate, I receive a small commission with qualifying purchases. I only post links for items I love and use! For more information, see my disclosure.
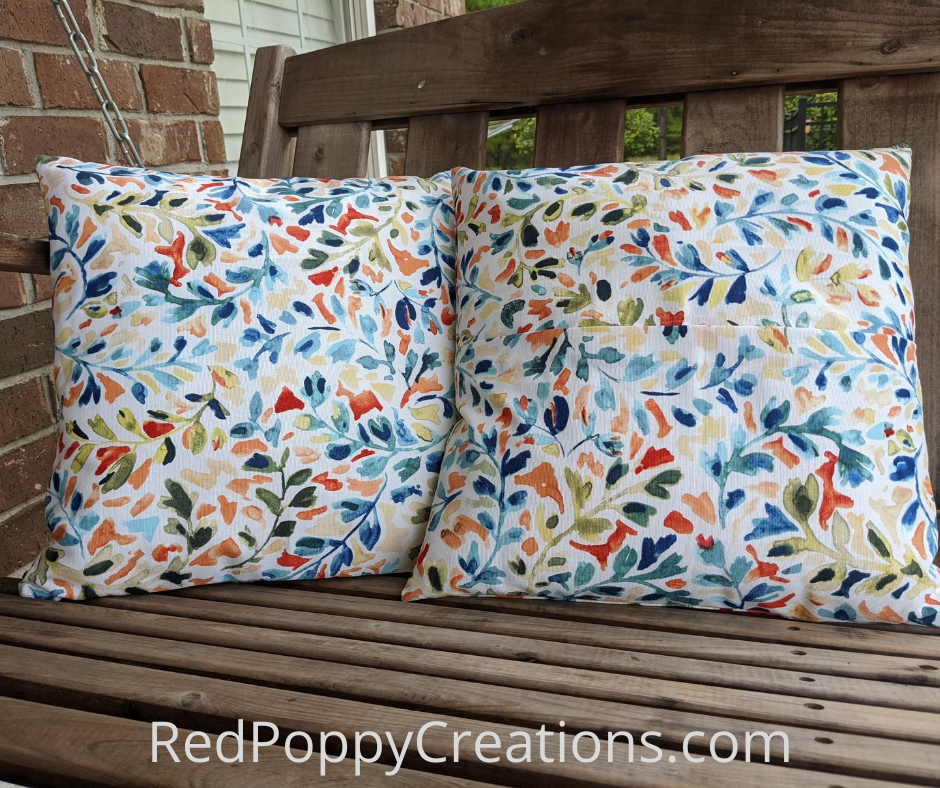
Aren’t these just the cutest! I LOVE this fabric, found it at Hobby Lobby and used my 40% off coupon. This is duck canvas, but any medium – heavy weight fabric will work. If you plan to make some that stay outside, I recommend outdoor fabric. It’ll cost more, but they will hold up better! I’ve made 7 of these envelope pillowcases this weekend using 3 different fabrics, but this pattern was my favorite! Alright, ready to start?
Supplies for Envelope Pillowcase
- Medium to heavy weight fabric (canvas, home decor, outdoor fabric)
- Cutting mat, rotary cutter, and grid ruler
- Dritz Ezy-Hem
Prep Pillowcase Fabric
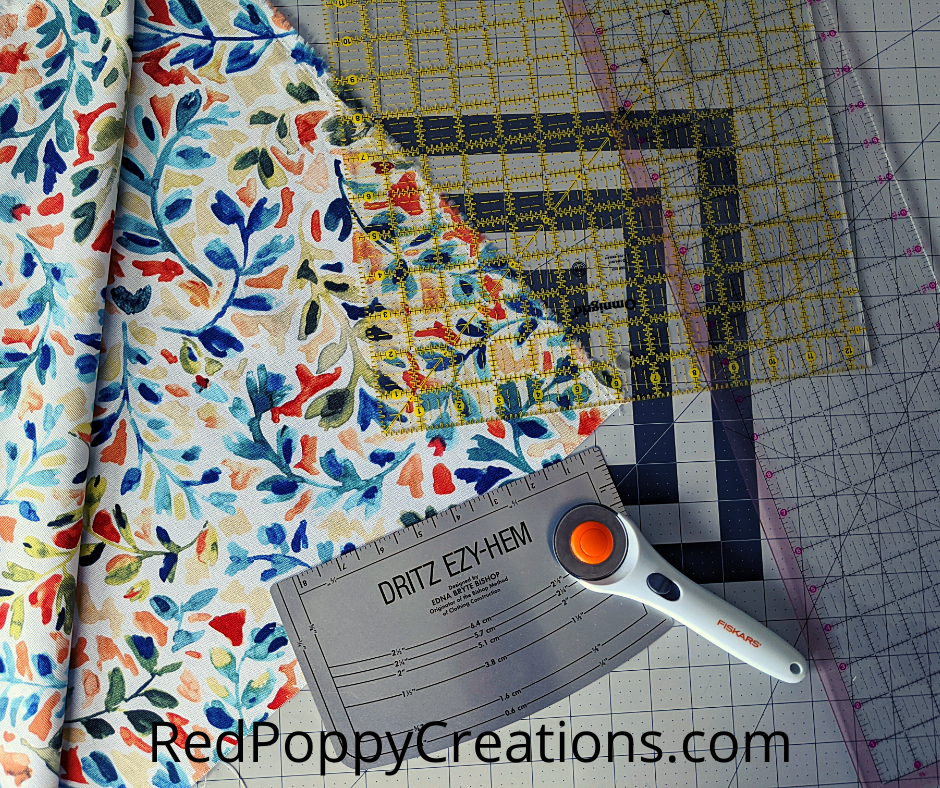
To begin, give your fabric a good iron and then lay out on your cutting mat. If you are making 2, 4, etc. pillowcases, I suggest folding your fabric in half, or four, to minimize your time cutting. I made 2 pillowcases out of this 1 yard of fabric. Your first cut is for the the front of the pillowcase, 17″ x 17″. If you are making a larger size pillow case, add 1″ to the length and width of the pillow. Having a 20.5″ x 20.5″ grid is really helpful for this part (wish I had one!).
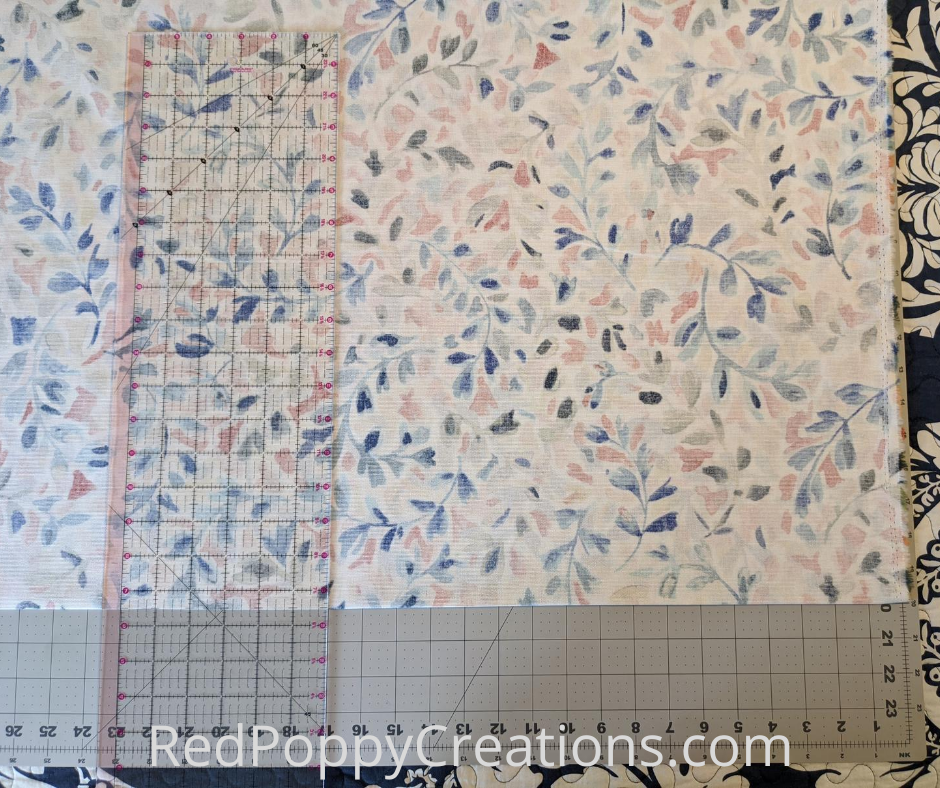
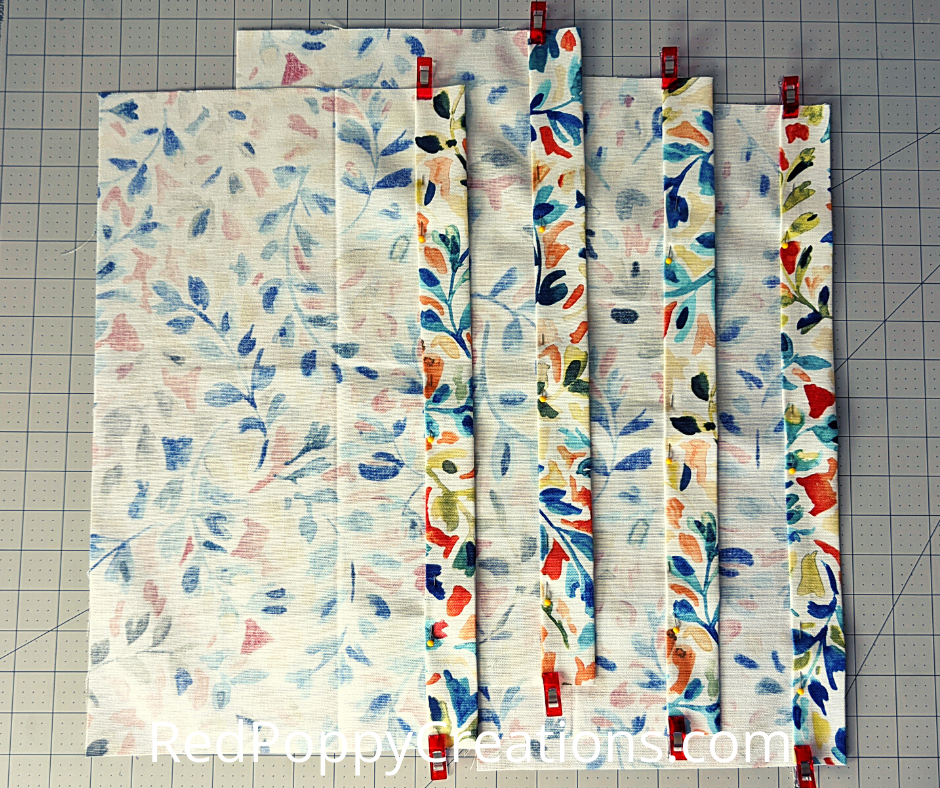
Then you need to cut your two back pieces to make the envelope. I cut my 11.5″ x 17″, this size gives me a good overlap in the back without being too difficult to put the pillow form inside. If you make a larger pillow, make these back pieces larger (12.5 x 19″ for 18×18″ pillow).

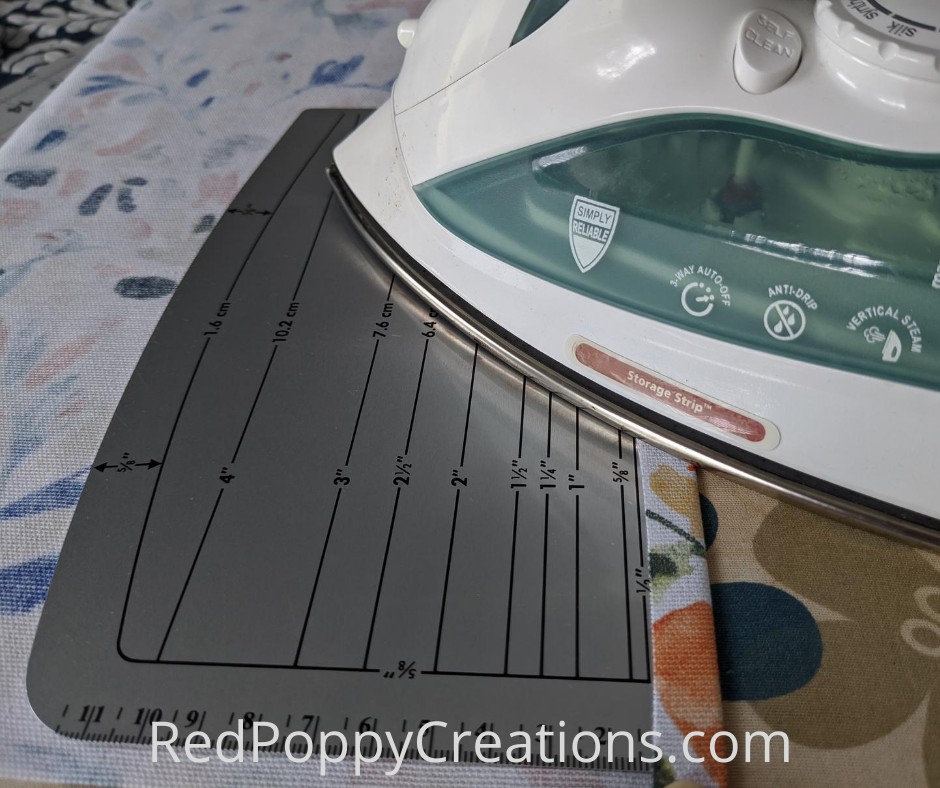
Last thing for prepping is fold/iron the back pieces to hide the raw edges. First you fold 1/2″ and iron. I like to you my dritz ezy-hem plate for this. Just be sure not to touch the metal where you were ironing…it’s hot!
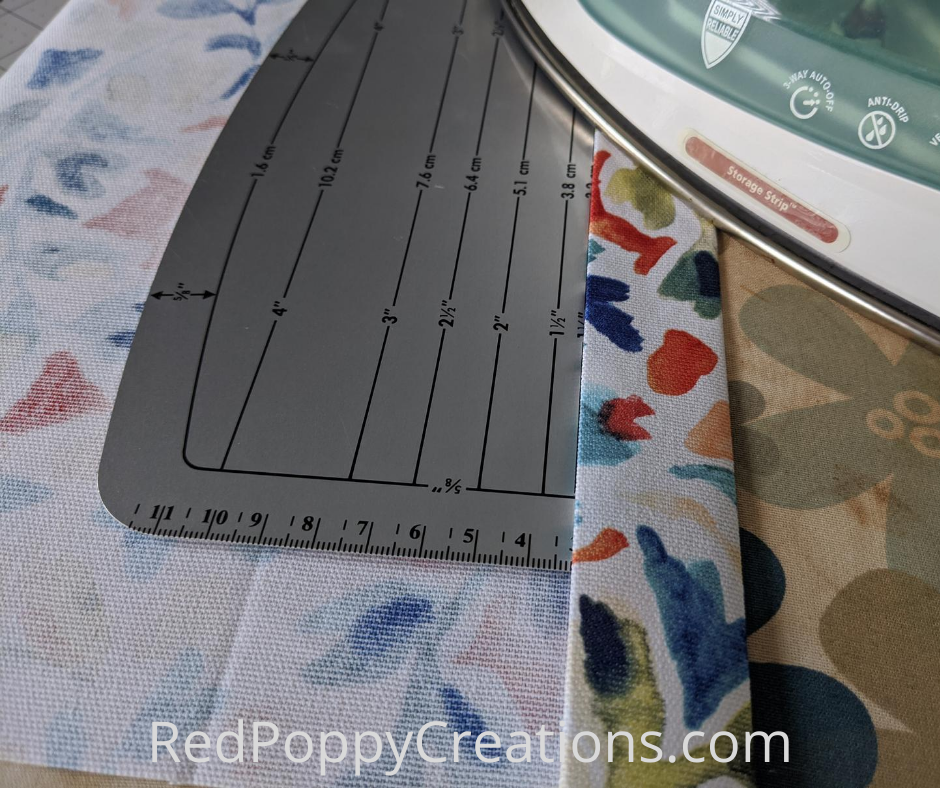
Next fold and iron again, but this time about 1.25″ – 1.5″ fold.
Sew Pillowcase
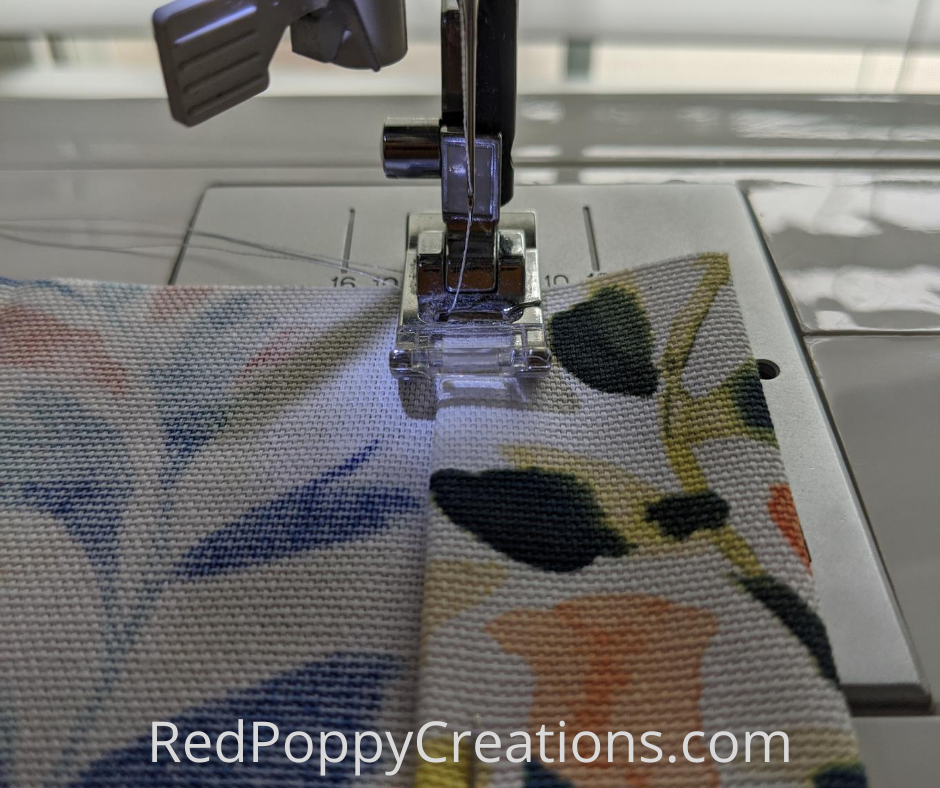
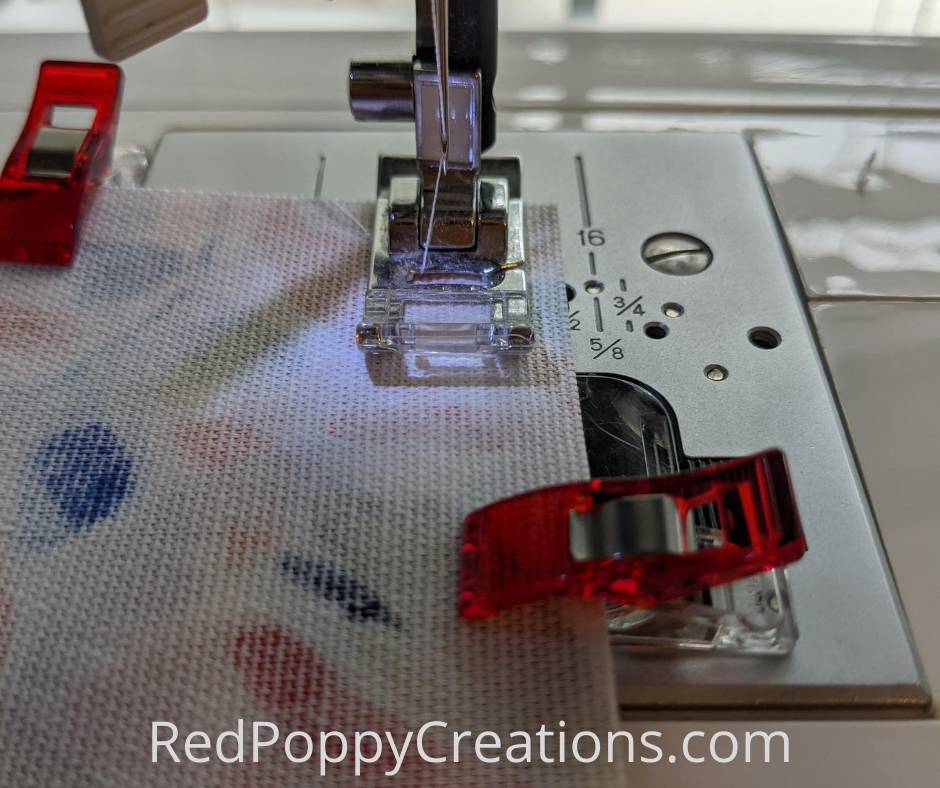
Frist thing to sew is the back pieces. Stitch 1/8″ – 1/4″ from the folded (inside) edge. This will hide your raw edge. I like to do all my back pieces at once. So if I’m making 4 pillows, I need to sew 8!
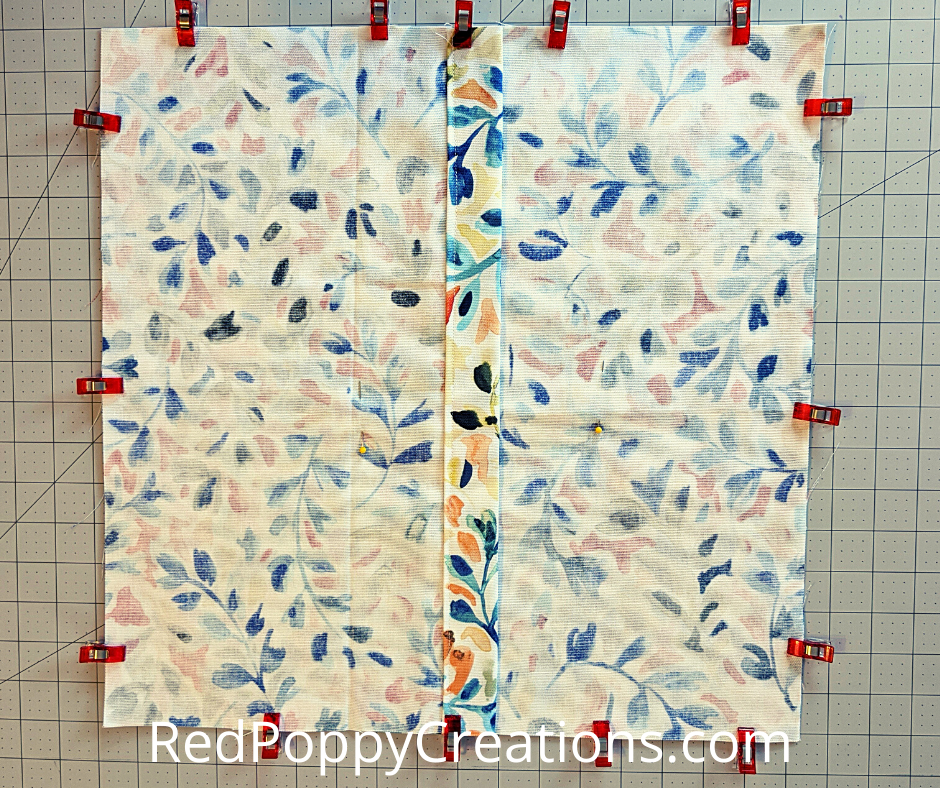
Next, lay your front square piece face up and lay one of your back pieces on top face down. Clip the edges, then lay the other back piece down and clip. I like to also add a pin on each side of the back piece, right in the middle.
Now take this to the sewing machine and stitch all the way around with a 1/2″ seam allowance. Be sure to back stitch at the beginning and end. I also back stitch where the pieces overlap, those will get tugged at when putting the pillow form in and you don’t want any ripped seams!
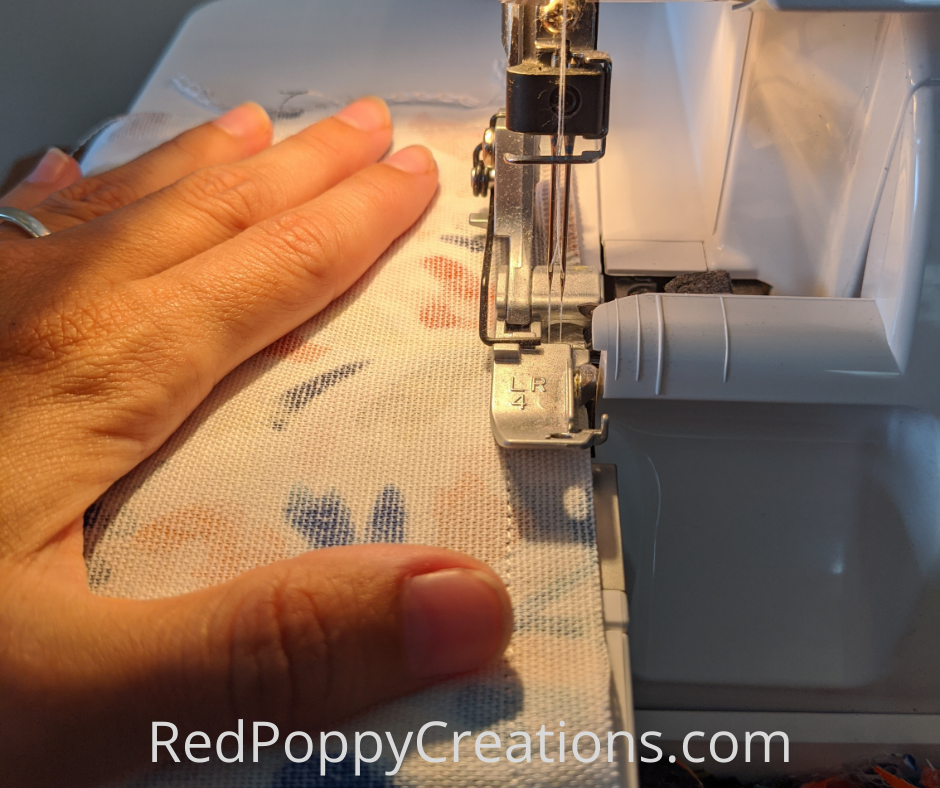
Now, I like to serge the seams inside as well. This fabric frays REALLY BAD and I don’t want strings everywhere when I wash them. You can also use a zig-zag stitch on your sewing machine. Do this just past your straight stitch.
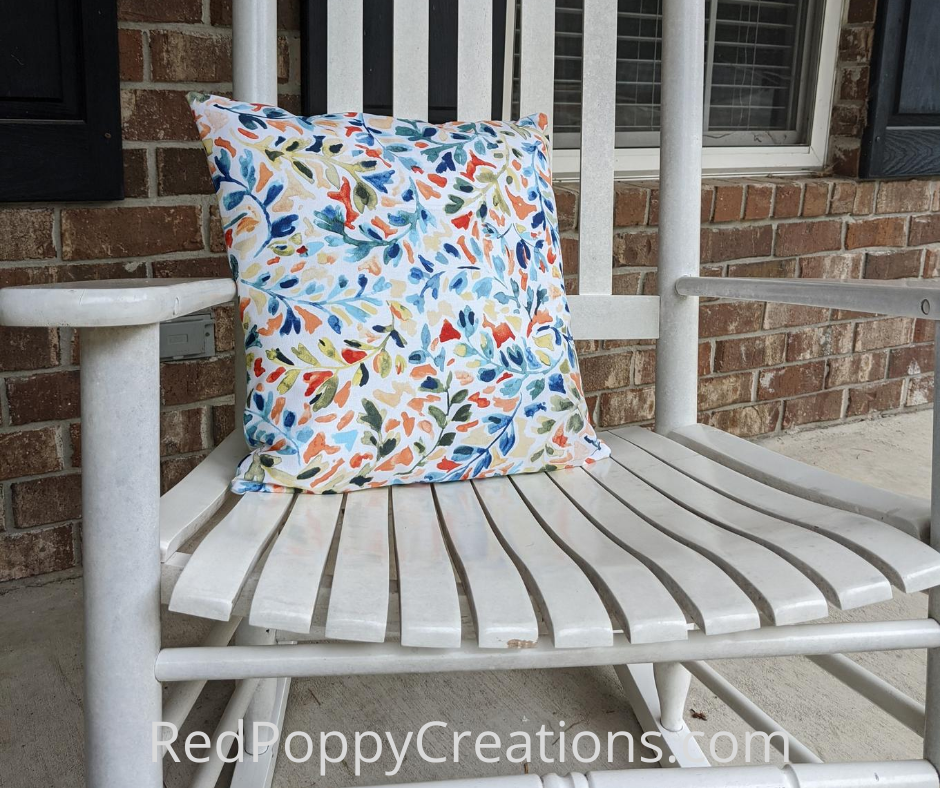
Turn your pillowcase right side out and your done! Now just put your pillow forms inside and place your pillows on your couch, swing, or rocking chair!
Are you ready to try this now? For a different size pillow, just add 1″ to the length and width of the pillow you are sewing for. I like these 16″ pillows because I can make 2 pillows from 1 yard of fabric with very little left over! I’m thinking, on my next batch of envelope porch pillowcases, I will embroider the front; maybe with “Welcome” or “Home”! For some more easy to sew ideas, check out my post on making a travel size pillowcase with my son. If you’re feeling adventurous, check out my tote bag pattern!


