
Your cart is currently empty!
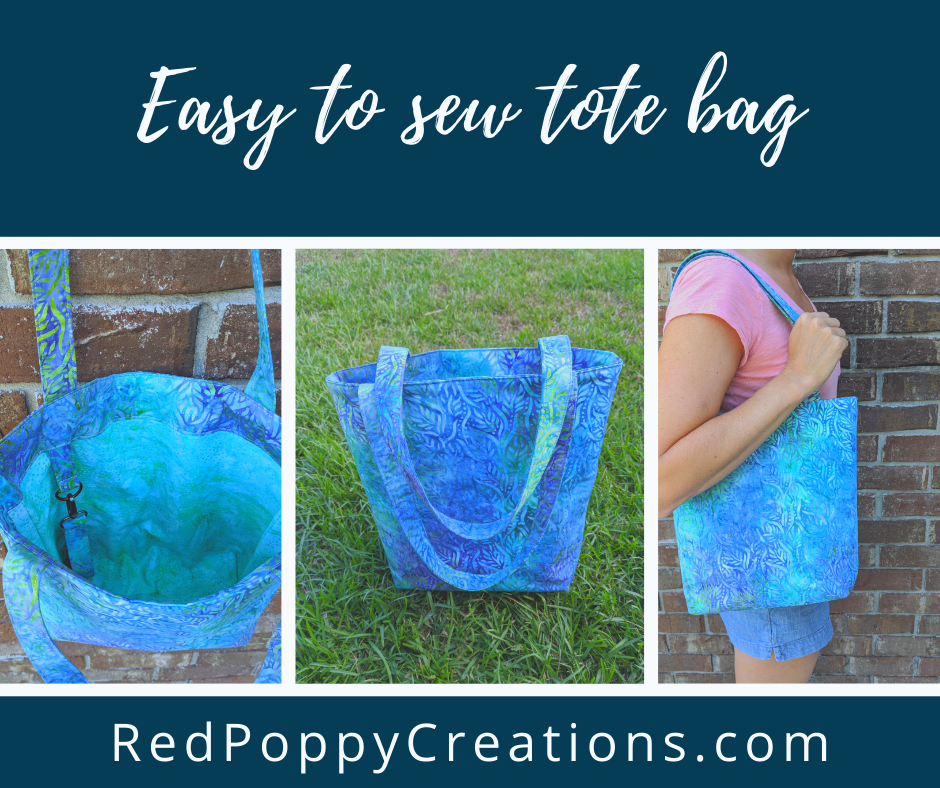
Easy to Sew Tote Bag Pattern
Nervous to sew a bag? Don’t be! Here is an easy to sew tote bag pattern to follow – perfect for beginners! One thing I LOVE about this easy to sew tote bag pattern is that it is the perfect size. It’s not too big and not too small. It can hold a tablet, wallet, planner, and a book! Also, once you get more comfortable in your sewing capabilities it is easy to modify and add inside pockets or zippers!
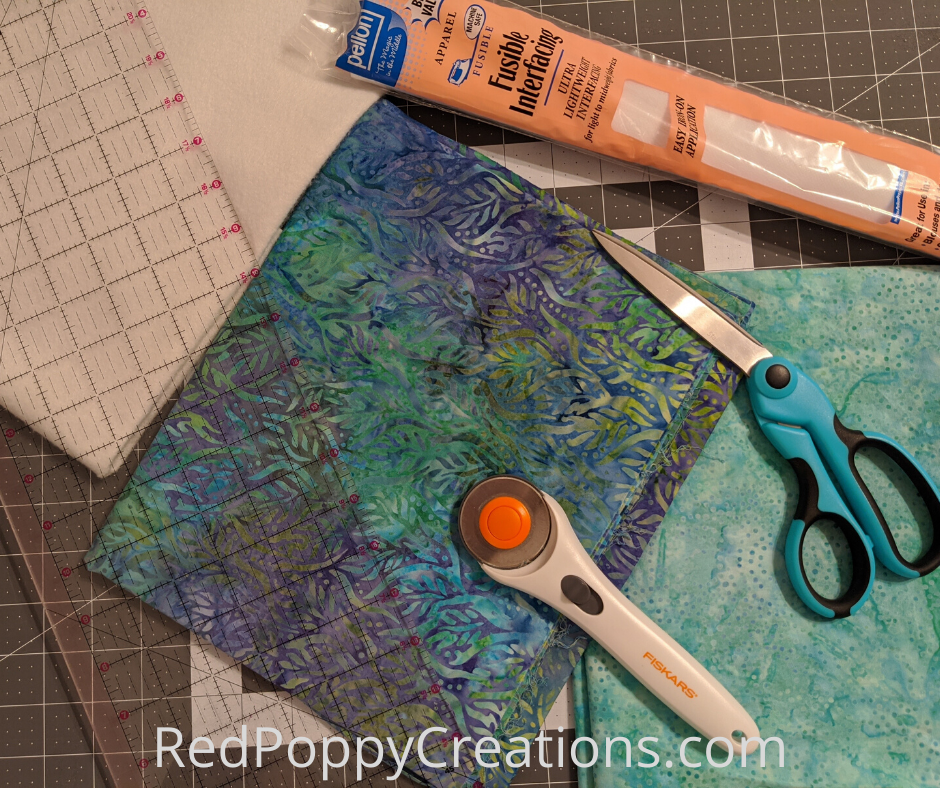
Supplies
- Fabric for outside (3/4 yard)
- fabric for lining (1/2 yard)
- fusible interfacing (1/2 yard)
- fusible fleece (3/4 yard)
- cutting mat (I have this mat and love it!)
- rotary cutter
- grid ruler (15×15″ and 6×24″ work best)
Pattern Measurements
A. Outside body of bag: 2 pieces of 14” (width) x 14.5” (height), You can use 1 piece if non-directional print, but you need to remove the seam allowance for the bottom seam.
B. Lining – 2 pieces of 14” x 12”
C. Outside fabric for inside top facing: 2 pieces of 14” x 2”
D. Straps: 4 pieces of 24” x 2-2.5” (depends on your preference of strap width)
E. Fusible Fleece: Cut for pieces A (take of 1/8″ off each side) and D (only 1”-1..25” wide)
F. Fusible Interfacing: Cut for pieces B and C (take 1/8″ off each side)
Seam Allowance (SA) for this design is 3/8” unless otherwise stated
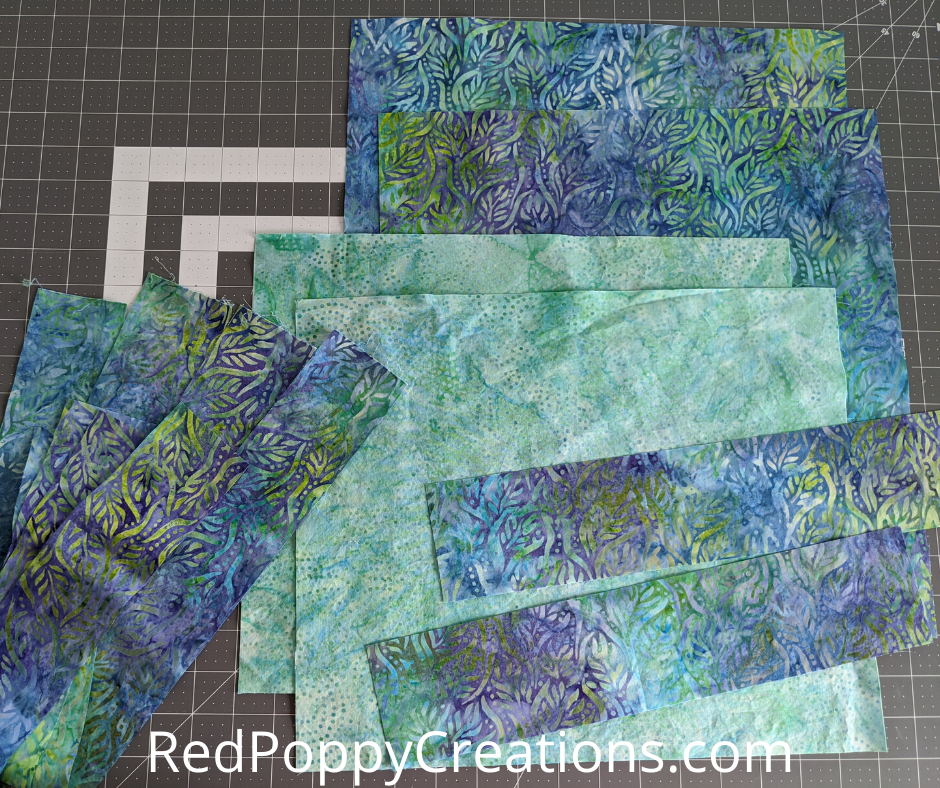
Cutting and Prepping the Pattern Pieces
Cut all of your pieces first (fabric and interfacing/fleece), make sure all the fabric has been washed, dried (pre-shrunk), and ironed. I use a self-healing mat, rotary cutter, and grids to do my cutting. You can use scissors, but it is more difficult to cut straight, square-cornered pieces. From the outside fabric, you will need to cut 2 main body pieces (A), 2 inside lining facing (C), and 4 pieces for the straps. If you have a directional print, pay close attention that you cut the pieces properly so that when they are sewn together, your print is upright on both sides.
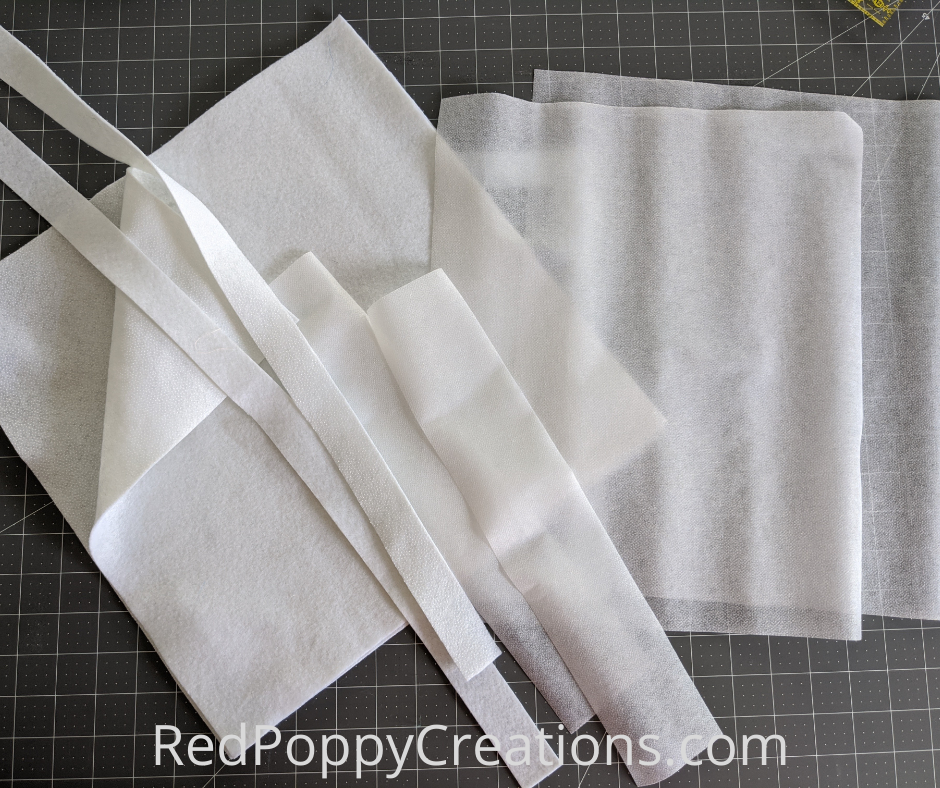
Now the interfacing needs to be added to the lining fabric (B) and the top facing (C) of the inside of the bags. Add fusible fleece to 2 of the straps (D) and outside fabric (A). If you do not have fusible fleece, you can use interfacing, but make sure it’s at least medium weight. For the straps, add the fleece down the middle of the strap on 2 of the 4 strap pieces.

Sewing Outside of the Tote Bag
Are you ready to get sewing this easy to sew tote bag? I am! Put your outside fabric (A) right sides together (RST) paying careful attention to your fabric print direction. Pin or clip (I LOVE these wonder clips!) around edges and sew along the sides and bottom.

As mentioned above, all seam allowances are 3/8″ unless otherwise specified. My machine has a marker for it on the plate, though I know not all do.
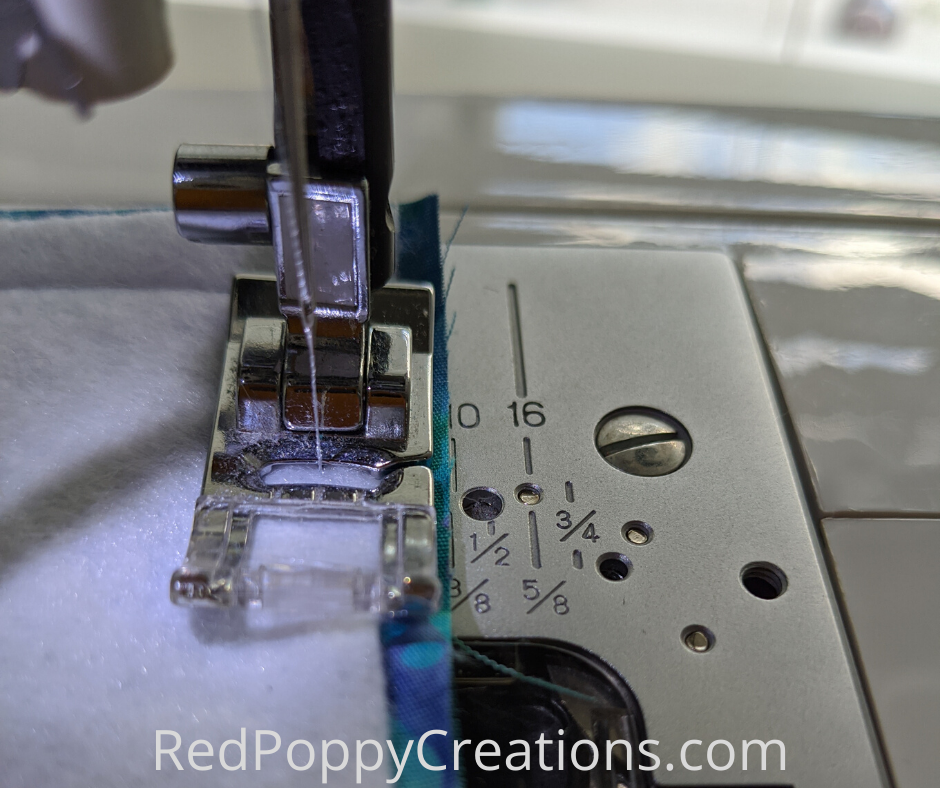
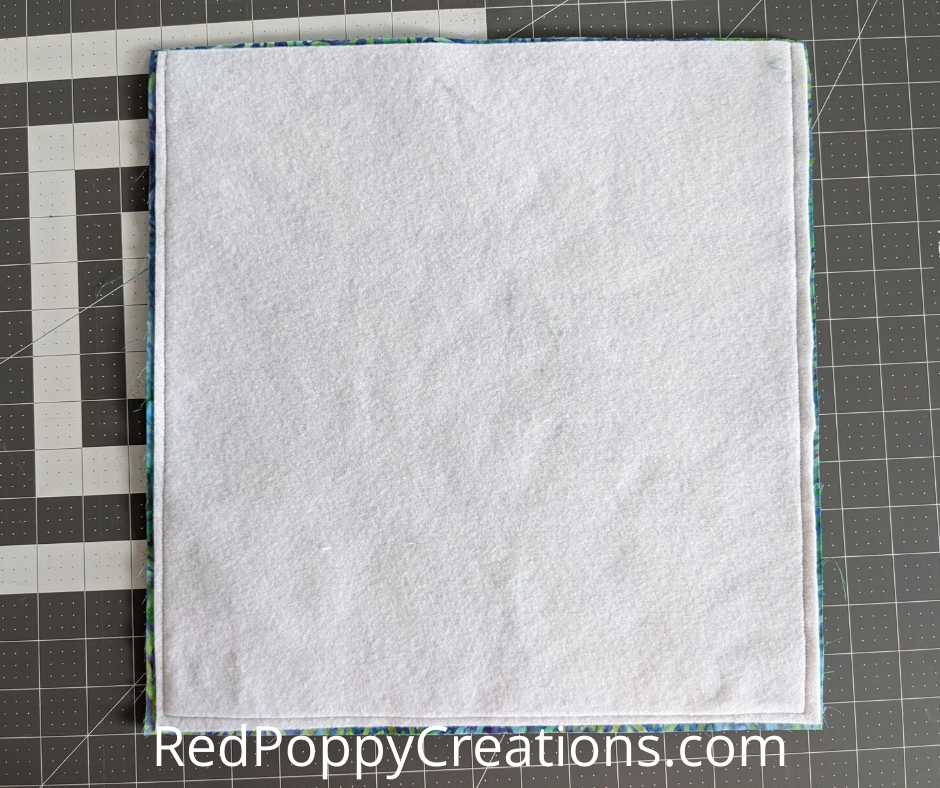
I sew all 3 sides at once. I start on the top right corner, sew down to bottom, leave my needle down and turn. Sew the bottom, turn at the corner and sew up the last side to the top of the tote bag. Your pieces should look like the picture below.
Lining of the Tote Bag
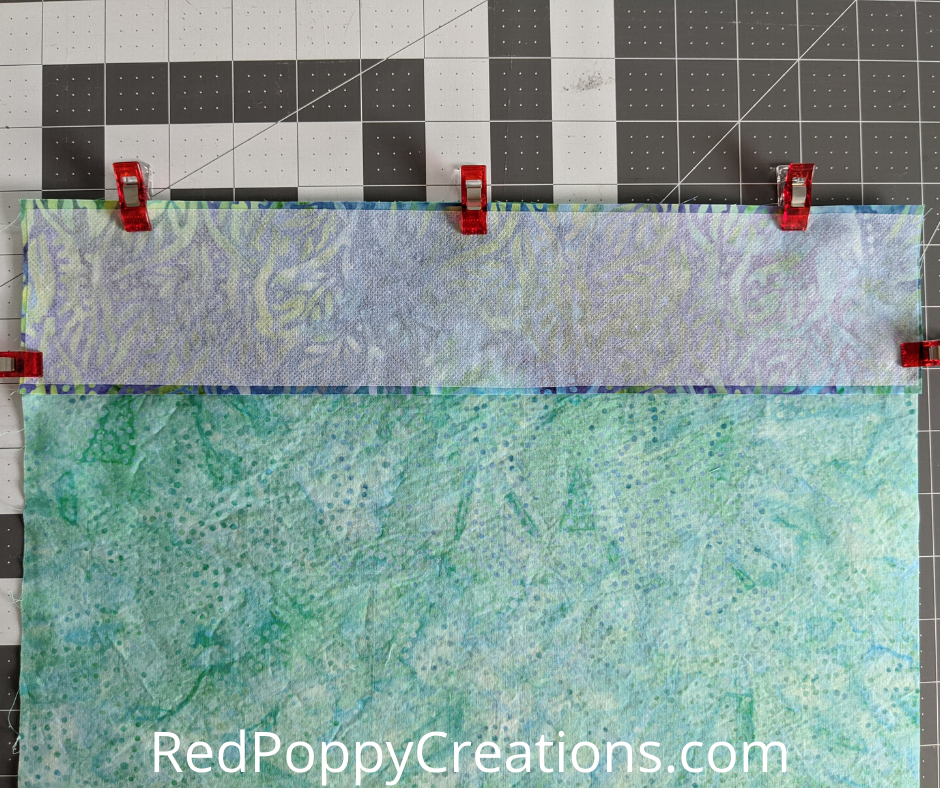
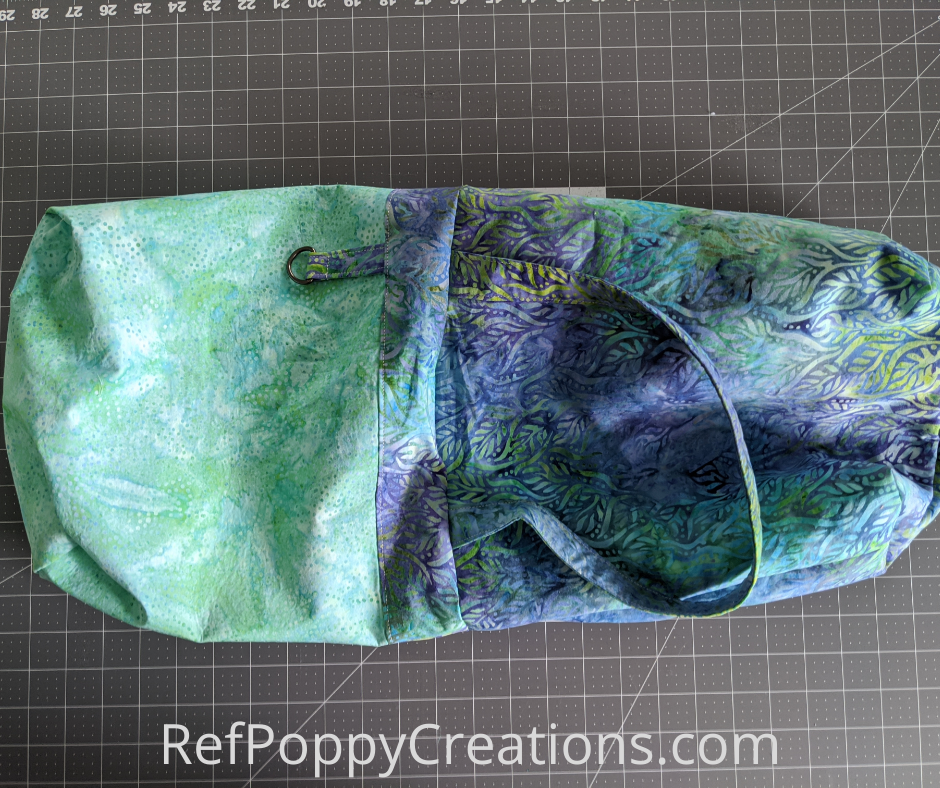
Next you will lay one piece of your lining fabric right side out (RSO) and lay the facing piece on the top edge RST. If you have a directional print, make sure you are laying it down so that when you open it up, the print is right side up. Sew along the top edge. Repeat with the other lining piece and facing. If you want to add in a clip or D-ring for your keys, this is the step to add it in. Stay tuned for my post on how to make this and a matching keyfob!
Fold the facing up and iron it down. When ironing, make sure the lining/facing SA points upwards.
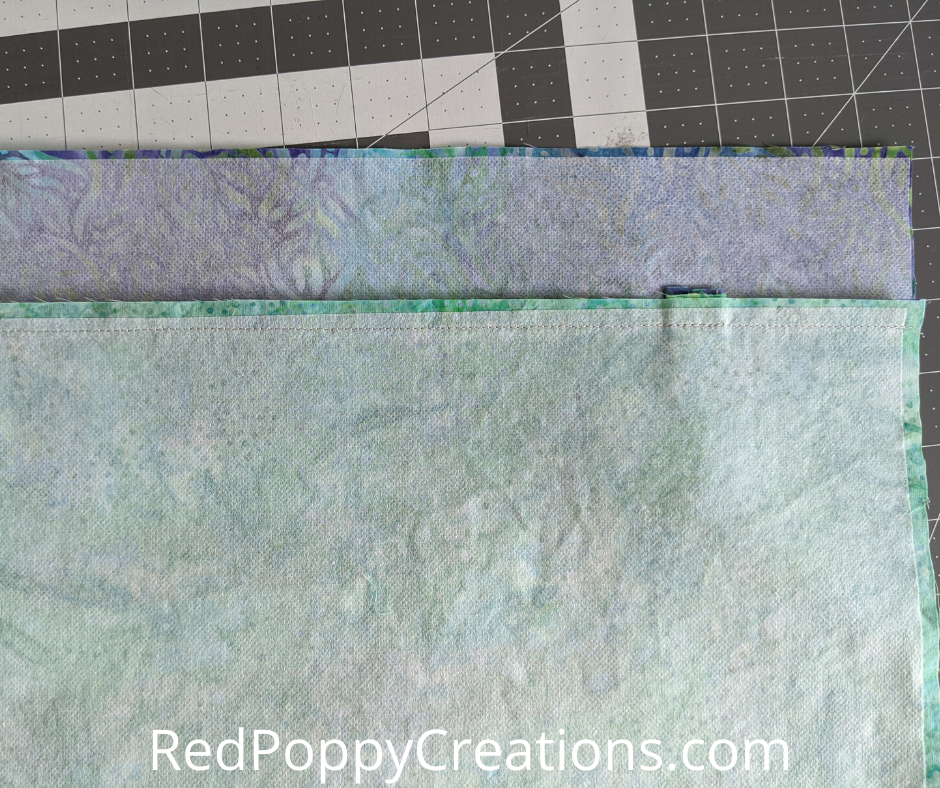
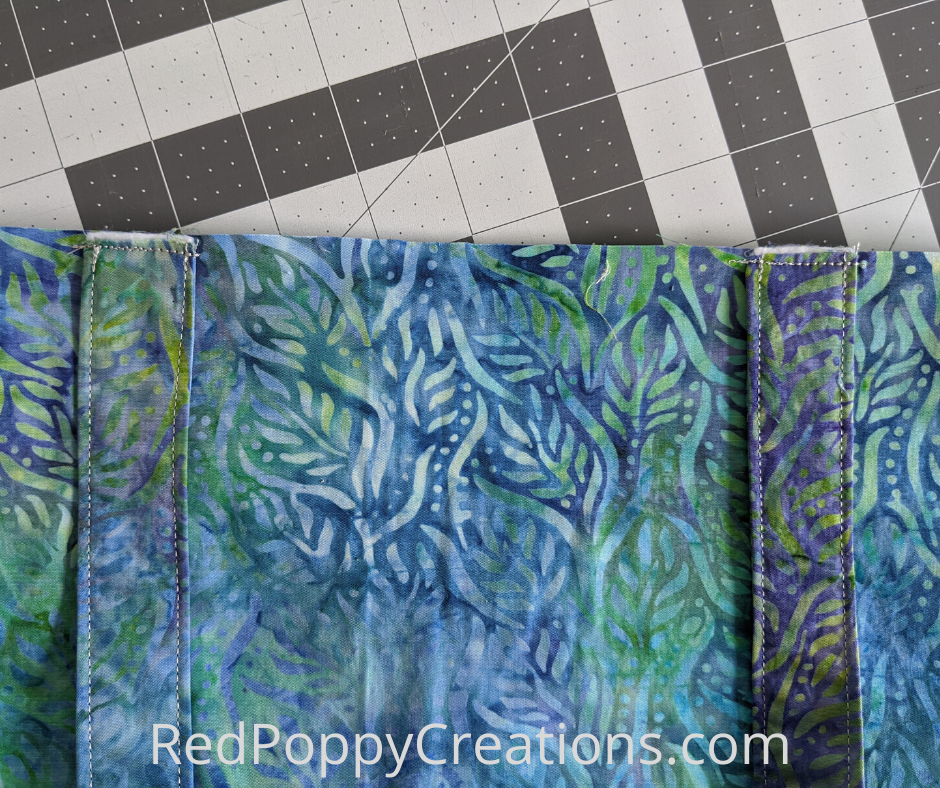
Next you can add a top stitch (1/8″ from edge) along the facing piece over the SA you just ironed. This gives the seam extra reinforcement and the top stitching makes it look more professional. Then lay the 2 lining pieces RST being careful to line up the facing on each edge. Then sew the sides and bottom just as your did with the outside of the bag.

At this point, it is a good idea to lay the two parts (outside and lining) on top of each other and make sure the side seams match up. If one is larger than the other, then adjustments need to be made to the larger one (just sew inside your side seam the corrected amount).
Boxing the Corners
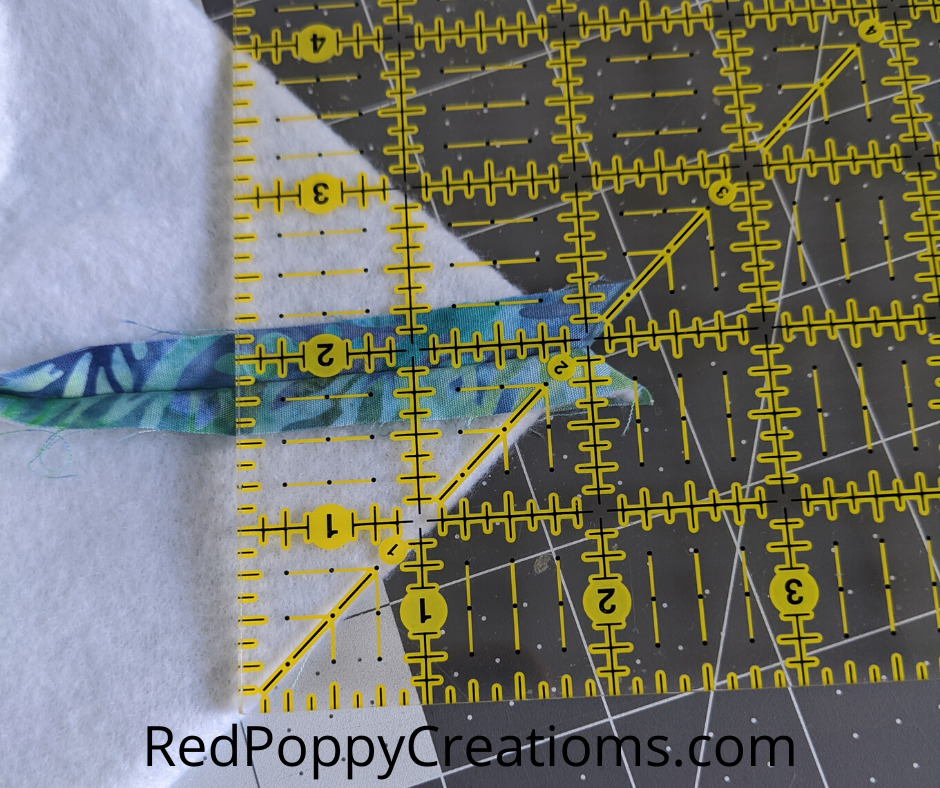
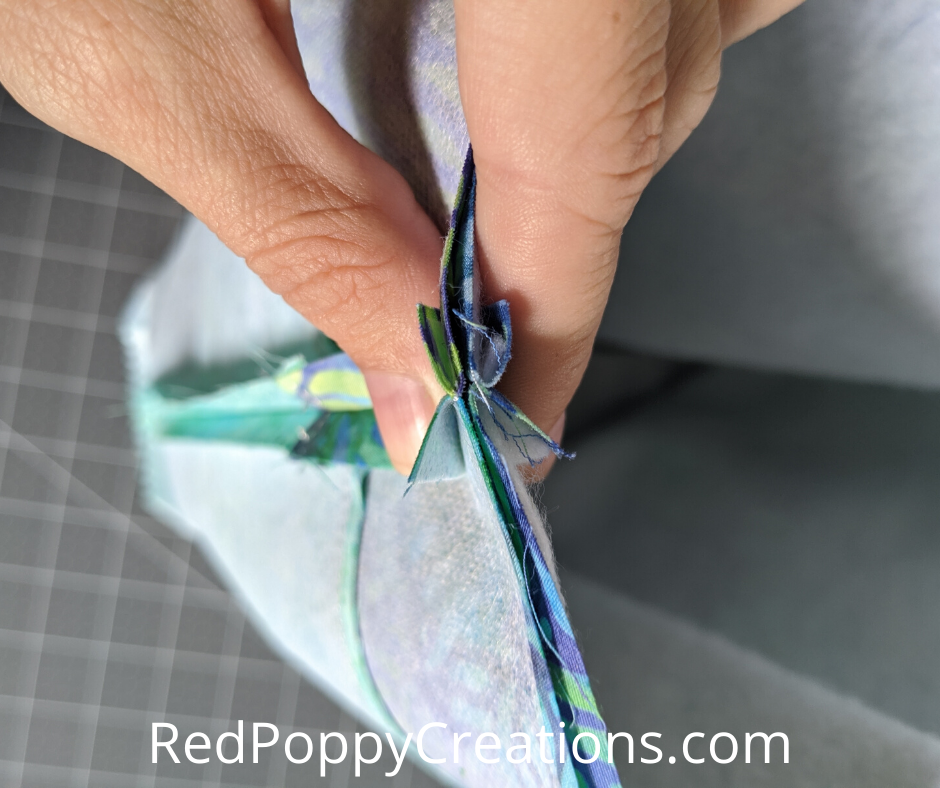
To prep for this, your seams on the outside and lining pieces needs to have their seam ironed open. This helps reduce bulk in the seams. Then you need your grid ruler, one with 45-deg line on it is really helpful! Pull the edges of the bag apart, making a triangle with the corner. Line up the side and bottom seam and lay flat. Place your grid ruler on it and mark off a 4″ line (this will be 2″ in from the corner). Make sure the edge of your bag lines up nicely with the 45-deg line.
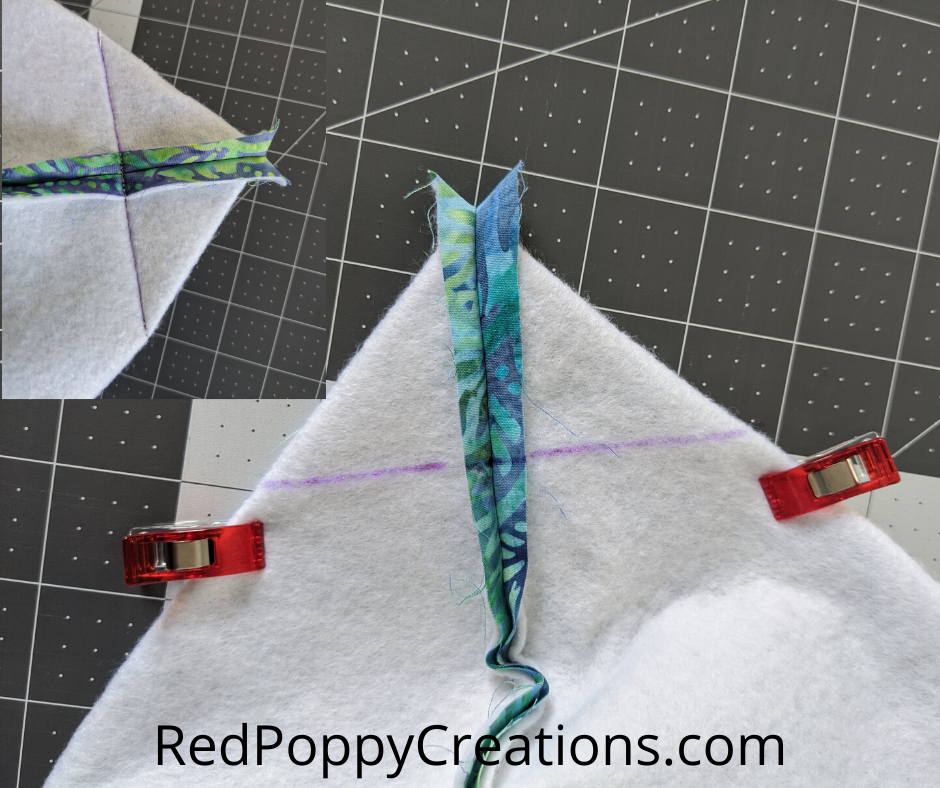
Clip or pin your corner and sew along the marked line. I always do a bit of back-stitching over the seam in the middle for extra reinforcement.
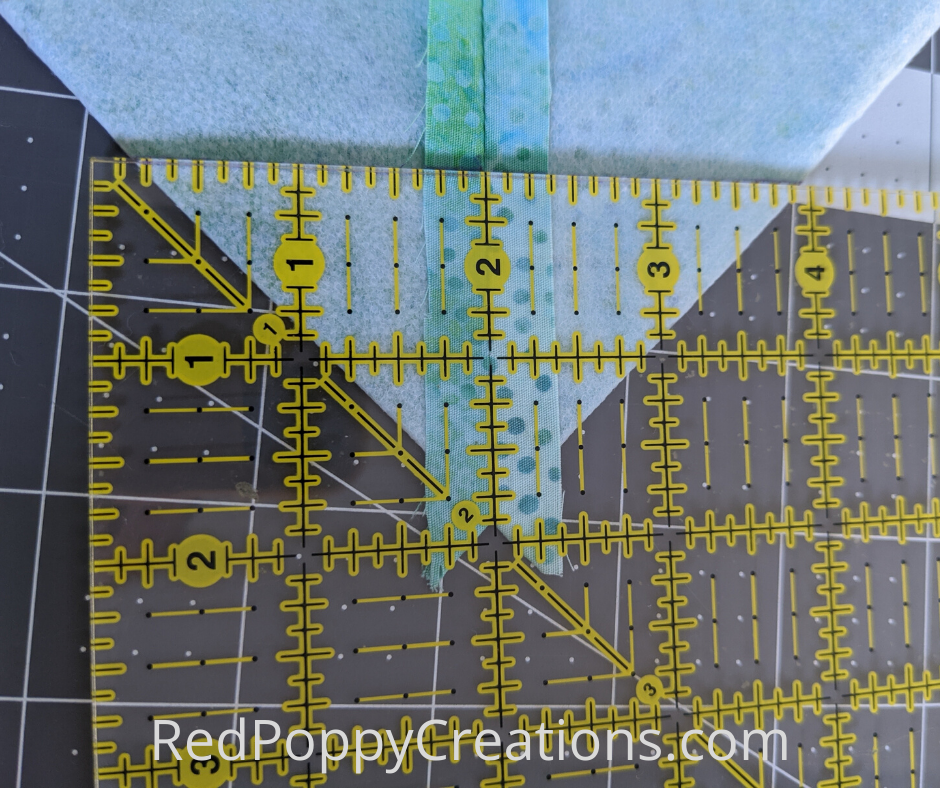
Next, do the same thing to the lining piece, but make the corners just a smidge smaller (this way it fits nicely inside the outside shell of the bag). I placed the ruler at the 1 & 7/8″ mark vs. 2″ on the outside of bag. Mark a line and sew along it.
Cut the corners off, about 3/8″ from the seam (no closer than 1/4″) with pinking shears if you have them, if not, regular fabric scissors will work. Now all your corners are boxed and the outside and lining are starting to look like bags!
Straps
Lay your strap pieces RST (one with fleece, one without). Sew along the edges, I typically sew just outside the fusible fleece. Grab those pinking shears again, and trim along the seam.

Turn the strap, iron, and top-stitch along the edges. This top stitching just adds a nice finishing touch to the straps! It may seem odd to make straps with so many pieces; it’s true, you can do this with 1 piece of fabric per strap. I like to do it this way so you can make 2-tone straps. I do this sometimes and it adds a nice pop of color!
Adding Straps to your Tote Bag
Now its time to add the straps to the bag. First off, make sure both straps are the same length; even them up if they aren’t. Pin your straps to the outside body of the outside. When doing this, be sure to not have a twist in the strap and you have it pinned where the part you want on the outside is laying against the bag at this point. A good place to start for placement is each strap end being a 1/4 of the way from the edge of the bag (~3.5″) then make adjustments as needed to fit your liking. For straps, I opt to use pins, not clips. This way I don’t have to remove when sewing. Make sure both straps are same length and are in same spot on each side of bag before you stitch them down.
I stitch the straps in place with a 1/8” SA (don’t worry, you are about to sew over them 2 more times, they won’t budge! If you want, you can do 1/4″, but don’t go further than that. I’d hate for it to not be inside your final seam at the top of the bag.
Adding the Lining to your Tote Bag
You are almost DONE! Just 2 more trips to the sewing machine 🙂 Grab your outside piece and your lining piece. You will be putting the outside of the bag into the lining with RST.
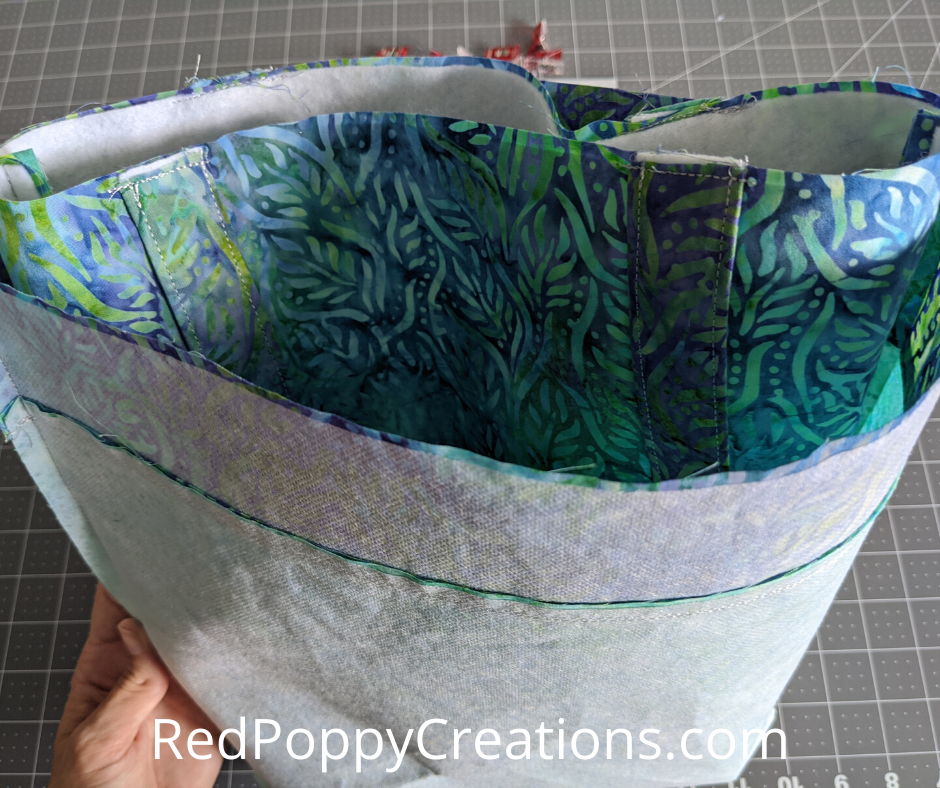
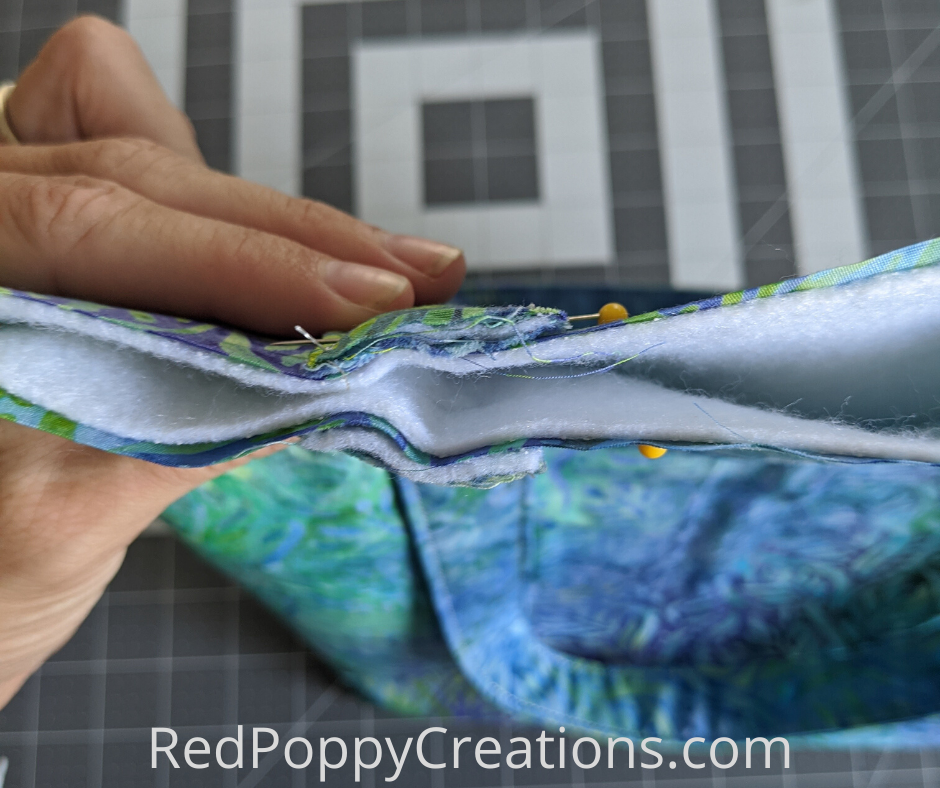
Make sure straps are tucked in. Start off by lining up the side seams and clip in place (I don’t pin that much anymore after I came across these wonder clips!). You want these side seams to line up, so that the bag looks nice when turned the right way.
Then I clip in the middle and on each side of the straps. Now, you need to make sure to leave an opening to turn the bag, I always leave it just inside the straps on the backside of the bag. You can add pins there so you know NOT to sew, you can also add extra clips like I did below.
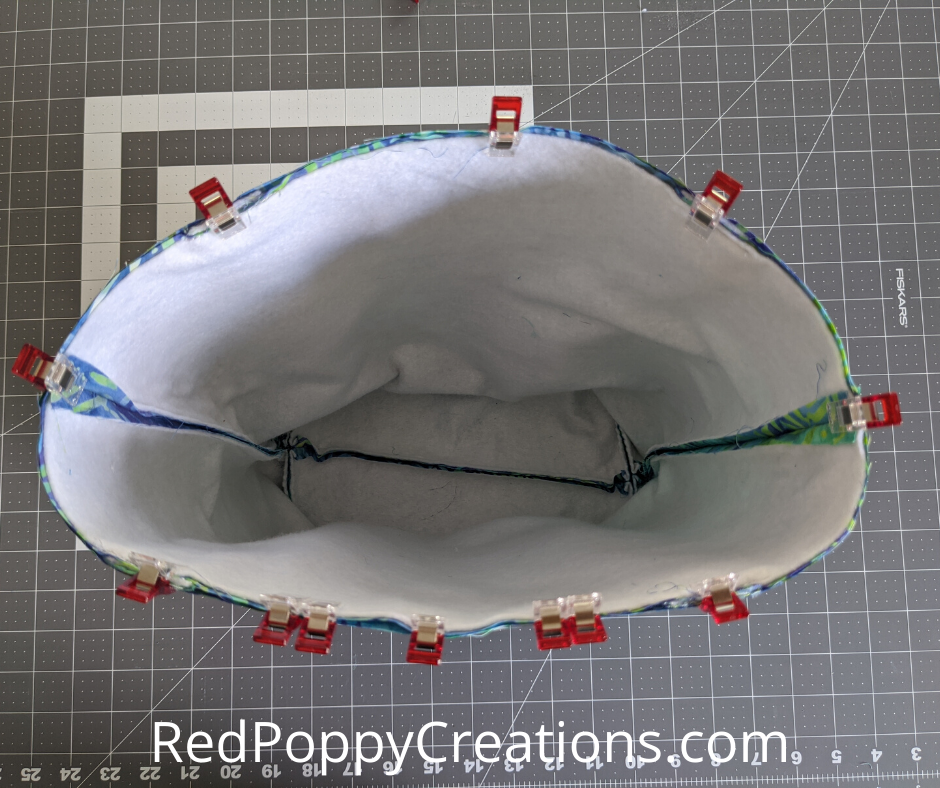
Now, put this on the machine and start sewing at the beginning of your marked gap. Sew all the way around the top with a 1/2″ SA. Go slow, you want this to all be even after you turn the bag. Make sure to stop at the other end of your gap. Always do some back stitching at the beginning and end of sewing this top. This will reinforce the seam when turning the bag (I HATE to hear seams popping when I pull the bag through).

Now, you need to gently turn the bag through the whole you left in the top seam. This may take some time; don’t rush. As I stated earlier, you don’t want to hear seams popping!

After you have gotten the whole bag pulled through the gap, tuck the lining into the bag. Get it in there good and give a good tug at the straps to make sure the seams are pulled through all the way.
Finishing Touches
Iron the top of your bag. I always start on the opposite of the gap and iron all the way around the top edge. Fold the gap fabric down to match the rest of the bag and give it a good iron (I usually iron, then turn the bag over and do the other side). Clip or pin the opening.

Top stitch the bag, starting at the side seam just before the gap (you can start at the gap if you like). Top stitch all the way around the bag being mindful that the straps are not tucked under bag. You will want to go slow so that it looks nice and straight!

Now, just sit back and admire your work! Isn’t is wonderful! Now that you’re a pro, next time add a drop-in pocket on the inside and a D-ring or clip to hold your keys. Next you can venture into zipper pockets!
That wasn’t too bad, right? Comment below and show me your easy to sew tote bag!