
Your cart is currently empty!
Add a D-Ring Loop to your Bag
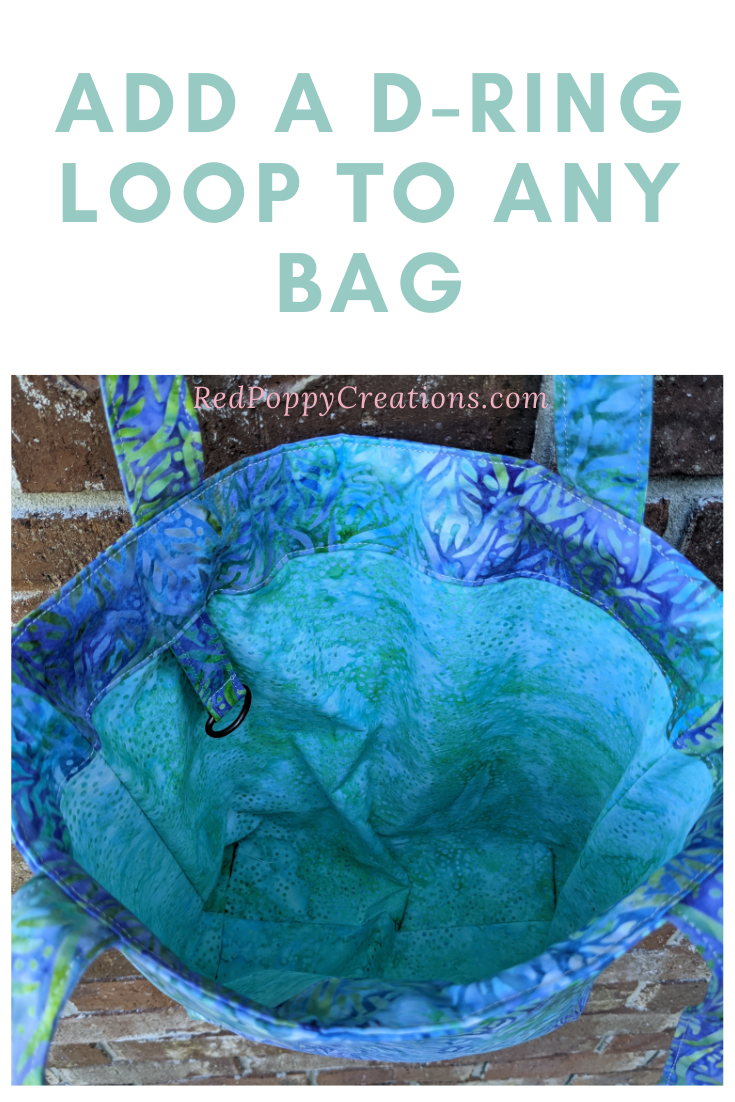
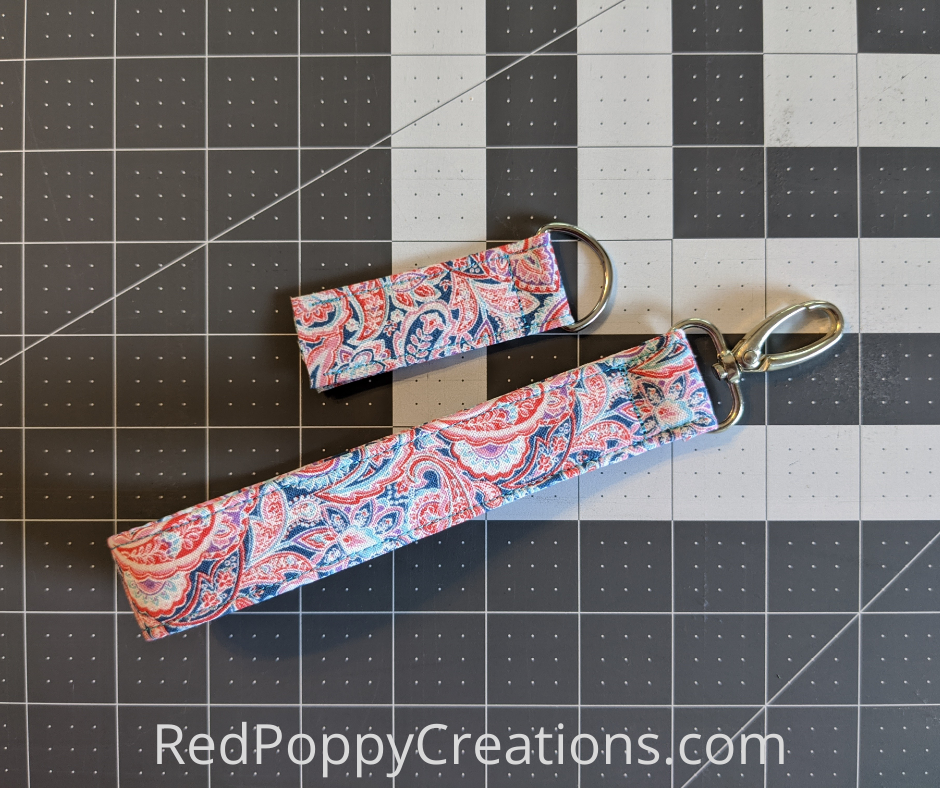
You made this cute bag, but your keys keep falling to the bottom and you’re digging them out every time. Here’s an easy way to make and add a D-ring loop to your bag so you never have to dig again! After or while you make this, create a matching key fob. You can add the loop to a pocket or inside a zipper, or just from the facing like in my tote bag below!

Supplies
- Scrap of fabric, 6″ x 2.75″
- Scrap of interfacing, at least 6″ x 1″
- 1′ D-ring or 1″ swivel hook
- Cutting mat, rotary cutter, and grid ruler
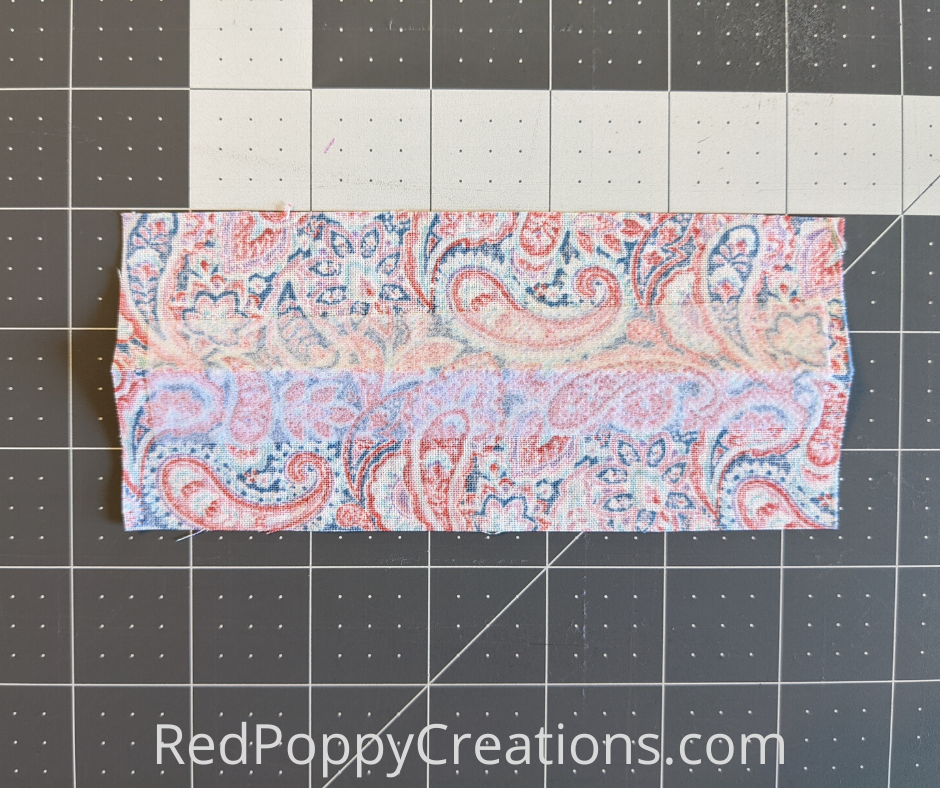
Making the Loop
Start out with an ironed piece of scrap fabric. Cut it down to 6″ x 2.75″ Iron on a strip of interfacing down the center. The interfacing needs to be at least 1″ wide, but can be larger, just not larger than the fabric scrap. Then fold in half long ways, right sides in, and iron.
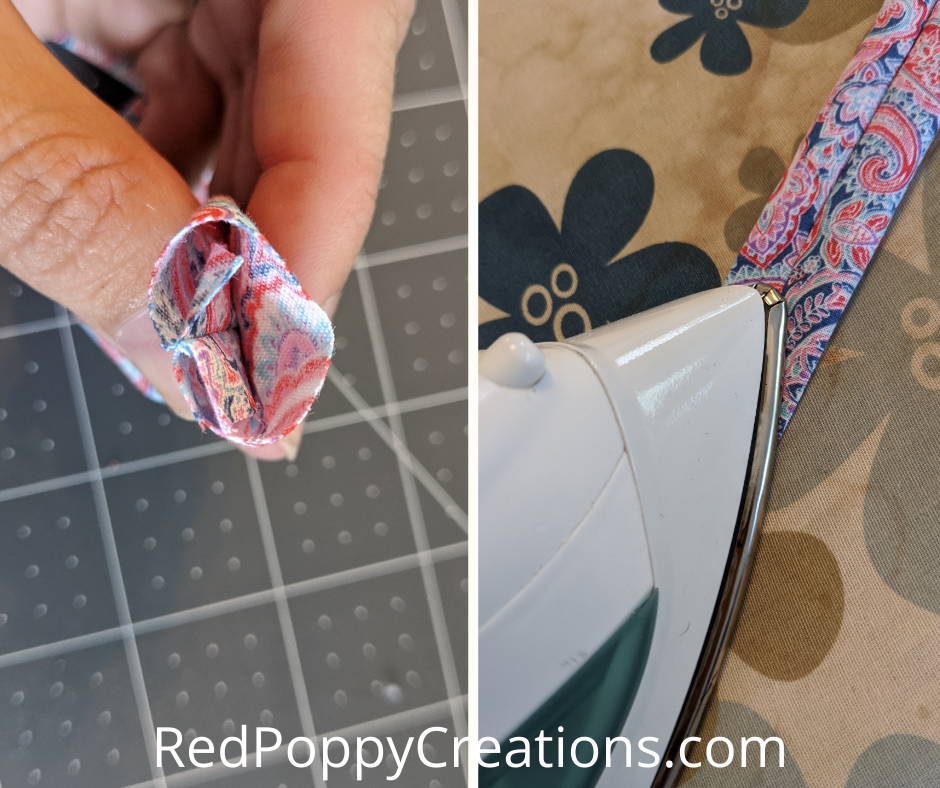
Follow my key fob tutorial on how to turn easily with a ribbon. Sew the folded piece down the long side with a 3/8″ seam allowance (SA). Iron the seam open and then turn the fabric right side out. Then get the seam to run down the center of the strip, push the inside SA open and iron.
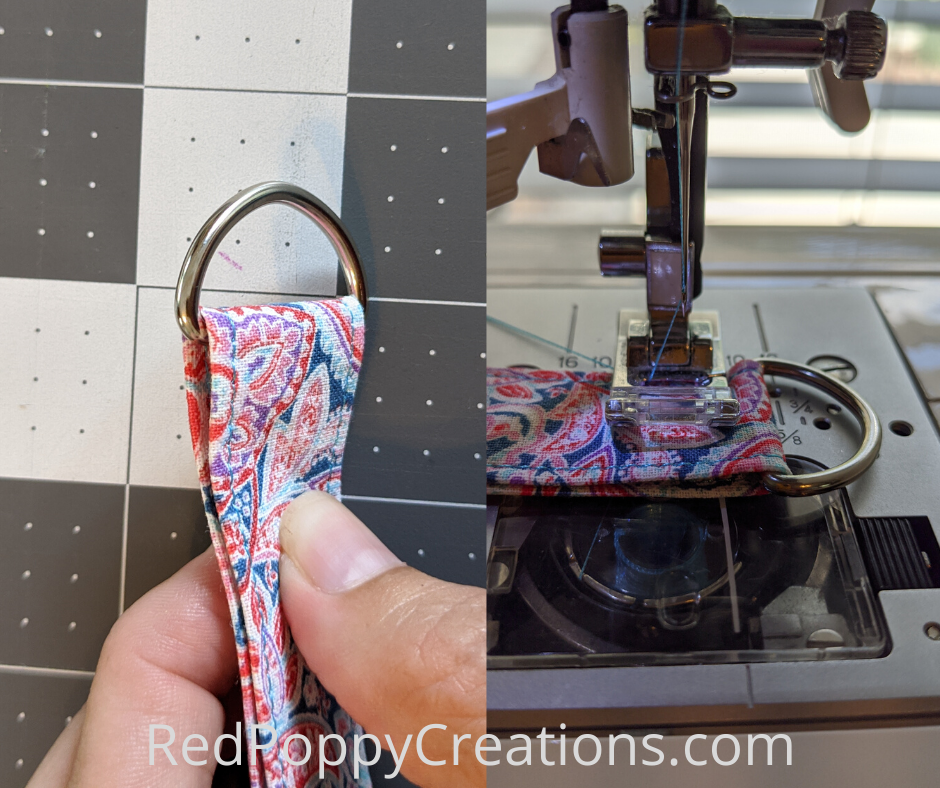
Adding the D-ring
Top stitch each side of the fabric strip. Then add the D-ring to the strip like I did below. If you prefer a swivel hook, add it on here and follow the same directions.

Now fold in half, making sure the seam is on the inside. Place on the sewing machine with edge nicely lined up. Stitch as close as you can to the D-ring. I usually move my needle over for this, or you can use your zipper foot.
And that’s it! You are ready to add this to your bag. In my tote bag tutorial, I explain in which step to add this to the bag.

If you followed my key fob tutorial, you now have a matching set! How fun!
I hope you enjoyed this tutorial, if you want to make the matching key fob, click here. I would love for you to share your matching D-ring loop and key fob in the comments below.