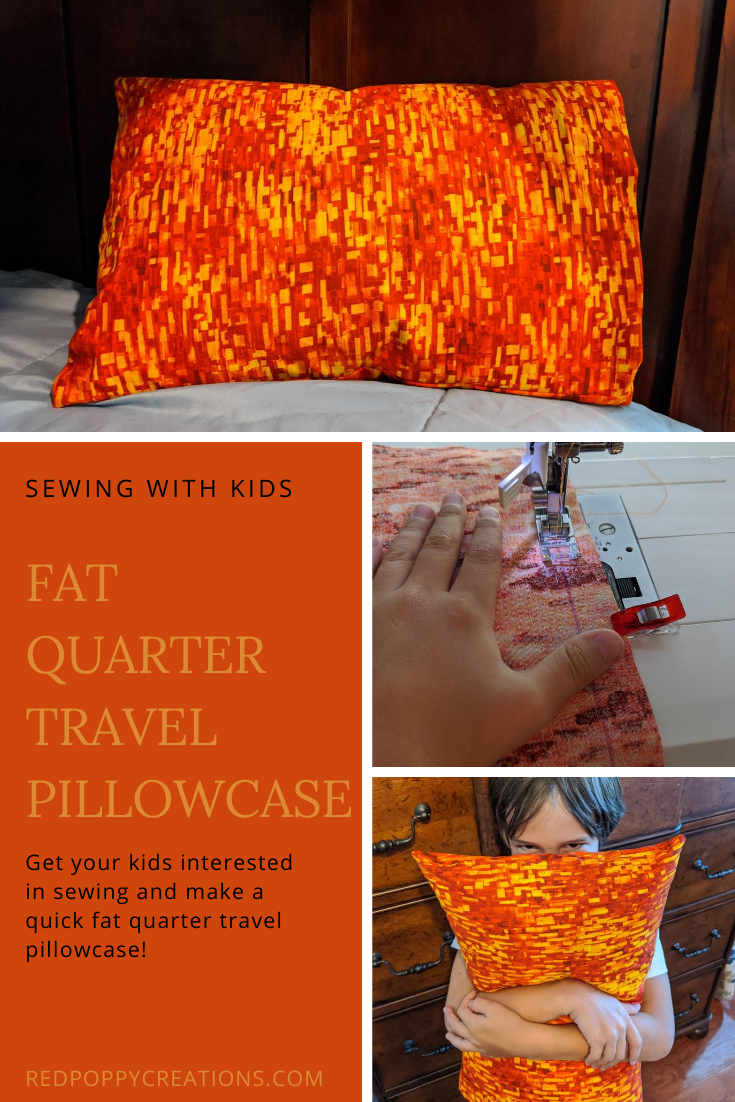
Today, my son Mr. E, and I will be making a travel size pillow case out of two fat quarters. This is simple to sew because there are only straight lines, and pretty quick too! This is a good project to introduce sewing to your children.
This post may contain affiliate links. As an Amazon Associate, I receive a small commission with qualifying purchases. I only post links for items I love and use! For more information, see my disclosure.
Mr. E just turned 8, so he needed some help with this, mainly the ironing and sewing straight. He did all the cutting, clipping (wonder clips), and foot petal driving! This takes 2 fat quarters and I let him pick any two from my stash, so of course he chose the “loud” ones! Let’s get started on this fat quarter travel pillowcase!
Supplies for Travel Pillowcase
- 2 fat quarters
- scissors
- iron/ironing board
- cutting mat, rotary cutter, and grid (optional)

Measure, Cut, and Mark the Fat Quarters
Grab your 2 fat quarters and put them right sides together (RST). Then if you already have a pillowcase, just lay it flat on top with about 1/2″-3/4″ around the edges. If not, mine was 12″ x 17″ finished size (cut 13-13.5″ x 20-21″).
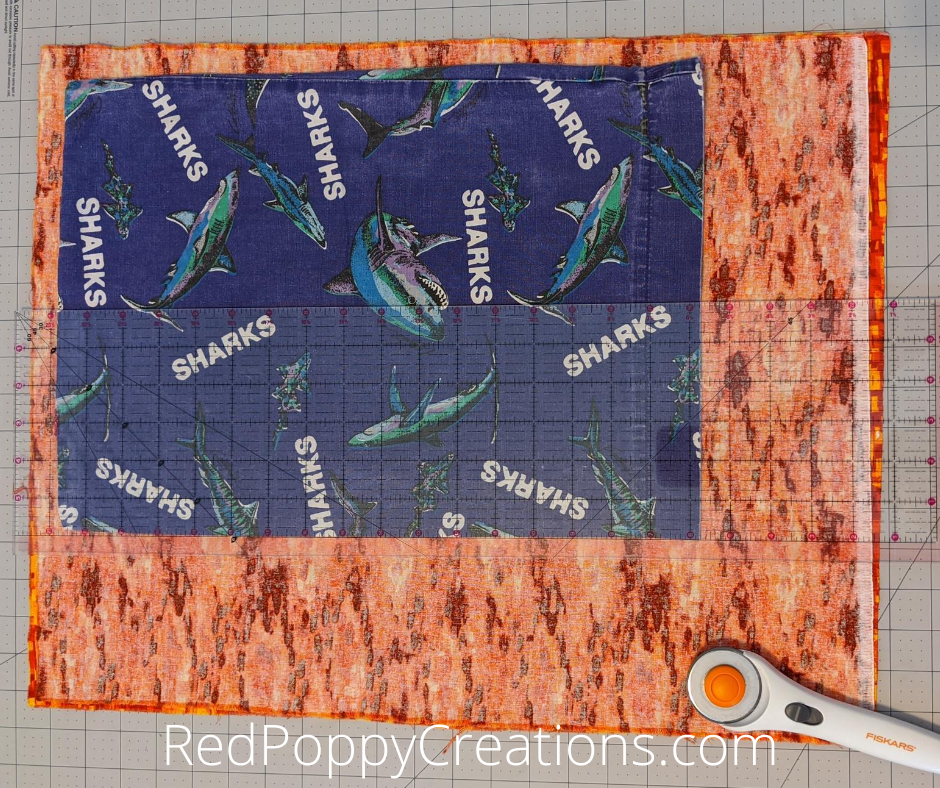
I let Mr. E cut with VERY close supervision. He has always wanted to cut with my rotary cutter, so he quite enjoyed this part!

For the hemmed edge, I didn’t really measure the length, just cut enough off to even up the edges, but the length should be at least 20″.

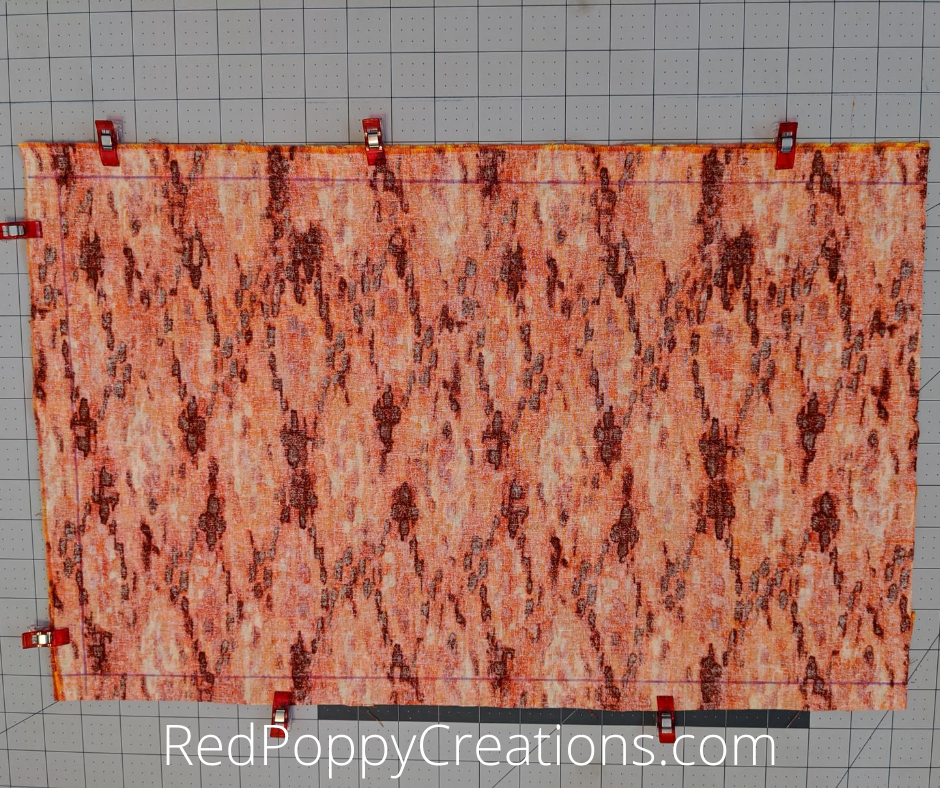
Since Mr. E is only 8, I drew his stitch lines on the two long edges and one short edge (leave one short edge undone for now). I just used a ultra washable crayola thin tip marker. This makes it easier for kids to see where to sew. My marks were 5/8″ from the edge, this allowed for extra space for his stitching (he doesn’t always stitch a straight line). 1/2″ should be plenty of room.
Sew 3 Edges
Now you want to sew the 3 edges in a U shape, starting at the top of a long edge and turning at the corners. When turning at the corners, make sure the needle is down so that the fabric doesn’t shift. If your machine doesn’t automatically do this, use the manual wheel on the side. Mr. E LOVES to turn the manual wheel to put the needle down! Keep a close eye as your child sews, making sure hands are far enough from the needle and any other moving parts.

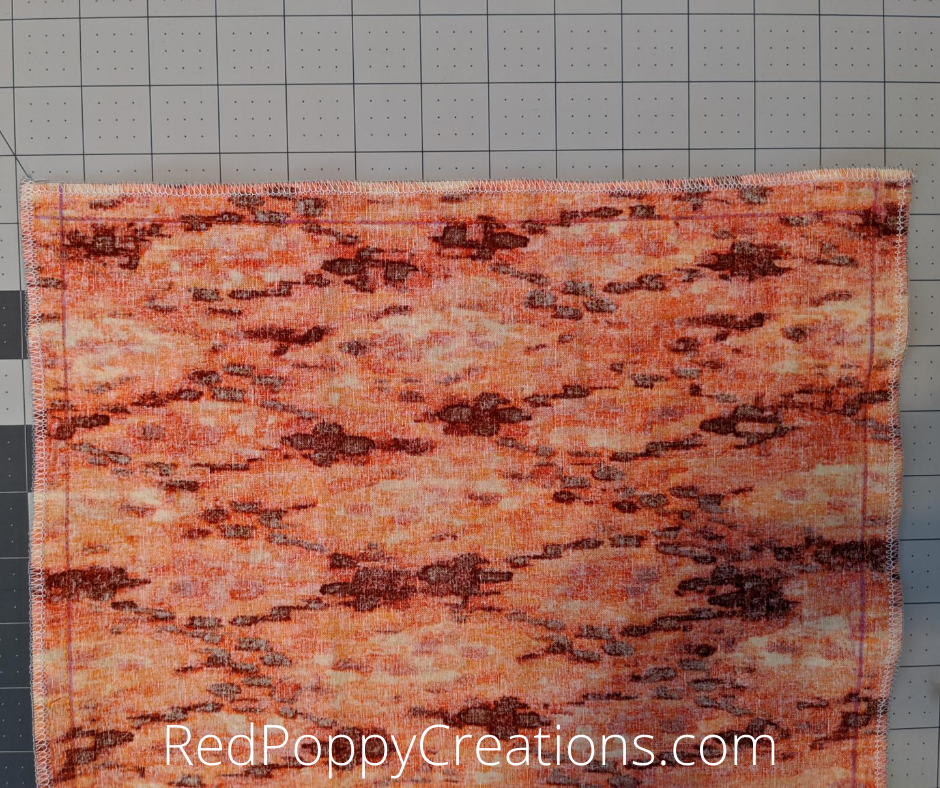
Now, this step isn’t a must, but I love the look of serged edges. I took his pillowcase to the serger and finished the same 3 edges to prevent fraying.
Finish the Opening
You now have 1 edge to finish. This part requires a bit of ironing. I suggest you help unless they have had experience with ironing; we sure don’t want any digits burned! First, fold over about 3/8″ – 1/2″ and iron.

Next, fold over about 1″ – 1.5″ and iron again.

Now, sew 1/8″ to 1/4″ from folded edge. This will enclose the raw edges. For this step I removed my machine’s platform to be able to sew the last edge better since it is circular.

Turn the pillowcase the right way and you’re all done! Don’t forget to poke the corners out, Mr. E used a crochet hook to poke them.

Mr. E really enjoyed making this fat quarter travel pillowcase with me and I’m sure your kids will as well! This took us about 30 minutes from start to finish, so it’s a pretty quick sew. Do you sew with your kids? If so, what’s your favorite project? Have older children that a bit more sewing skill? Check out my post on how to make a Key Fob!


