
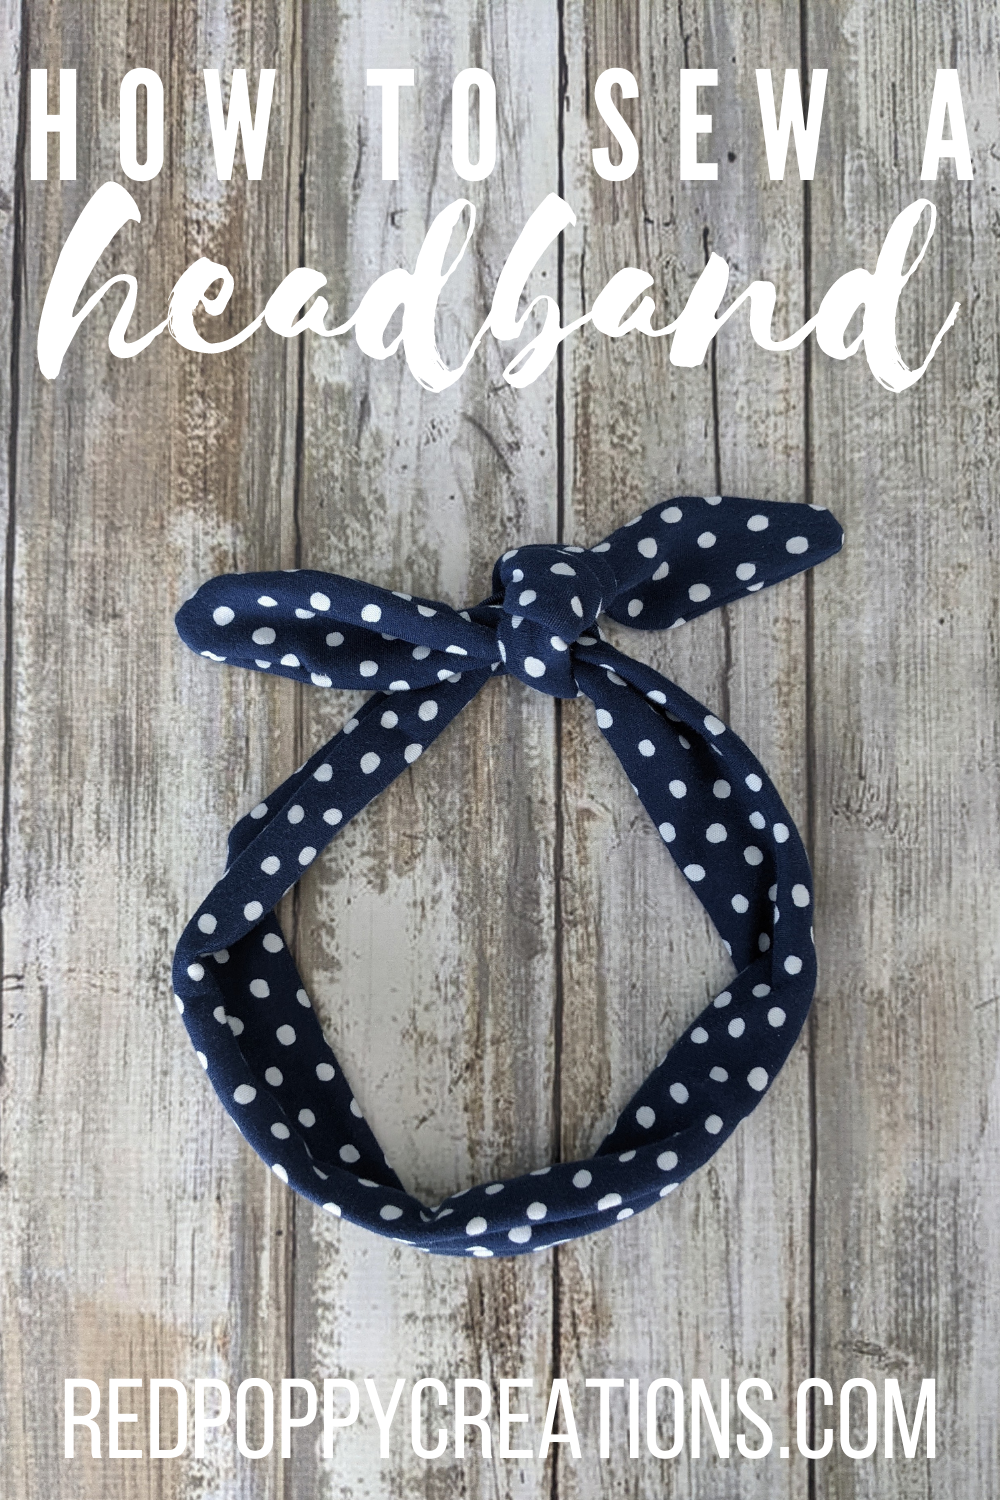
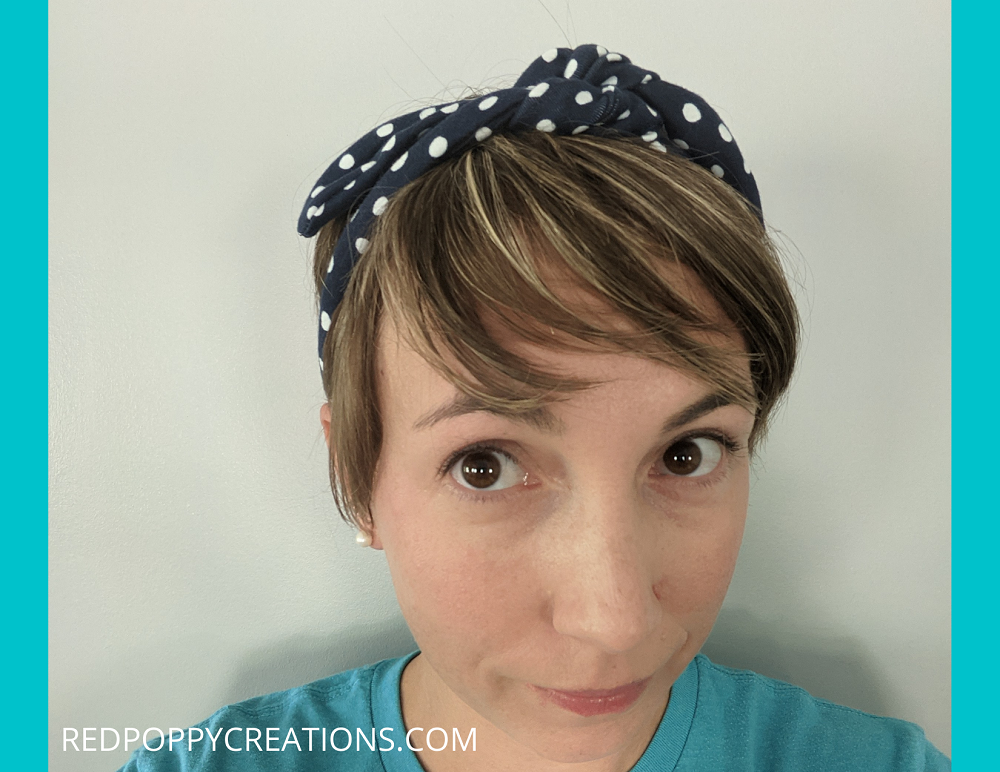
Want to learn how to sew a simple headband? Follow along below – this is perfect for beginners, especially first timers using knit fabric! These were a hot item when I was younger and they are making a comeback now. I recently got a pixie haircut and thought this would be a cute hair accessory.
This post may contain affiliate links. As an Amazon Associate, I receive a small commission for purchases through my links. I only post links for items I love and use! For more information, see my disclosure.
Supplies
- At least 36″ x 4.5-5″ of knit fabric (I used this premium knit by Cloud 9)
- Cutting mat, grid, and rotary cutter are nice to have, but not necessary
- Scissors
- Thread
- Marking tool
- Pins and Clips
Prep
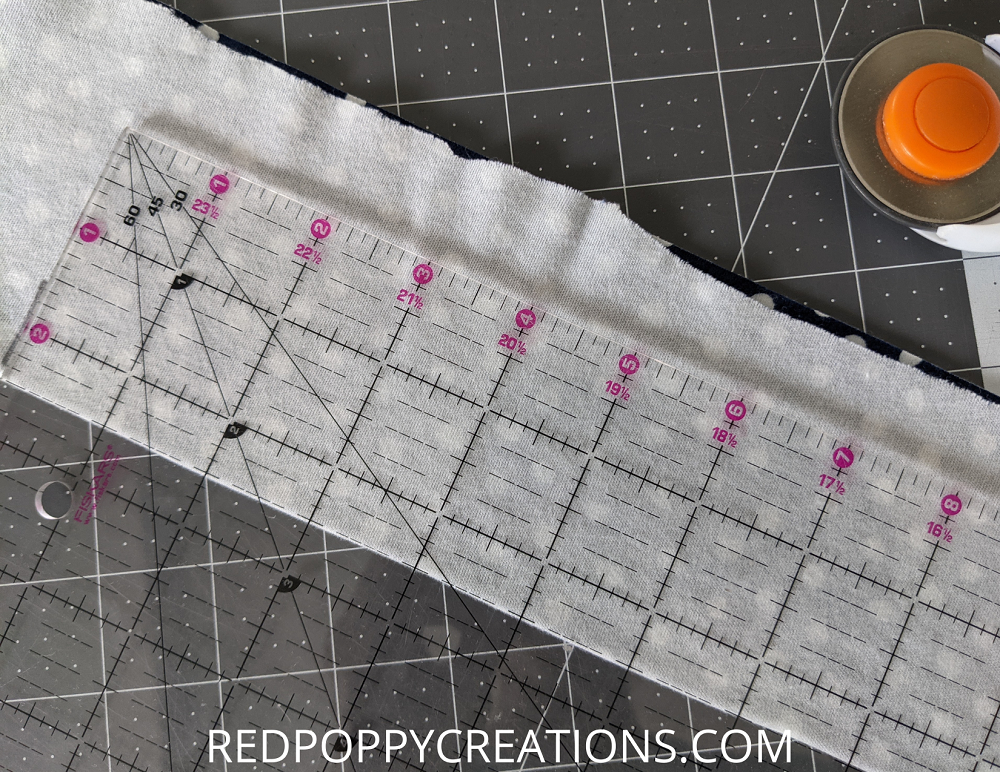
Grab your fabric, I used a thick premium knit fabric by Cloud 9 that was leftover from an infinity scarf (you can see my scarf in my shop). There were quite a few color options and they just so happened to have navy/white, my school colors! Lay out your fabric on a cutting mat or table and cut your fabric down to the size you’d like (I did 5″ wide x 36″ long). You can either cut the fabric flat or fold in half and cut — I did the latter.
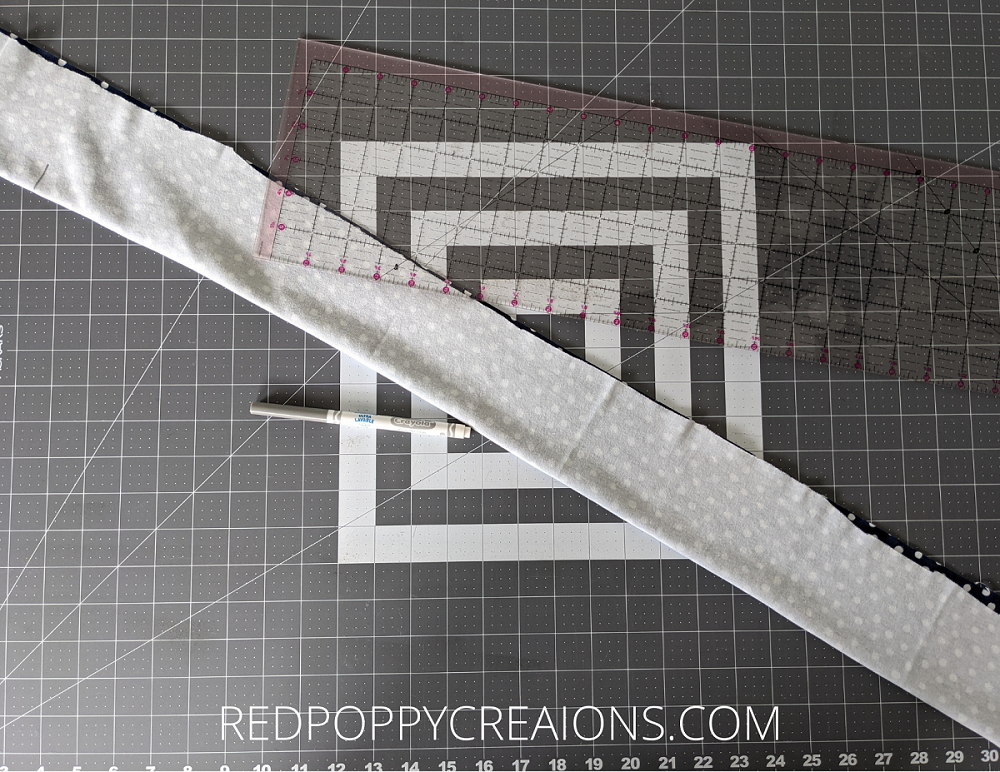
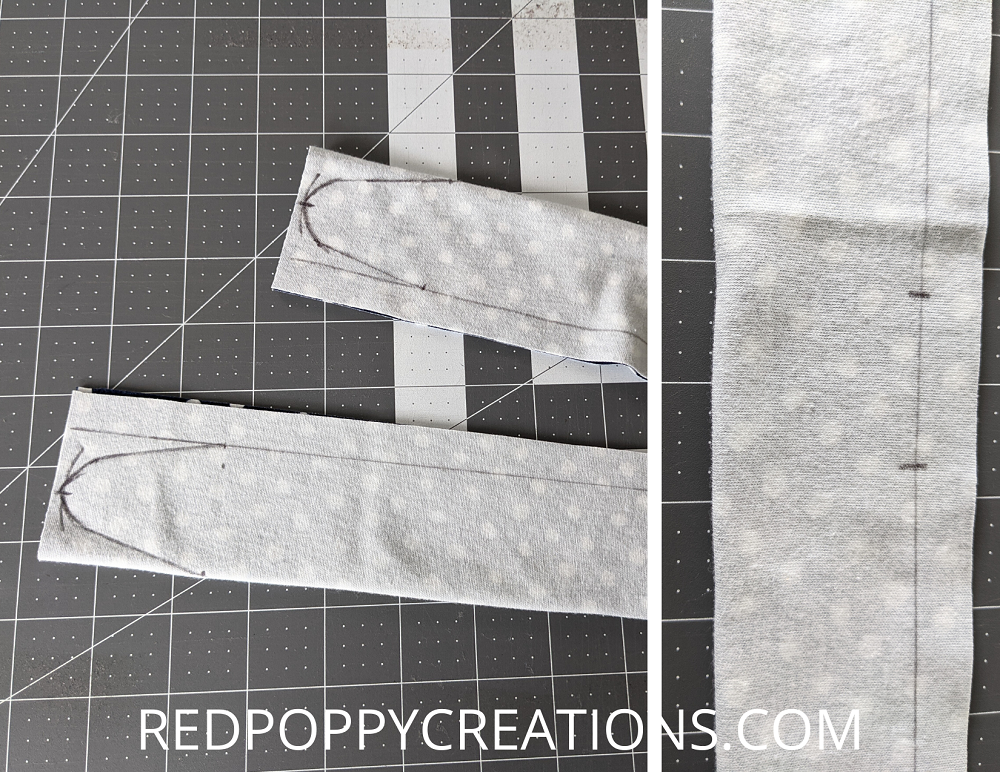
Next with the right sides together (RST), I drew a line down the edge opposite the fold, 1/2″ in. I don’t normally mark my stitch lines, but this makes it easier creating the tapered end if there are markings. I free handed the tapered edges, they aren’t perfect, but when this is tied on our head, nobody will notice! Also, I marked where I will leave an opening to turn. Make sure to pin or use clips so your fabric doesn’t shift while sewing. I used pins and then marked the gap with clips.
Sew the Edges
Now, set up your sewing machine to sew the stitch you prefer. I did the stretch stitch (makes 3 stitches then moves on). A zig-zag can also be used. I always (especially with knits) run a test on a scrap of the fabric. Knits are finicky and sometimes do weird (stretch or scrunch up) while sewing, so a test piece is recommended.

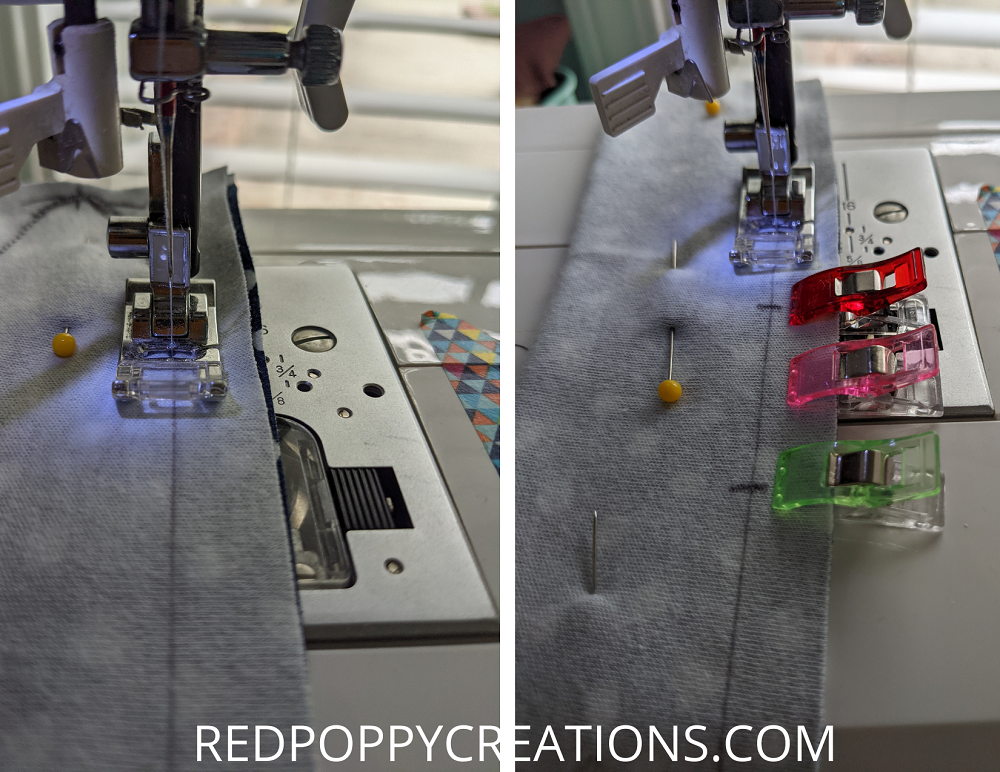
Put your fabric under the needle and start sewing. I go pretty slow with knits to avoid puckering and those curves require very slow stitching (the tightest part I use the handwheel so that I can turn the fabric more evenly). Don’t forget to leave a gap for turning later — see all of my lovely clips reminding me!
Finishing Touches
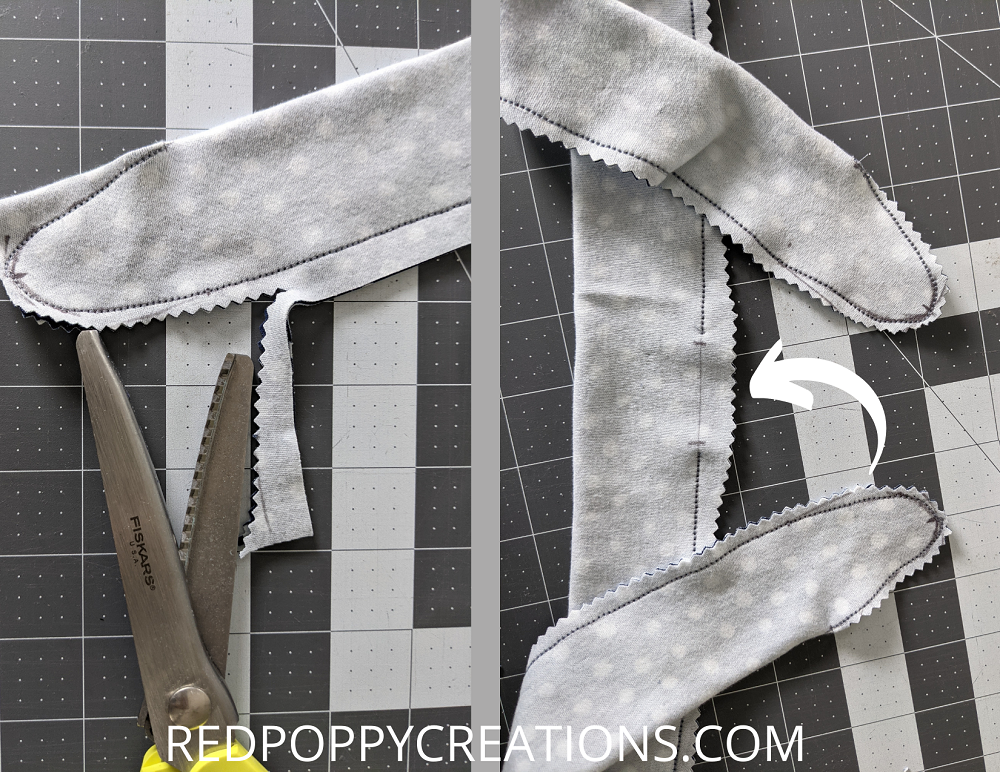
When you finish sewing, clip the edges with pinking shears (or regular scissors will work too) about 1/4″ from the edge. I get closer around the curve (or you can clip the curve). Then turn your headband right side out and poke your tapered ends out — I use a crochet hook, but anything with a not-sharp point will work. At this point I tried it on and mine was just a bit too long (I have a small head), so I turned it back inside out and took it in a inch on each side. I think the 36″ length will work on most people.
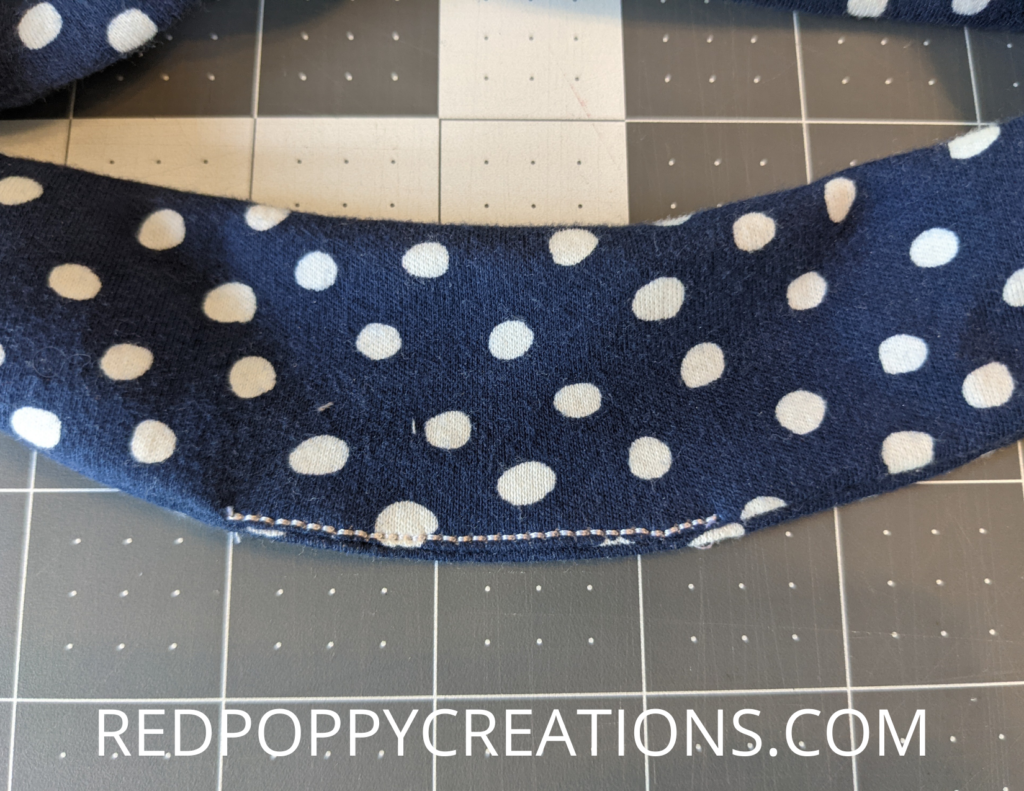
Now all you have left is to close the opening. Now since this is going to be on the back of my head and hair will probably cover it, I just did a stitch right on the edge. Another option is to hand stitch a ladder stitch. That will hide the thread if you so desire. I used white thread so that you can see my stitch, but typically I use matching thread to “hide” the stitch line.
What do you think? This was a fun headband to sew and fairly easy too! I was able to use scraps, which I know my hubby was happy about (I have WAY too many fabric scraps). If you liked this tutorial, you should check out some of my others — How to make a Key Fob is perfect for beginners. My tote bag tutorial is great for a beginner who wants to get experience with fusible interfacing/fleece and boxing corners.

One response to “How to Sew a Headband”
[…] already requested a set for herself). If you want another scrap buster design, head on over to my How to Make a Headband […]